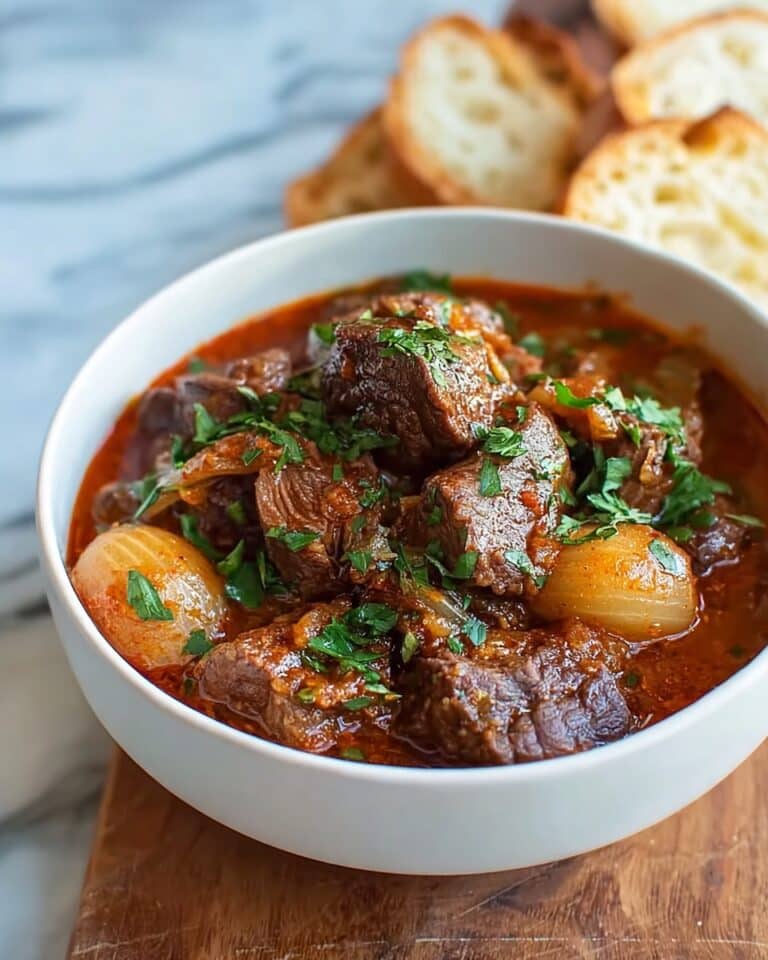
Witch Hat Cookies Recipe
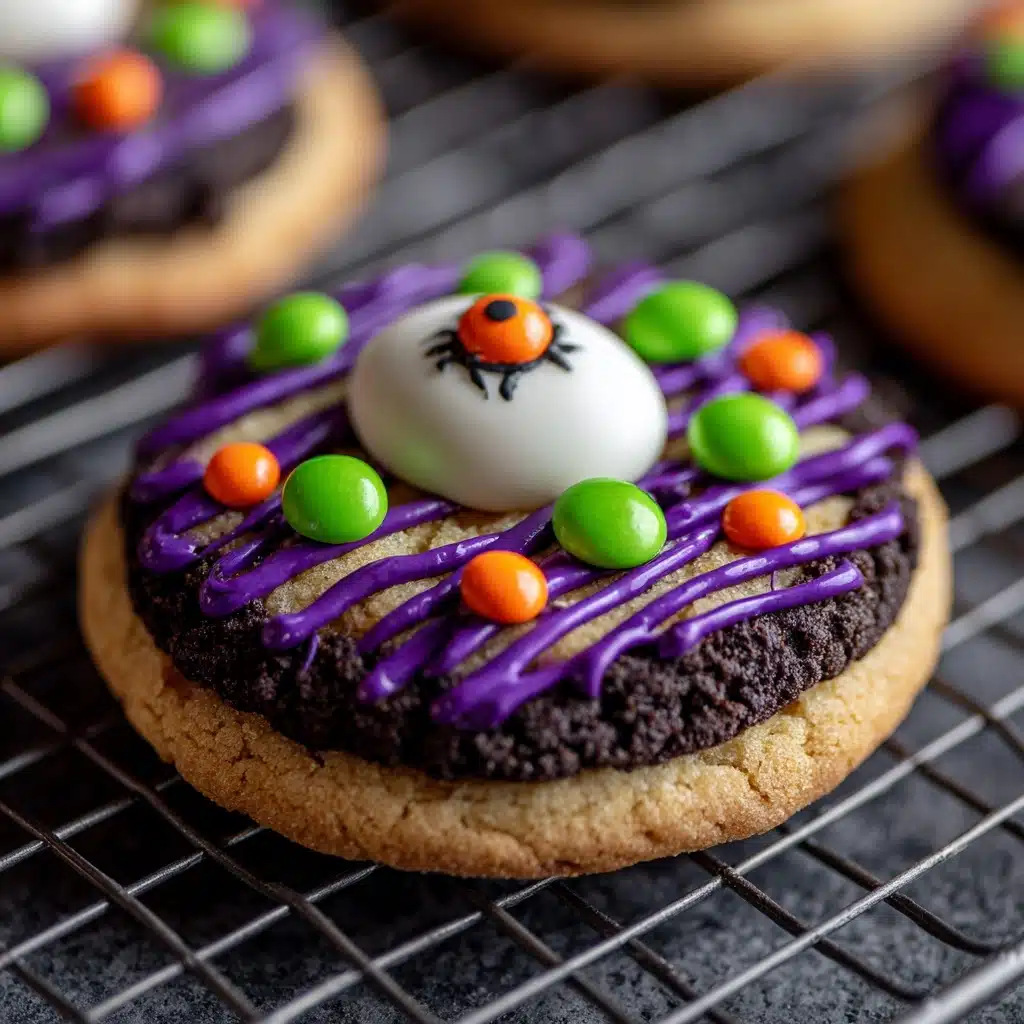
If you’re on the hunt for the ultimate Halloween party treat, look no further than Witch Hat Cookies! These no-bake bites of chocolatey whimsy look exactly like tiny witch hats, but they’re secretly made from just a handful of store-bought goodies. Adored by kids and adults alike, Witch Hat Cookies are not only ridiculously cute, but deliciously decadent with layers of cookie, chocolate, and plenty of room for creative decorating. Whether you’re making them with little helpers or whipping up a last-minute festive platter, these cookies are bound to become a spooktacular staple in your holiday traditions.
Ingredients You’ll Need
-
Ingredients:
- 24 fudge-striped shortbread cookies
- 24 chocolate kiss candies (unwrapped)
- 1 cup chocolate frosting or melted chocolate
- Colored sprinkles or decorating sugar (optional)
- Colored frosting or gel for decorating (optional)
How to Make Witch Hat Cookies
Step 1: Prep Your Cookie Base
Start by grabbing your fudge-striped cookies and flipping them stripe-side down on a flat surface or baking sheet. This way, the hat’s “brim” looks smooth and polished on the outside once assembled. Laying them all out ahead of time streamlines the decorating process, especially if you have little hands eager to help.
Step 2: Add the Magical Glue
Spoon or pipe a small dollop of chocolate frosting or melted chocolate right in the center of each cookie base. This chocolaty bed will help the chocolate kiss candy stick, so don’t skimp—but there’s no need to go overboard either. Just enough to anchor the kiss is perfect.
Step 3: Place the Chocolate Kiss
Press a chocolate kiss candy firmly into the dollop of frosting on each cookie. Gently wiggle to secure—it should stand up tall, creating that classic pointed “witch hat” look. This is when the tray of cookies officially begins to look like a coven of magical hats!
Step 4: Decorate Your Witch Hat Cookies
This is where your inner artist comes out! If you want, use colored frosting, gel, or piping to add a hatband around the base of each kiss. Add sprinkles, colored sugar, or mini candies to bring even more flair. Try orange or purple for the ultimate Halloween vibe, or let kids customize their own with wild, bright colors.
Step 5: Let Set and Enjoy
Allow the frosting or chocolate to set so each Witch Hat Cookie holds together nicely. If you’re in a hurry, pop the tray into the fridge for a few minutes to help things firm up faster. Once they’re set, they’re ready to eat, display, or package up as the cutest Halloween treat!
How to Serve Witch Hat Cookies
Garnishes
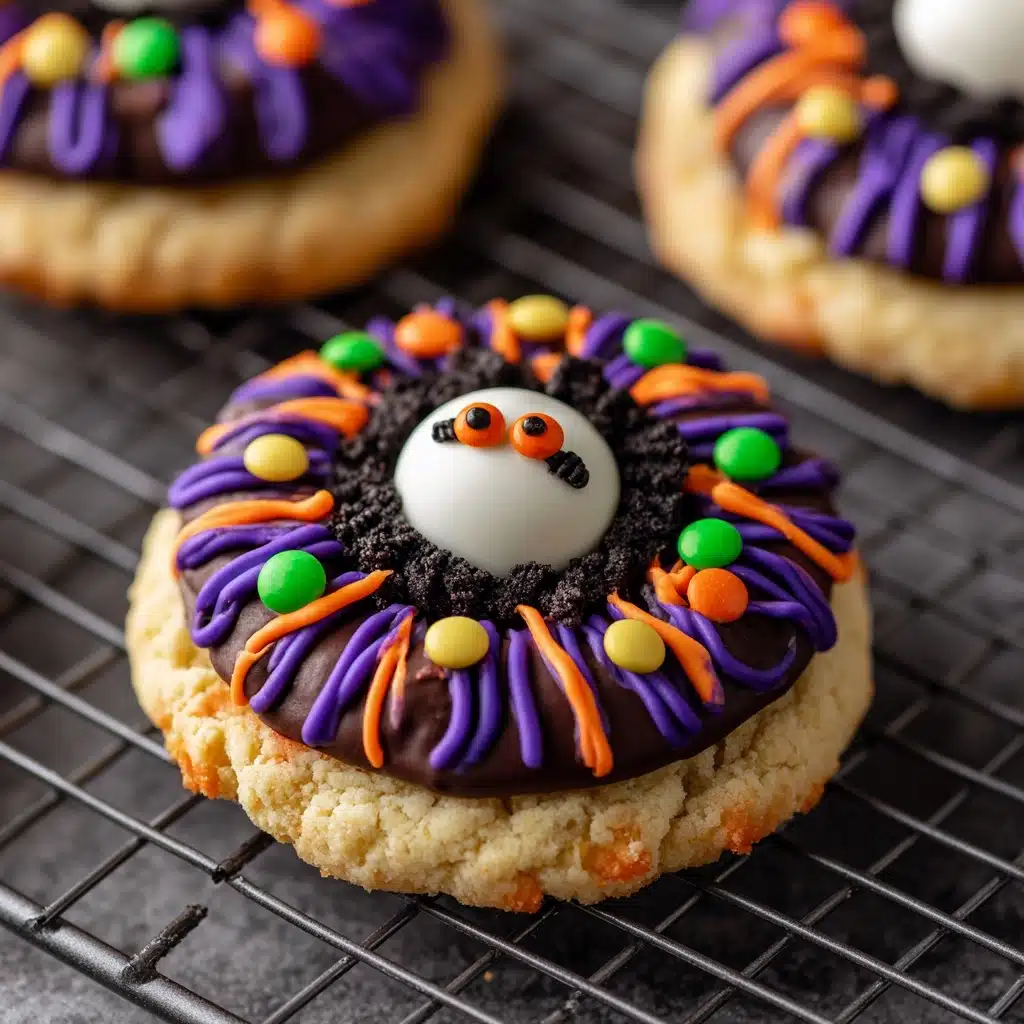
Garnishing Witch Hat Cookies is a breeze and such a fun way to make each cookie unique! Try piping on colored icing for a two-tone hatband, or adding a dusting of sparkling sugar for extra magic. Edible glitter, mini candy pearls, or festive Halloween-themed sprinkles can really steal the show!
Side Dishes
Witch Hat Cookies pair perfectly with mugs of hot chocolate, cider, or even a platter of assorted fall fruits like apple slices and grapes. For a hauntingly good dessert board, arrange them beside pumpkin cupcakes or caramel popcorn for a spread no one can resist.
Creative Ways to Present
For party thrills, serve your Witch Hat Cookies on a cauldron-shaped platter or on a bed of crushed chocolate cookies (it’ll look like they’re sitting in a patch of magical soil!). Or, package them in clear treat bags with colorful ribbons for adorable Halloween party favors and classroom handouts.
Make Ahead and Storage
Storing Leftovers
To keep Witch Hat Cookies fresh and tasty, store them in an airtight container at room temperature for up to a week. Separate layers with parchment paper to avoid sticking, especially if you went heavy on the frosting or decorations.
Freezing
If you’d like to make Witch Hat Cookies in advance, they freeze beautifully! Arrange cookies in a single layer on a baking sheet, freeze until solid, then transfer to a freezer-safe container. They’ll keep for up to two months—just let them come back to room temperature before serving.
Reheating
Witch Hat Cookies are best enjoyed at room temperature, so there’s no need for reheating. If you’ve stored them in the fridge or freezer, let them rest out on the counter for about 20 minutes before serving to return to their best texture and flavor.
FAQs
Can I use homemade cookies instead of store-bought?
Absolutely! While store-bought fudge-striped cookies make Witch Hat Cookies super quick and easy, you can use homemade shortbread or sugar cookies cut into circles as the base for a personal touch.
What types of colored frosting or gel work best for decorating?
Any ready-to-use piping gel or frosting will work, but make sure it’s thick enough to hold its shape! Decorating gels, homemade royal icing, or even a simple buttercream tinted with food coloring will stick nicely and set up well.
Can these cookies be made ahead for a party?
Yes! One of the best things about Witch Hat Cookies is how well they hold up—assemble them a day or two in advance and store them in an airtight container until party time. They’re perfect for prepping before a holiday bash.
Are Witch Hat Cookies safe for nut allergies?
That depends on the brands you choose. Most fudge-striped cookies and chocolate kiss candies are nut-free, but always double-check the packaging and ingredients if you’re serving to guests with allergies, or opt for nut-free chocolate and cookies if needed.
How can I make this recipe even more kid-friendly?
Set up a decorating station with edible markers, colored gels, and a variety of sprinkles so little ones can design their own hats! Witch Hat Cookies are a fantastic, hands-on Halloween activity for classrooms or family gatherings.
Final Thoughts
There’s a reason Witch Hat Cookies have bewitched so many Halloween hearts—they’re just as fun to make as they are to eat! With just a few ingredients and a sprinkle of creativity, you get a festive treat perfect for parties, after-school snacks, or simply sharing some seasonal magic. Try making a batch and watch them disappear faster than you can say, “Double, double, toil and trouble!”
Print
Witch Hat Cookies Recipe
- Total Time: 15 minutes
- Yield: 24 cookies 1x
- Diet: Vegetarian
Description
These Witch Hat Cookies are a fun and festive Halloween treat that are easy to make and perfect for parties or just a spooky snack. Fudge-striped shortbread cookies topped with chocolate kisses create adorable little witch hats that are as tasty as they are cute.
Ingredients
Ingredients:
- 24 fudge-striped shortbread cookies
- 24 chocolate kiss candies (unwrapped)
- 1 cup chocolate frosting or melted chocolate
- Colored sprinkles or decorating sugar (optional)
- Colored frosting or gel for decorating (optional)
Instructions
- Place the fudge-striped cookies: Stripe-side down on a flat surface or baking sheet.
- Add frosting: Put a small dollop of chocolate frosting or melted chocolate in the center of each cookie.
- Attach the chocolate kiss: Press a chocolate kiss candy onto the frosting to form the pointed top of the witch hat.
- Decorate: Use colored frosting or gel to pipe a decorative band around the base of the kiss. Add sprinkles or colored sugar for extra flair.
- Set and serve: Allow the frosting to set before serving or packaging the cookies.
Notes
- For a Halloween party activity, let kids decorate their own hats using different colored frosting and candy accents.
- Use orange or purple icing for a festive look.
- Prep Time: 15 minutes
- Cook Time: 0 minutes
- Category: Dessert
- Method: No-Bake
- Cuisine: American
Nutrition
- Serving Size: 1 cookie
- Calories: 130
- Sugar: 10g
- Sodium: 60mg
- Fat: 7g
- Saturated Fat: 4g
- Unsaturated Fat: 2g
- Trans Fat: 0g
- Carbohydrates: 16g
- Fiber: 1g
- Protein: 1g
- Cholesterol: 5mg
