Sourdough Starter Recipe
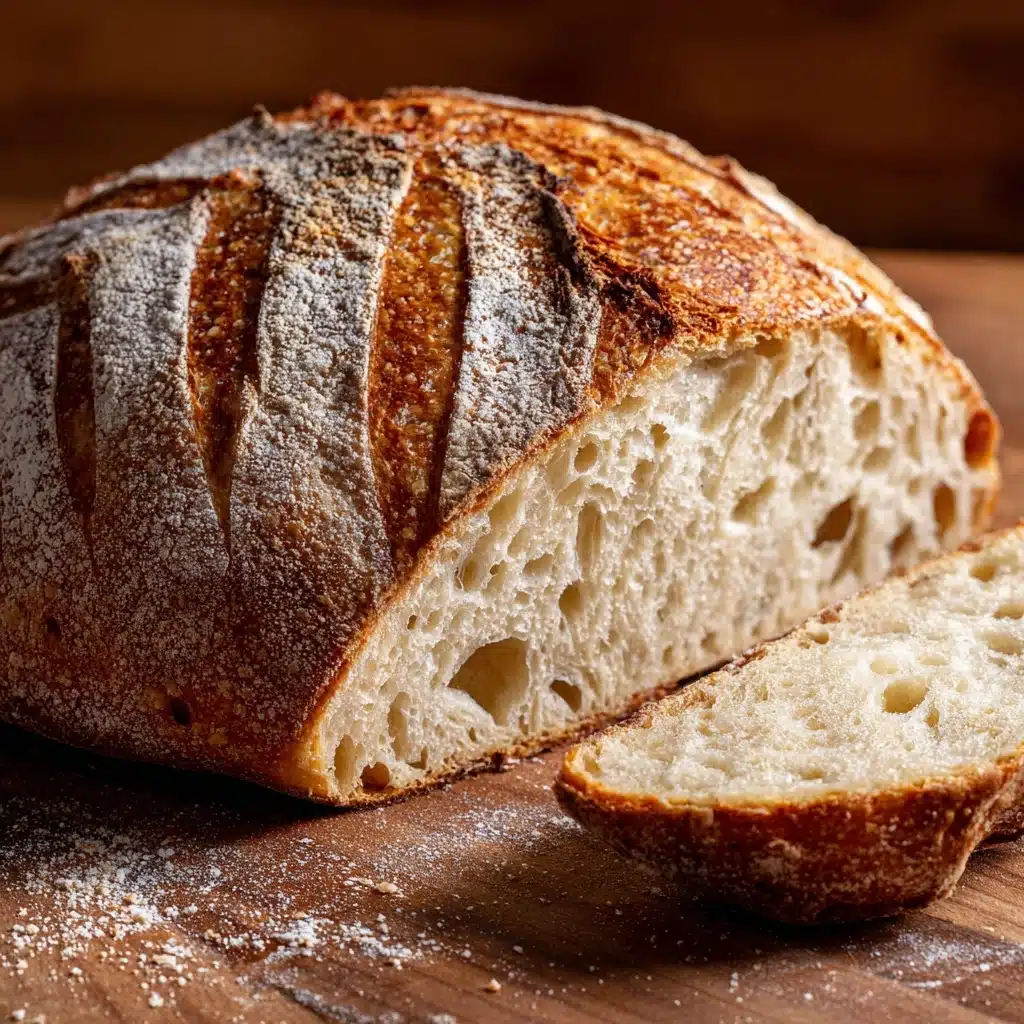
If you’ve ever marveled at a crusty, tangy loaf of bread and wondered how bakers get that signature flavor, the secret is almost always a lively sourdough starter. This simple mixture of flour and water transforms over time into a bubbling, living culture, bursting with wild yeasts and bacteria ready to give your homemade breads unmatched character and depth. Whether you’re looking to embark on your first sourdough adventure or want to refresh your bread-baking skills, creating your own sourdough starter is easy, rewarding, and endlessly fascinating!
Ingredients You’ll Need
-
Day 1:
- 1 cup (120g) all-purpose flour
- 1/2 cup (120ml) filtered water
Day 2:
- 1 cup all-purpose flour
- 1/2 cup filtered water
Day 3:
- 1 cup all-purpose flour
- 1/2 cup filtered water
Days 4–6:
- 1 cup all-purpose flour
- 1/2 cup filtered water
Day 7:
- 1 cup all-purpose flour
- 1/2 cup filtered water
How to Make Sourdough Starter
Step 1: Mix Your Starter
Grab a clean glass jar or container, and combine 1 cup (120g) of all-purpose flour with 1/2 cup (120ml) of filtered water. Stir until smooth and no dry spots remain. This part always feels a little magical—you’re setting up a home for wild yeast! Loosely cover with a lid or cloth, and let it hang out at room temperature (about 70°F or 21°C).
Step 2: Check and Feed (Day 2)
The next day, peek inside! Activity may be subtle, which is totally normal. If you spot bubbles or a hint of rise, celebrate—but don’t fret if there’s not much happening yet. Discard half the mixture (about 1/2 cup) and feed what remains with another 1 cup flour and 1/2 cup water. Stir, cover loosely again, and let it rest at room temp.
Step 3: Repeat the Process (Day 3)
By day three, things will usually get interesting. Look for more bubbles and a gentle tangy scent. As before, discard half, feed with fresh flour and water, stir, and cover. Don’t skip the discard step—it’s key to keeping your sourdough starter balanced and strong!
Step 4: Nurture and Observe (Days 4–6)
Every day for the next few days, repeat the routine—discard half, feed, stir, and cover. Each time, you’ll notice the starter becoming bubblier, a little fuller after feeding, and with a delightful sour aroma. If you want an extra boost, use whole wheat flour for one or two days; it introduces more wild yeasts!
Step 5: Ready Your Sourdough Starter (Day 7)
On day seven, your sourdough starter should be lively! Look for a double rise within 4 to 6 hours of feeding, plenty of bubbles, and a tangy, slightly yeasty fragrance that’s never unpleasant. The float test is your green light: drop a spoonful into a glass of water—if it floats, it’s alive and ready to bake with or refrigerate.
How to Serve Sourdough Starter

Garnishes
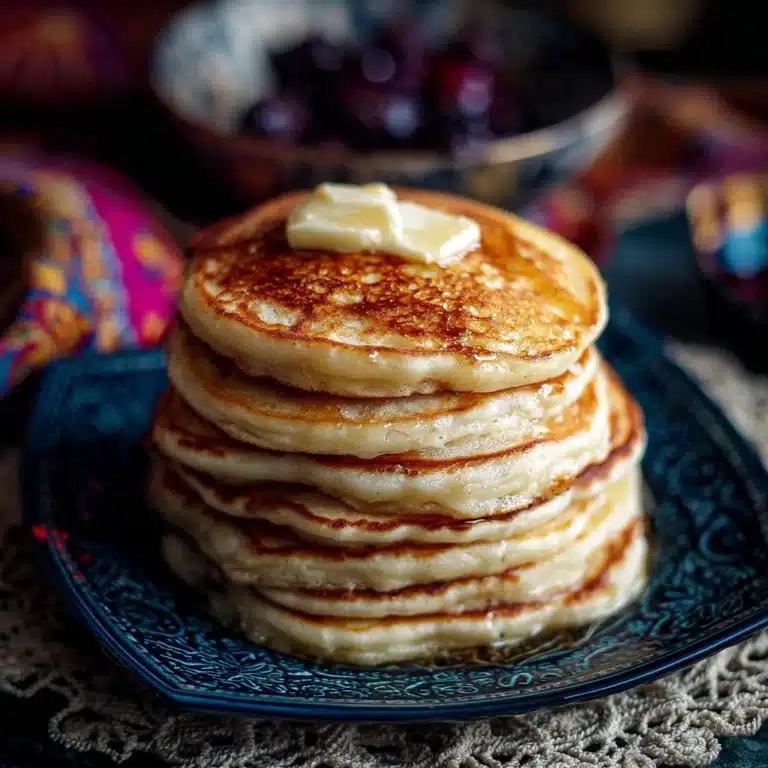
While sourdough starter itself isn’t a garnish, a spoonful of active starter is the perfect way to boost everything from artisan loaves to fluffy pancakes. If you’re experimenting, try stirring a pinch of rye flour or a drizzle of honey into your starter before baking for a subtle flavor twist!
Side Dishes
Sourdough recipes that rely on your homemade sourdough starter—like English muffins, crumpets, or waffles—pair beautifully with crisp salads, herby soups, or fresh fruit. The tang and gentle chewiness add such a distinctive note that even simple bread and butter can steal the show.
Creative Ways to Present
Display your bubbly sourdough starter in a clear glass jar on your countertop for a homey artisan touch. When baking for friends, label and share a little jar of your mature starter as a heartfelt, practical gift—they’ll love diving into the sourdough world themselves!
Make Ahead and Storage
Storing Leftovers
Once your sourdough starter is established, stash it in the fridge (with a loose lid to allow for airflow). Feed it weekly to keep it happy, then bring it to room temperature and feed it again before any baking session. You’ll never be far from a fresh batch of bread!
Freezing
For long-term breaks, you can freeze your sourdough starter. Spread a thin layer on parchment, let it dry fully, then store the flakes in an airtight container in the freezer. Rehydrate a piece with water and flour for an easy return to baking, no starter loss required.
Reheating
There’s no need to reheat sourdough starter, but to wake it up from the fridge, simply bring it to room temperature and feed as usual. After a feeding or two, it’ll spring back to bubbly life just in time for your next baking adventure.
FAQs
Why do I need to discard half my sourdough starter every day?
Discarding keeps your starter from growing endlessly while ensuring the wild yeast stays active and healthy. Without regular discards, your starter can become sluggish or develop off flavors.
Can I use whole wheat or rye flour for my sourdough starter?
Definitely! Whole wheat and rye are full of nutrients and wild yeasts, so they can help jumpstart the fermentation. You can start with them and transition to all-purpose flour as your starter develops.
What if my sourdough starter has a brown liquid on top?
This harmless liquid is called “hooch” and it means your starter is hungry. Simply pour it off or stir it back in before the next feeding—it’s perfectly normal.
How do I know when my sourdough starter is ready to bake with?
A mature starter will double in size within four to six hours of feeding, be filled with bubbles, and pass the float test (a scoop floats in water). It will have a pleasant, slightly sour aroma—never sharp or unpleasant.
Can I bake immediately after feeding my sourdough starter?
For best results, use your starter at its peak, which is usually 4 to 6 hours after feeding. That’s when the yeast is most active and ready to lift your dough!
Final Thoughts
Bringing a sourdough starter to life is such a fun and rewarding kitchen project, whether you’re new to baking or an old pro. Give it a try—after a week of tending and feeding, you’ll have a living ingredient that will make your breads and breakfasts unforgettable. Let your sourdough story begin!
Print
Sourdough Starter Recipe
- Total Time: 7 days (plus 10 minutes prep)
- Yield: About 1 1/2 cups starter 1x
- Diet: Vegan
Description
Learn how to make a homemade sourdough starter from scratch with just two simple ingredients: flour and water. This step-by-step guide will help you cultivate natural yeast for delicious sourdough bread.
Ingredients
Day 1:
- 1 cup (120g) all-purpose flour
- 1/2 cup (120ml) filtered water
Day 2:
- 1 cup all-purpose flour
- 1/2 cup filtered water
Day 3:
- 1 cup all-purpose flour
- 1/2 cup filtered water
Days 4–6:
- 1 cup all-purpose flour
- 1/2 cup filtered water
Day 7:
- 1 cup all-purpose flour
- 1/2 cup filtered water
Instructions
- Day 1: In a clean glass jar or container, mix 1 cup of flour with 1/2 cup of filtered water. Stir until smooth. Cover loosely and let sit at room temperature.
- Day 2: Discard half of the starter, then feed it with 1 cup flour and 1/2 cup water. Mix well and cover.
- Day 3: Repeat the discard and feeding process.
- Days 4–6: Continue the discard and feeding process daily.
- Day 7: Your starter is ready when it doubles in size, smells yeasty, and passes the float test.
Notes
- Use filtered or dechlorinated water for best results.
- Whole wheat flour can be used during the first few days to jumpstart fermentation.
- To maintain your starter, feed it weekly if refrigerated, or daily at room temperature.
- Prep Time: 10 minutes
- Cook Time: 0 minutes
- Category: Basics
- Method: Fermentation
- Cuisine: American
Nutrition
- Serving Size: 1 tablespoon
- Calories: 30
- Sugar: 0g
- Sodium: 0mg
- Fat: 0g
- Saturated Fat: 0g
- Unsaturated Fat: 0g
- Trans Fat: 0g
- Carbohydrates: 6g
- Fiber: 0g
- Protein: 1g
- Cholesterol: 0mg


