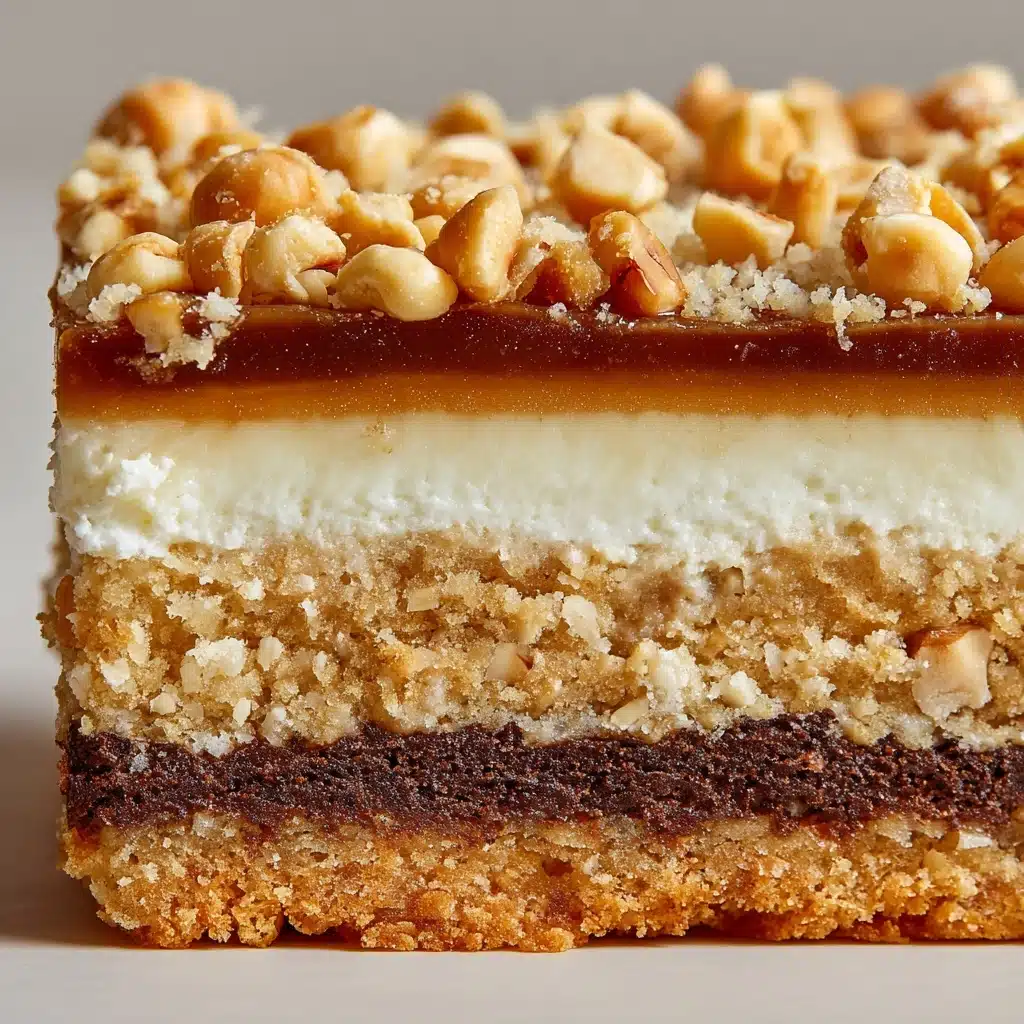
Peanut Butter Dream Bars Recipe
If you love the irresistible combination of creamy peanut butter, smooth chocolate, and a buttery graham cracker base, then Peanut Butter Dream Bars are about to become your new addiction. These decadent layered bars are a no-bake wonder, with every bite offering a dreamy blend of flavors and textures that make dessert time feel extra special. Whether you’re serving them for a family celebration, potluck, or a midnight treat, Peanut Butter Dream Bars always steal the spotlight—and usually disappear fast!
Ingredients You’ll Need
You don’t need anything fancy to whip up a batch of Peanut Butter Dream Bars, just a handful of trusty ingredients found in most kitchens. Each one brings its own magic—think creamy, crunchy, sweet, and rich—to build those unforgettable layers.
- Melted unsalted butter: Acts as the flavorful glue for your crust, giving it richness and holding the graham crumbs together.
- Graham cracker crumbs: They form the sturdy, classic base and add a lovely, toasty crunch.
- Creamy peanut butter: This is the starring flavor, so use your favorite for maximum taste and dreamy, smooth texture.
- Powdered sugar: Sweetens the peanut butter layer without making it gritty—perfect for that melt-in-your-mouth appeal.
- Softened cream cheese: Adds tang and silkiness to the peanut butter cream, balancing the sweetness.
- Whipped topping (like Cool Whip): Makes each layer light and fluffy, creating those beautiful, cloud-like bites.
- Instant chocolate pudding mix: This shortcut delivers luscious, deep chocolate flavor without any extra effort.
- Cold milk: Essential for thickening the pudding layer and blending it to the perfect consistency.
- Mini chocolate chips or chopped peanuts (optional): A sprinkle on top adds crunch, charm, and that signature finishing touch.
How to Make Peanut Butter Dream Bars
Step 1: Prepare the Graham Cracker Crust
Start things off by combining the melted butter with the graham cracker crumbs in a medium bowl. Stir everything together until those crumbs are all evenly coated and moist—it should resemble delicious, buttery sand. Press the mixture firmly into the bottom of a 9×9-inch baking dish, making sure to get it into all the corners for a solid base. If firmer crust is your goal, you can pop it in a preheated 350°F oven for about 8 minutes, then let it cool completely before moving on.
Step 2: Whip Up the Peanut Butter Cream Layer
Grab your largest mixing bowl and add the peanut butter, powdered sugar, and softened cream cheese. Beat them together until the texture turns irresistibly smooth and creamy—no lumps allowed! Fold in half of the whipped topping gently, just until you have a fluffy and light mixture. Carefully spread this luscious peanut butter dream over your cooled crust, making sure the whole layer is even and smooth.
Step 3: Make the Chocolate Pudding Layer
In a separate bowl, whisk together the instant chocolate pudding mix and cold milk for about 2 minutes. The pudding will thicken up quickly and deepen in color. Spoon and spread this glorious chocolate layer directly over the peanut butter one, using a spatula to smooth it out edge to edge. It’s all about building up those dreamy layers!
Step 4: Add the Whipped Topping and Finishing Touches
Finally, top everything with the rest of your whipped topping, spreading it evenly to finish with a fluffy layer that’s almost too pretty to cut. For a bit of crunch, scatter mini chocolate chips or chopped peanuts across the top. This not only adds texture but makes the bars look absolutely enticing.
Step 5: Chill and Slice
Pop the whole dish into the refrigerator for at least 4 hours to let all the layers set just right. When it’s time to eat, grab a sharp knife, slice into neat squares, and marvel at those beautiful layers before taking your first bite. Trust me—a chilled Peanut Butter Dream Bar is pure dessert bliss!
How to Serve Peanut Butter Dream Bars
Garnishes
A little garnish goes a long way with Peanut Butter Dream Bars. I love to shower the top with extra mini chocolate chips, chopped salted peanuts, or even delicate chocolate curls. A drizzle of melted peanut butter or a dash of flaky sea salt can take these over the top—each bite turns even more decadent and Instagram-worthy!
Side Dishes
Since these bars are so rich, they’re lovely with something cool and refreshing on the side. Consider a scoop of vanilla or coffee ice cream to mellow the intensity, or serve with a tall glass of cold milk or freshly brewed coffee. If you’re hosting a party, fresh strawberries or sliced bananas bring a pop of color and a little natural sweetness that balances the richness of the bars.
Creative Ways to Present
Don’t be afraid to let your creativity shine when presenting Peanut Butter Dream Bars. Serve them in cupcake liners for easy sharing at picnics, stack them on a platter for a beautiful dessert centerpiece, or cut them into bite-sized cubes as part of a dessert charcuterie board. You could even layer small squares in clear glasses with extra whipped topping for a fun, parfait-style spin. No matter how you plate them, expect smiles all around!
Make Ahead and Storage
Storing Leftovers
If you’re lucky enough to have leftover bars, simply cover the baking dish tightly with plastic wrap or transfer them to an airtight container. Store in the refrigerator, where they’ll stay fresh and delicious for up to 5 days. The layers hold up beautifully, so you can enjoy a chilled treat anytime those cravings hit.
Freezing
Peanut Butter Dream Bars freeze like a charm! Cut the chilled bars into individual portions, wrap each square in plastic wrap, then place them in a zip-top freezer bag or airtight container. They’ll keep well for up to 2 months. When ready to enjoy, thaw bars in the fridge overnight or for about an hour at room temperature for a cool, creamy dessert.
Reheating
These dreamy bars are meant to be enjoyed cold, so there’s no need to reheat them. If they’ve been in the freezer, a little time in the fridge will bring them back to that perfectly chilled, creamy texture. Trying to eat them straight from the freezer might make the texture a bit firm, but some people even love that frosty crunch!
FAQs
Can I use crunchy peanut butter instead of creamy?
Absolutely! If you’re looking for a bit of extra crunch and a rustic peanutty texture in your bars, crunchy peanut butter is a fun twist. Just keep in mind it might make spreading the mixture a little trickier, but the reward is delightful pockets of peanut crunch in every bite.
What can I use instead of graham cracker crumbs?
If you can’t get graham crackers, try vanilla wafer crumbs, shortbread cookies, or even chocolate cookie crumbs for a flavor twist. Each will change the base slightly, but they all make delicious alternatives for the Peanut Butter Dream Bars.
How far ahead can I make Peanut Butter Dream Bars?
These bars are a host’s dream because they actually get better as they chill! You can make them one or even two days in advance. Just keep them well-covered in the fridge to maintain their creamy, dreamy texture and fresh flavor.
Can I make this recipe gluten-free?
Definitely! Swap in gluten-free graham crackers or cookies for the base, and double-check that your pudding mix and other ingredients are certified gluten-free. That’s it; you’ll have gluten-free joys to share with everyone!
Do I have to use whipped topping or can I use homemade whipped cream?
Homemade whipped cream works beautifully if you prefer to skip store-bought whipped topping. Whip up 2 cups of heavy cream with a couple tablespoons of powdered sugar until it’s stiff, and use it just like you would the whipped topping in the recipe. The flavor is a touch richer and oh-so-lovely.
Final Thoughts
If you’re in the mood for a decadent, no-fuss treat that’s guaranteed to turn heads, don’t wait another minute to try Peanut Butter Dream Bars. Every bite is a little celebration of peanut butter and chocolate joy, layered up for maximum happiness. Trust me—these bars are just waiting to earn a permanent spot in your dessert rotation!
Print
Peanut Butter Dream Bars Recipe
- Total Time: 4 hours 20 minutes (including chilling time)
- Yield: 9 bars 1x
- Diet: Non-Vegetarian
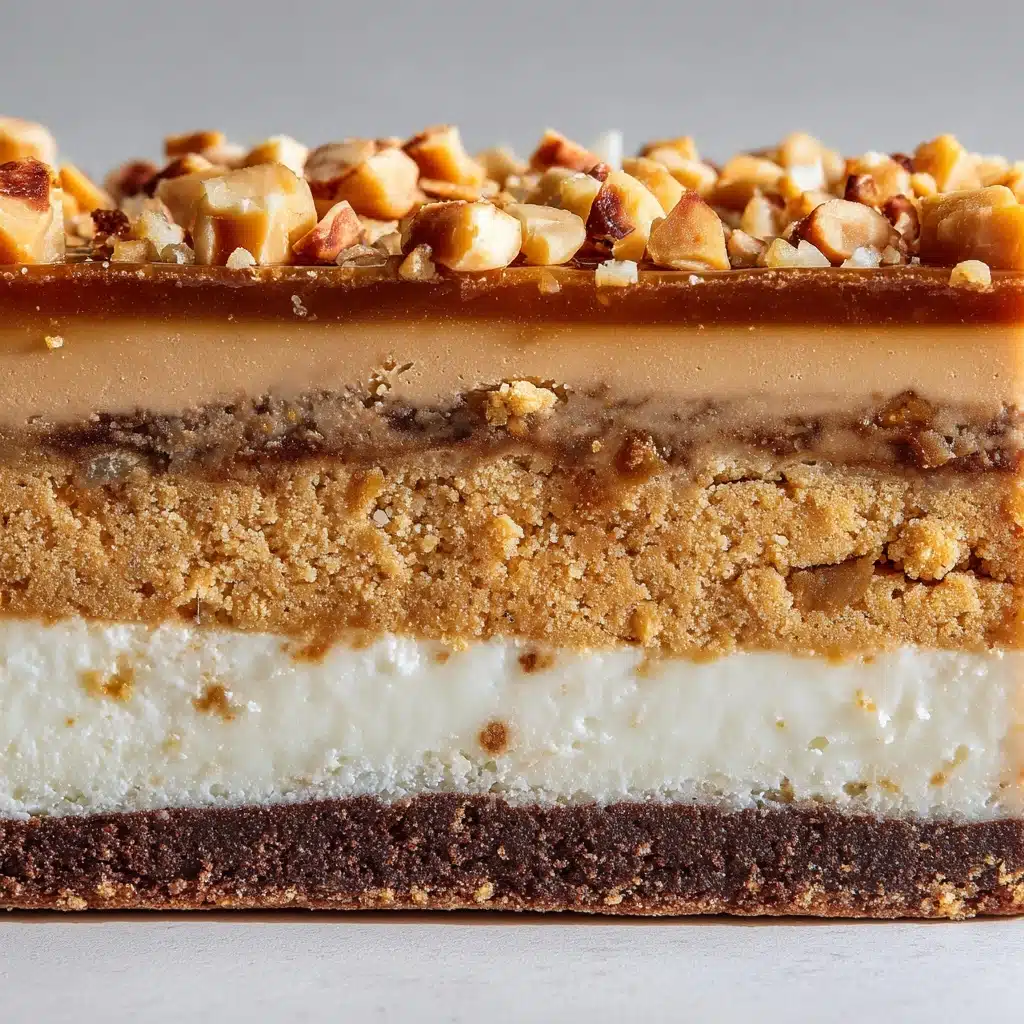
Description
Indulge in these decadent Peanut Butter Dream Bars, a delightful layered dessert featuring a buttery graham cracker crust, creamy peanut butter filling, rich chocolate pudding layer, and a fluffy whipped topping. Easy to make and perfect for any occasion!
Ingredients
For the Crust:
- 1/2 cup unsalted butter, melted
- 1 1/2 cups graham cracker crumbs
For the Peanut Butter Layer:
- 1 cup creamy peanut butter
- 1/2 cup powdered sugar
- 1 package (8 oz) cream cheese, softened
- 1 container (8 oz) whipped topping
For the Chocolate Pudding Layer:
- 1 package (3.9 oz) instant chocolate pudding mix
- 1 1/2 cups cold milk
- 1/2 cup mini chocolate chips or chopped peanuts (optional for topping)
Instructions
- Prepare the Crust: In a medium bowl, combine melted butter and graham cracker crumbs. Press firmly into a 9×9-inch baking dish.
- Make the Peanut Butter Layer: Beat peanut butter, powdered sugar, and cream cheese until smooth. Fold in half of the whipped topping and spread over the crust.
- Prepare the Chocolate Pudding Layer: Whisk pudding mix and cold milk until thickened. Spread over the peanut butter layer.
- Assemble: Top with remaining whipped topping and sprinkle with chocolate chips or peanuts.
- Chill: Refrigerate for at least 4 hours before slicing and serving.
Notes
- For a firmer crust, bake at 350°F for 8 minutes before adding layers.
- Bars can be made a day ahead and stored in the refrigerator.
- Prep Time: 20 minutes
- Cook Time: 0 minutes (optional baking for crust)
- Category: Dessert
- Method: No-Bake (or optional baked crust)
- Cuisine: American
Nutrition
- Serving Size: 1 bar
- Calories: 370
- Sugar: 22g
- Sodium: 280mg
- Fat: 24g
- Saturated Fat: 10g
- Unsaturated Fat: 12g
- Trans Fat: 0g
- Carbohydrates: 32g
- Fiber: 2g
- Protein: 7g
- Cholesterol: 25mg


