Orange Ice Cream Recipe
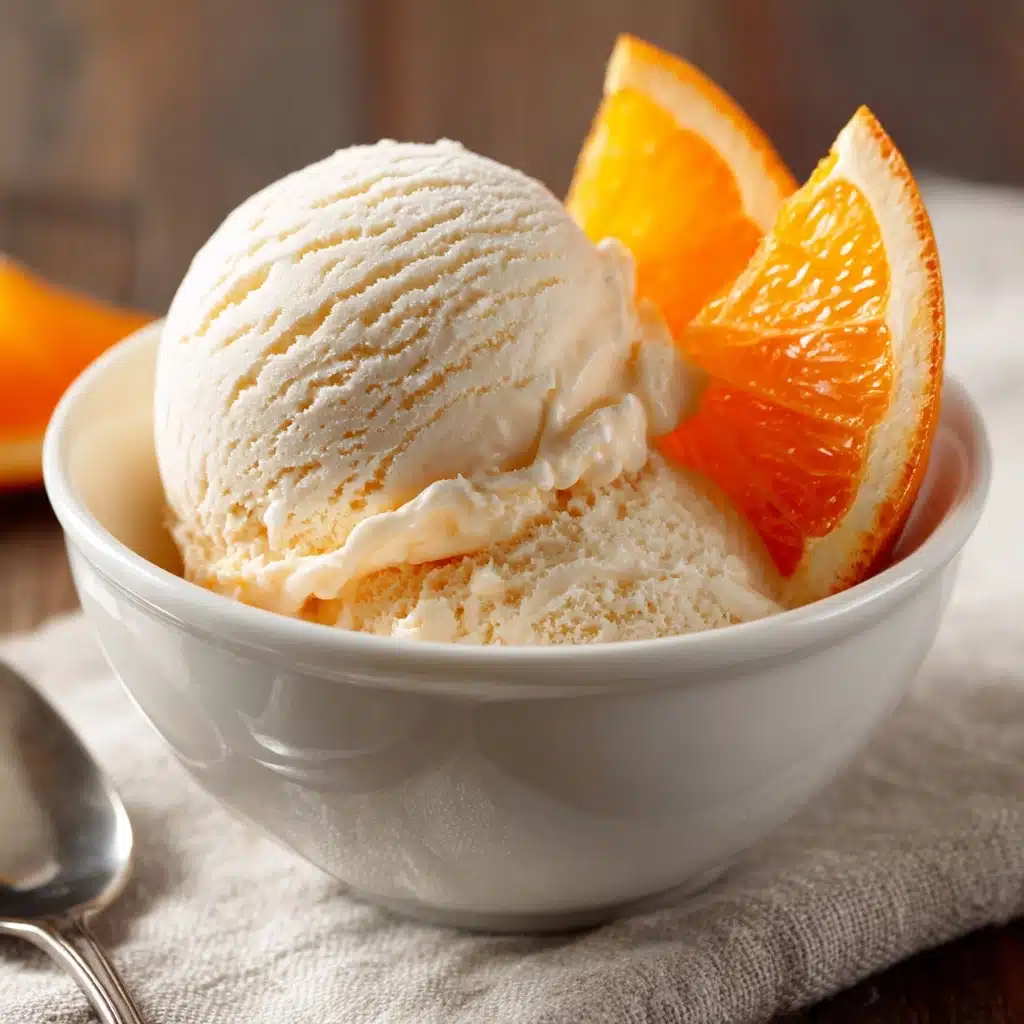
Let me tell you about the creamy, dreamy delight that is Orange Ice Cream. This refreshing treat brings together the best parts of summer: vibrant citrus flavor, luscious creaminess, and a pop of color that’s always a crowd-pleaser. Each scoop captures sunshine in a bowl, bursting with natural orange essence and an irresistible, smooth texture—perfect for a homemade dessert that never fails to delight both kids and adults alike.
Ingredients You’ll Need
Ingredients You’ll Need
You’ll be happy to see how simple, accessible ingredients can transform into a spoonful of happiness! Each one has a job to do—whether it’s boosting flavor, smoothing the texture, or adding that perfect orangey hue.
- Heavy cream: The dreamy base—provides richness and that velvety, scoopable texture we all crave in ice cream.
- Whole milk: Adds lighter creaminess for perfect balance without making the ice cream too dense.
- Granulated sugar: Sweetens every bite and helps prevent the mix from freezing rock-solid.
- Orange zest: Packs a mighty punch of citrus flavor—don’t skip this for maximum orange impact!
- Fresh orange juice: The heart of this recipe—go with freshly squeezed oranges for the brightest, truest taste.
- Vanilla extract: Rounds out the flavor profile, giving the finished dessert a gentle, bakery-style aroma.
- Pinch of salt: Enhances every other ingredient by making the sweetness and citrus sing.
- Orange food coloring (optional): A fun touch for a more vibrant orange look—totally optional, but great for visual appeal.
How to Make Orange Ice Cream
Step 1: Whisk Together the Ingredients
In a large mixing bowl, combine the heavy cream, whole milk, sugar, orange zest, fresh orange juice, vanilla extract, and a pinch of salt. Whisk enthusiastically until the sugar is fully dissolved. If you want that sunshine-orange color, now’s the moment for a few drops of orange food coloring—give it a stir and watch the mixture glow!
Step 2: Chill the Mixture
Cover your bowl and let it chill in the refrigerator for at least two hours. This helps everything meld together, giving you richer flavor and a smoother churn later on. Resist the urge to rush—great ice cream is all about patience!
Step 3: Churn Into Orange Ice Cream
After chilling, pour the orange-infused mixture into your ice cream maker. Churn following the manufacturer’s instructions, typically about 20 to 25 minutes, until you get a soft-serve consistency. The transformation at this stage is magic—the aroma alone is irresistible!
Step 4: Freeze Until Firm
Scoop the soft, churned Orange Ice Cream into a freezer-safe container and smooth the top evenly. Pop it into the freezer for at least four hours, letting it firm up to that classic ice cream scoop texture. The wait is absolutely worth it.
Step 5: Scoop and Savor
Grab your favorite ice cream scoop and dig in! Each serving should be cold, creamy, and bursting with bright, real citrus flavor—the perfect end to a sunny afternoon or a gorgeous finish to any meal.
How to Serve Orange Ice Cream
Garnishes
This Orange Ice Cream shines with simple yet elegant toppings. Think a sprinkle of fresh orange zest, a twist of candied peel, or a few fresh mint leaves for color and fragrance. Even a light dusting of crushed vanilla wafers or a drizzle of dark chocolate will turn every bowl into a mini celebration.
Side Dishes
Pair your ice cream with crunchy almond cookies, shortbread, or citrusy biscotti to amplify its sunny flair. This treat also plays beautifully alongside warm fruit cobblers or fresh slices of pound cake—especially at brunch or a summer gathering.
Creative Ways to Present
For ultimate wow-factor, serve scoops in hollowed-out orange halves or layer with whipped cream and berries in parfait glasses. Small mason jars or fancy martini glasses bring a touch of elegance. Alternatively, make Orange Ice Cream sandwiches with soft sugar cookies for a fun backyard treat.
Make Ahead and Storage
Storing Leftovers
Transfer any leftover Orange Ice Cream to an airtight container and return it to the freezer as soon as possible. A sheet of plastic wrap pressed directly onto the surface before sealing the lid helps prevent pesky ice crystals from forming, keeping your ice cream fresh for up to two weeks.
Freezing
Homemade ice cream often stays creamiest when kept at the back of the freezer, away from temperature swings at the door. Be sure to level off the top before freezing for easy scooping later. If you made extra, smaller containers are great for single servings too.
Reheating
There’s no reheating needed here—just let your frozen Orange Ice Cream sit at room temperature for 5 to 10 minutes until scoopable. This little rest keeps the texture perfect and the flavor at its brightest.
How to Serve

Serve this delicious recipe with your favorite sides.
FAQs
Can I make Orange Ice Cream without an ice cream maker?
Absolutely! Just pour your chilled mixture into a shallow dish and pop it into the freezer. Stir it vigorously every 30 to 45 minutes until it’s creamy and frozen—this breaks up ice crystals, mimicking churned ice cream.
What type Dessert
Fresh juice from sweet oranges like navel or Valencia gives classic citrus brightness. For a twist, blood oranges or mandarins bring unique color and tangy-sweet flavors—give them a try!
How do I prevent my ice cream from getting icy?
Make sure the sugar is fully dissolved before churning and always store in an airtight container. Covering the surface with plastic wrap helps, and don’t forget to use heavy cream for a rich, smooth result.
Can I make this recipe dairy-free?
Yes, you can swap in full-fat coconut milk and a dairy-free creamer for the cream and milk. The result will be slightly different, but still refreshingly citrusy and creamy.
How long will homemade Orange Ice Cream keep in the freezer?
If stored properly in an airtight container, you can enjoy it at peak quality for about two weeks. After that, it might begin to lose some of its creamy texture, but it still tastes great.
Final Thoughts
Few things compare to the bright, creamy, and simply nostalgic joys of homemade Orange Ice Cream. If you’re looking for a way to bring a burst of citrus sunshine to your dessert table, this recipe is absolutely worth trying—your taste buds will thank you, and your friends will beg for seconds!
Print
Orange Ice Cream Recipe
- Total Time: 4 hours 10 minutes
- Yield: 6 servings 1x
- Diet: Vegetarian, Gluten-Free
Description
Indulge in the refreshing and creamy delight of homemade Orange Ice Cream. This citrus-infused treat is perfect for cooling off on a hot day, with a burst of fresh orange flavor in every scoop.
Ingredients
Ingredients:
- 1 1/2 cups heavy cream
- 1 1/2 cups whole milk
- 3/4 cup granulated sugar
- 1 tablespoon orange zest
- 1 cup fresh orange juice (from about 3–4 oranges)
- 1 teaspoon vanilla extract
- pinch of salt
- optional: 1–2 drops orange food coloring for a vibrant hue
Instructions
- Prepare the Ice Cream Base: In a large mixing bowl, combine heavy cream, whole milk, sugar, orange zest, orange juice, vanilla extract, and salt. Whisk until sugar is dissolved.
- Chill the Mixture: Refrigerate for at least 2 hours until thoroughly chilled.
- Churn the Ice Cream: Transfer the mixture to an ice cream maker and churn for 20–25 minutes.
- Freeze the Ice Cream: Transfer churned ice cream to a container, freeze for at least 4 hours until firm.
- Serve: Scoop and enjoy the cold, creamy Orange Ice Cream.
Notes
- Use freshly squeezed orange juice for optimal flavor.
- Experiment with blood oranges or mandarins for unique variations.
- If no ice cream maker, freeze in a dish and stir periodically until frozen.
- Prep Time: 10 minutes
- Cook Time: 0 minutes
- Category: Dessert
- Method: Freezing
- Cuisine: American
Nutrition
- Serving Size: 1/2 cup
- Calories: 240
- Sugar: 22g
- Sodium: 40mg
- Fat: 15g
- Saturated Fat: 9g
- Unsaturated Fat: 5g
- Trans Fat: 0g
- Carbohydrates: 25g
- Fiber: 0g
- Protein: 2g
- Cholesterol: 55mg


