Milk Mochi Recipe
If you are craving a delightful, chewy treat that’s straightforward to whip up, this Milk Mochi Recipe is exactly what you need. This Japanese-inspired dessert blends the creamy richness of whole milk with the unique texture of glutinous rice flour, creating a satisfyingly soft and slightly sticky snack. With just a handful of simple ingredients and a microwave, you can enjoy these bite-sized gems that are perfect for any occasion, whether as a quick afternoon pick-me-up or a charming dessert to impress your friends.

Ingredients You’ll Need
Gathering the right ingredients is the first step toward making this chewy delight. Each component plays a crucial role: from the glutinous rice flour defining the classic mochi texture to the vanilla extract adding that lovely aromatic note.
- 1 cup glutinous rice flour (mochiko): The foundation for that perfect chewy mochi texture you love.
- 1 cup whole milk: Adds creamy richness and moisture to balance the flour.
- 1/4 cup granulated sugar: Sweetens the mochi just enough to complement the subtle flavors.
- 1/4 teaspoon vanilla extract: Infuses a gentle, fragrant warmth into the dessert.
- 1/8 teaspoon salt: Enhances all the flavors and balances the sweetness.
- Cornstarch or potato starch for dusting: Prevents sticking and makes handling the mochi much easier.
How to Make Milk Mochi Recipe
Step 1: Mix the Ingredients
Start by whisking together the glutinous rice flour, whole milk, sugar, vanilla extract, and salt in a microwave-safe bowl. Ensure the mixture is smooth without any lumps for the best texture in your final mochi.
Step 2: Microwave the Mixture
Cover the bowl loosely with a microwave-safe plate or wrap to allow steam to escape. Microwave on high for 2 minutes. This step begins to transform the liquid batter into a sticky, slightly translucent dough.
Step 3: Stir and Microwave Again
Using a wet spatula, give the mixture a good stir to redistribute the heat evenly. Microwave for another 1 to 2 minutes, stirring halfway through. You’ll notice the mochi thickening and taking on a glossy appearance—this is the magic happening.
Step 4: Cool and Prepare for Cutting
Let the mochi cool for a few minutes, making it easier to handle without losing that softness. Meanwhile, dust your workspace generously with cornstarch or potato starch to keep things from sticking.
Step 5: Shape and Cut
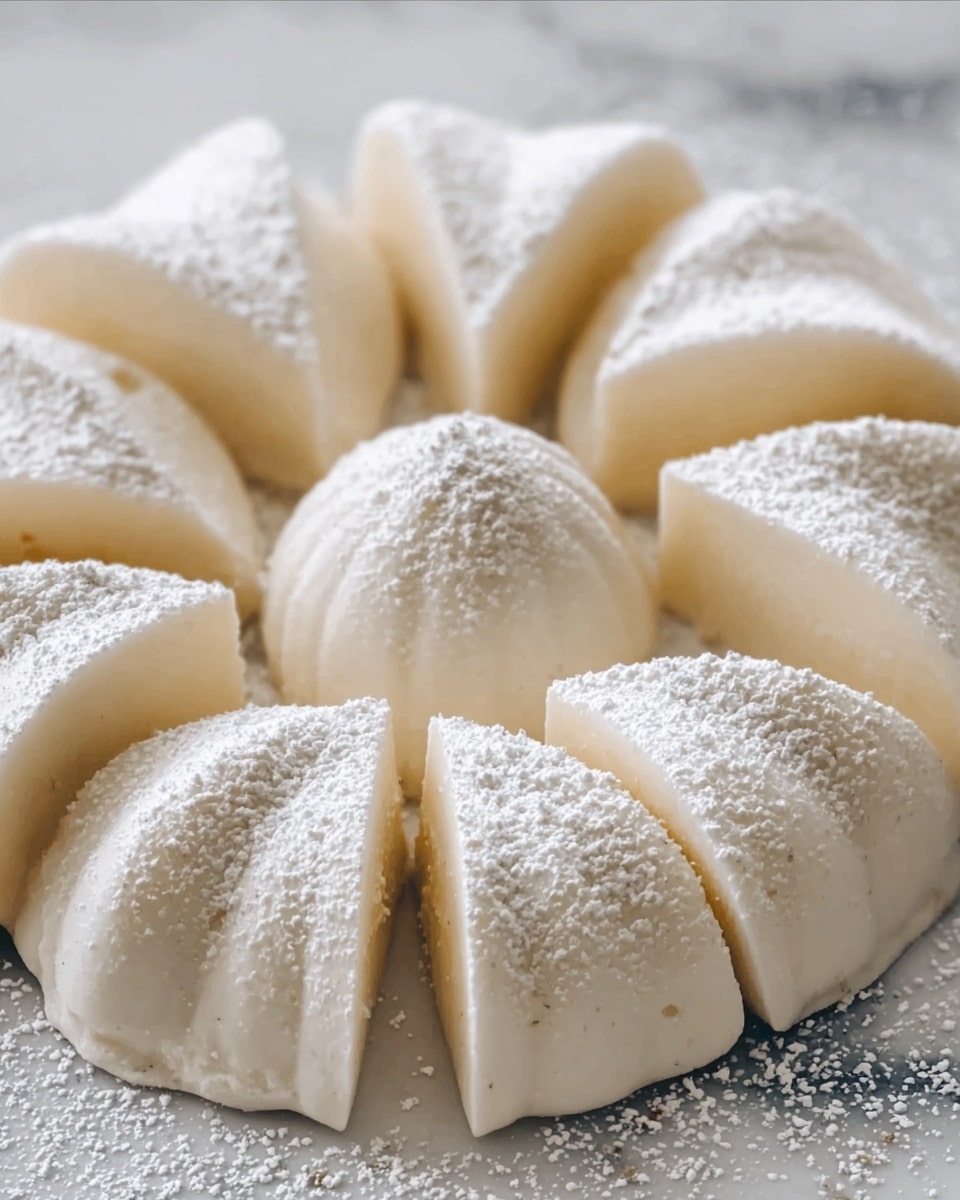
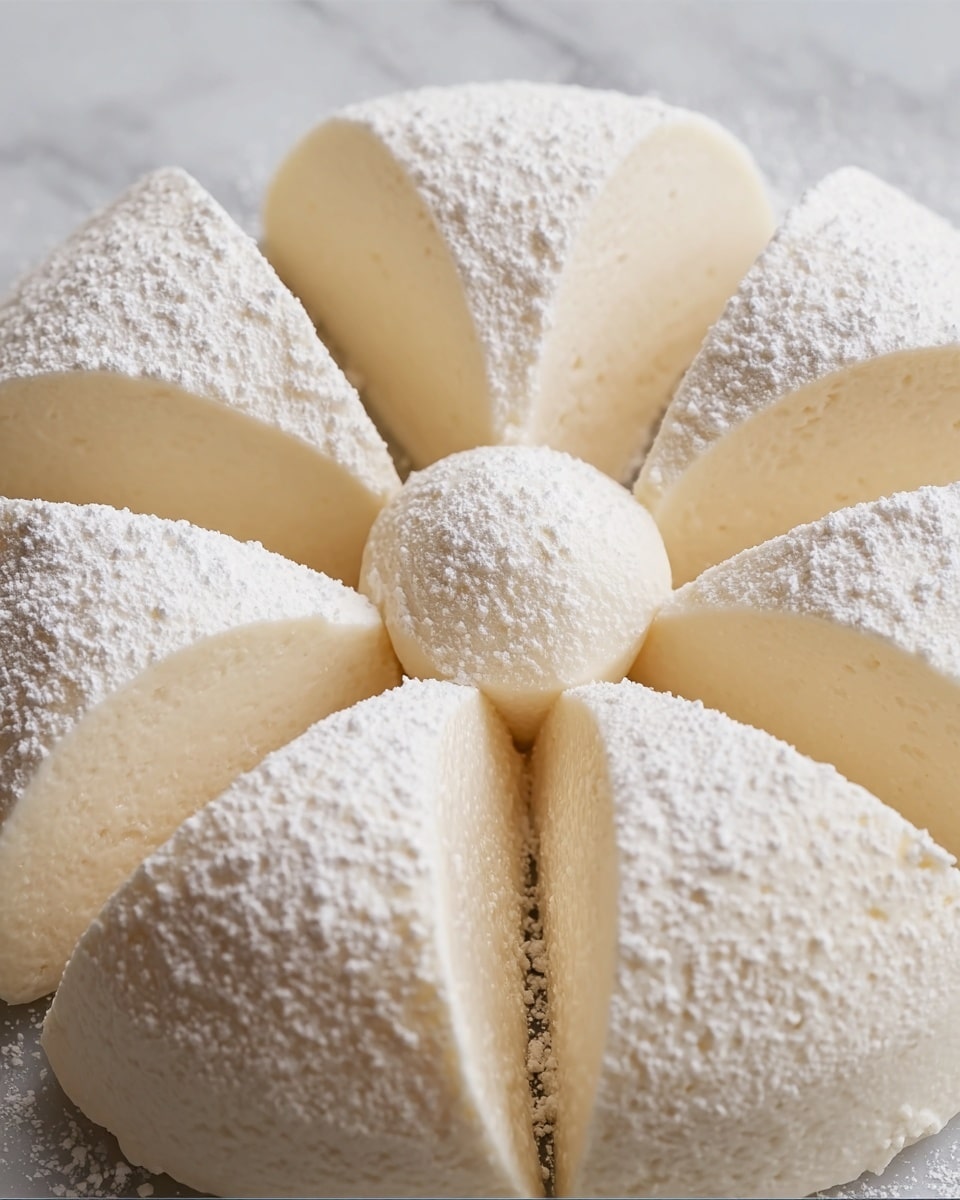
Transfer the mochi to the dusted surface, dust your hands and the top with more starch, and gently flatten the mochi. Cut it into small, bite-sized squares, making them perfect for sharing or enjoying as a nibble.
How to Serve Milk Mochi Recipe

Garnishes
Sprinkle a light dusting of toasted sesame seeds or crushed roasted peanuts on top to contrast the soft texture with a subtle crunch. You can also try dusting matcha powder for a vibrant hint of earthiness and a pop of color that brightens up the presentation.
Side Dishes
Milk mochi pairs beautifully with a cup of green tea or a rich black coffee, balancing the gentle sweetness with a warm, slightly bitter contrast. For a refreshing touch, serve alongside fresh fruit slices like mango or strawberries.
Creative Ways to Present
For a charming party dessert, serve your milk mochi pieces on pretty skewers or in mini cupcake liners dusted with colorful starch powders. You could even drizzle with a bit of condensed milk or sweetened coconut cream for an extra indulgence that brings out the dessert’s creamy nature.
Make Ahead and Storage
Storing Leftovers
After enjoying your fresh batch, store any leftover milk mochi in an airtight container at room temperature for up to one day. If you refrigerate it, expect the mochi to firm up, which is still tasty but changes the classic chewy texture.
Freezing
If you want to keep your milk mochi longer, freezing is an option. Wrap individual pieces tightly with plastic wrap and place them in a freezer-safe container. When you’re ready to eat, thaw at room temperature to restore the softness as much as possible.
Reheating
To bring back some of that fresh softness after storage, gently warm your mochi in the microwave for about 10 seconds. Be careful not to overheat, or the texture may become too sticky or tough.
FAQs
Can I use a stovetop instead of a microwave for this Milk Mochi Recipe?
Absolutely! You can cook the mixture over low heat in a saucepan, stirring continuously until it thickens and becomes glossy. This method takes a bit longer but offers great control over the texture.
What is the difference between glutinous rice flour and regular rice flour?
Glutinous rice flour, also known as mochiko, has a higher starch content that gives mochi its characteristic chewy, stretchy texture, whereas regular rice flour results in a more crumbly, less elastic product.
Can I make flavored milk mochi using this recipe?
Yes! You can infuse the milk with flavors like matcha powder, cocoa, or even fruit syrups before mixing. This adds a delightful twist and personalizes your Milk Mochi Recipe to your liking.
Is this Milk Mochi Recipe gluten-free?
Indeed it is! Glutinous rice flour contains no wheat gluten, making this dessert naturally gluten-free and suitable for those with dietary restrictions.
How long will milk mochi keep fresh after making?
It’s best enjoyed fresh the day you make it. Stored in an airtight container at room temperature, it lasts for up to one day, while refrigeration can extend this to about three days but will change the texture.
Final Thoughts
I’m so excited for you to try this Milk Mochi Recipe because it’s such a warm, inviting treat that’s quick to make but feels special every time. Whether you’re new to mochi or a longtime fan, this recipe’s creamy, chewy goodness will surely become a beloved favorite. Enjoy the process as much as the delicious results!
Print
Milk Mochi Recipe
- Total Time: 9 minutes
- Yield: 12 pieces 1x
- Diet: Vegetarian, Gluten Free
Description
Milk Mochi is a soft and chewy Japanese dessert made with glutinous rice flour and milk. This easy recipe uses a microwave to create a glossy, slightly translucent mochi with a subtle vanilla flavor. Served at room temperature or chilled, it offers a delightful texture and sweetness perfect for a quick treat or elegant dessert.
Ingredients
Milk Mochi Ingredients
- 1 cup glutinous rice flour (mochiko)
- 1 cup whole milk
- 1/4 cup granulated sugar
- 1/4 teaspoon vanilla extract
- 1/8 teaspoon salt
- Cornstarch or potato starch, for dusting
Instructions
- Mix Ingredients: In a microwave-safe bowl, whisk together the glutinous rice flour, whole milk, granulated sugar, vanilla extract, and salt until the mixture is smooth and fully combined, ensuring there are no lumps.
- First Microwave Heating: Cover the bowl loosely with a microwave-safe plate or wrap and microwave on high power for 2 minutes to start cooking the mochi mixture.
- Stir the Mixture: Carefully remove the bowl and stir the mixture with a wet spatula to help distribute heat evenly and break up any clumps.
- Second Microwave Heating: Return the bowl to the microwave and cook for an additional 1 to 2 minutes, stirring halfway through. Continue until the mochi becomes thick, glossy, and slightly translucent, indicating it is cooked through.
- Cool the Mochi: Allow the mochi to cool for a few minutes so it is easier to handle.
- Prepare Surface and Shape Mochi: Dust a clean surface with cornstarch or potato starch to prevent sticking. Transfer the mochi onto the surface, dusting your hands and the top of the mochi with more starch. Flatten the mochi slightly and cut it into small bite-sized pieces.
- Serve: Serve the milk mochi at room temperature or chilled, depending on your preference.
Notes
- For a flavored variation, infuse the milk with matcha powder, cocoa powder, or flavored syrups before mixing.
- Store finished mochi in an airtight container at room temperature for up to 1 day.
- Refrigerate mochi for up to 3 days; note that the texture will firm up when chilled.
- Use potato starch alternatively to cornstarch to avoid cross-contamination for gluten-sensitive individuals.
- Prep Time: 5 minutes
- Cook Time: 4 minutes
- Category: Dessert
- Method: Microwave
- Cuisine: Japanese


