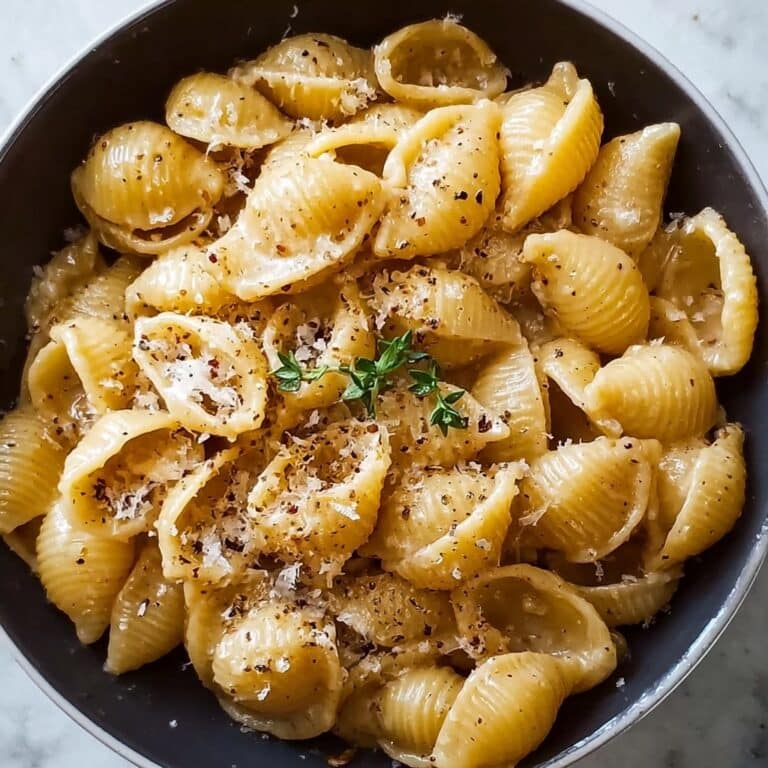
Korean Cheese Corn Recipe
If you’re on the hunt for a warm, comforting snack that brings the perfect balance of sweet and savory, the Korean Cheese Corn Recipe is exactly what your taste buds need. This delightful dish combines tender sweet corn with gooey, melted mozzarella and the distinctive creaminess of Kewpie mayonnaise to create a cheesy, golden-bubbly treat that’s as irresistible as it is simple. Whether you’re craving something quick after work or looking to impress friends with a trendy Korean-inspired dish, this recipe is sure to become a favorite in your culinary repertoire.

Ingredients You’ll Need
With just a handful of ingredients, you can whip up this comforting Korean Cheese Corn Recipe that’s bursting with flavor and creamy textures. Each ingredient plays a crucial role in creating a dish that’s both indulgent and perfectly balanced.
- Sweet corn (1 can, drained): The star of the dish, providing natural sweetness and a tender bite.
- Mozzarella cheese (¾ cup shredded): Melts beautifully to create that irresistible cheesy layer, with extra for that golden topping.
- Kewpie mayonnaise (2 tablespoons): Adds a rich, creamy, and slightly tangy note unique to Korean version mayo, elevating the overall flavor.
- Granulated sugar (1 teaspoon): Enhances the sweetness of the corn and balances out the savory elements.
- Pinch of salt: Just enough to highlight all the flavors without overpowering the dish.
- Black pepper (to taste): Adds a subtle kick and complexity to the otherwise smooth and creamy mix.
How to Make Korean Cheese Corn Recipe
Step 1: Preheat Your Oven
Start by preheating your oven to 450°F (232°C). A hot oven ensures that the cheese melts evenly and forms that signature golden crust on top. Lightly grease a small cast iron skillet, around 5 to 6 inches in diameter, which is perfect for even heating and gives a beautiful rustic look to your dish.
Step 2: Mix the Ingredients
In a mixing bowl, combine the drained sweet corn, shredded mozzarella cheese, Kewpie mayonnaise, granulated sugar, a pinch of salt, and black pepper to taste. Stir everything together gently but thoroughly, so the corn kernels get evenly coated with the creamy and flavorful mayo-cheese blend. This mixture is the heart of the Korean Cheese Corn Recipe, delivering each mouthful with bursts of creamy, cheesy goodness.
Step 3: Transfer and Garnish
Pour the blended mixture into your prepared skillet, spreading it out evenly so it cooks uniformly. Don’t forget to sprinkle extra shredded mozzarella cheese on top—this layer is essential for that gorgeous, bubbling golden cheese crust that makes this snack so irresistible.
Step 4: Bake to Perfection
Place your skillet in the preheated oven and let it bake for about 10 minutes. The cheese should melt thoroughly and turn a beautiful golden brown. Keep an eye on it to ensure it doesn’t burn but develops that classic cheesy crown that invites you to dig in immediately.
Step 5: Cool and Serve
Once baked, allow the Korean Cheese Corn to cool briefly; this will help it set slightly and avoid any burns from the molten cheese. After just a few minutes, it’s ready to enjoy—oozing with cheesy sweetness that’s perfect for snacking or as a side dish.
How to Serve Korean Cheese Corn Recipe

Garnishes
While extra mozzarella cheese gives a lovely golden finish, you can also consider sprinkling some finely chopped green onions or a light dusting of paprika for a bit of color and a mild smoky touch. A drizzle of honey can introduce an exciting sweet contrast to the savory flavors too.
Side Dishes
Korean Cheese Corn pairs beautifully with almost everything, but it especially shines alongside Korean BBQ dishes, crispy fried chicken, or a fresh leafy salad to balance out the richness. It also makes an excellent snack on its own with a nice cup of chilled soju or iced tea.
Creative Ways to Present
If you want to impress your guests, serve the Korean Cheese Corn Recipe in individual mini cast iron skillets or charming ramekins. You could even turn it into a topping for baked potatoes or place it over crispy rice crackers for a crunchy twist. The possibilities to get creative with presentation are endless.
Make Ahead and Storage
Storing Leftovers
After enjoying your Korean Cheese Corn, store any leftovers in an airtight container in the refrigerator. It’s best consumed within 1 to 2 days for optimum freshness and texture, as the cheese tends to firm up after cooling.
Freezing
While freezing is possible, the texture of the corn and cheese may alter slightly upon thawing. If you must freeze, place the Korean Cheese Corn in a freezer-safe container and thaw overnight in the fridge before reheating.
Reheating
To reheat, slow and gentle is the key. Warm it in a preheated oven at 350°F (175°C) for about 10 minutes until the cheese melty and the mixture is heated through. Microwave reheating is quicker but may lead to less even warmth and can alter the cheese’s texture.
FAQs
Can I use fresh corn instead of canned?
Absolutely! Fresh corn adds a lovely crunch and a bit more natural sweetness, but you’ll want to cook the kernels briefly before mixing to ensure tenderness and moisture balance.
What can I substitute for Kewpie mayonnaise?
If Kewpie isn’t available, a good-quality Japanese or regular mayonnaise will work; however, Kewpie’s unique umami flavor and creaminess slightly elevate the dish.
Is mozzarella the only cheese option?
Mozzarella is fantastic for melting, but feel free to mix in a mild cheddar or Monterey Jack for extra flavor complexity. Just keep the balance so the cheese doesn’t overpower the sweet corn.
How spicy is Korean Cheese Corn?
This recipe is mild by default, but you can easily add a pinch of red chili flakes or a drizzle of sriracha if you like a little heat to contrast the sweetness and creaminess.
Can this be made vegan?
While traditional Korean Cheese Corn relies on cheese and mayo, you can experiment with vegan cheese and plant-based mayonnaise to create a dairy-free version, though the texture and taste will be different.
Final Thoughts
Trust me when I say the Korean Cheese Corn Recipe is one of those wonderfully addictive dishes that’s simple, quick, and endlessly comforting. Perfect for a cozy night in or as a fun appetizer to share, this cheesy, creamy delight will surely make its way onto your repeat recipe list. Give it a go—you might just fall in love with this cheesy corn bliss!
Print
Korean Cheese Corn Recipe
- Total Time: 15 minutes
- Yield: 3 servings 1x
Description
Korean Cheese Corn is a delicious and comforting appetizer featuring sweet corn mixed with creamy mozzarella cheese, Kewpie mayonnaise, and seasonings, baked to golden perfection. This easy-to-make dish boasts a rich, cheesy flavor balanced by a touch of sweetness and a hint of black pepper, perfect as a snack or side dish.
Ingredients
Ingredients
- 1 can (15.25 oz / 432 g) sweet corn, drained
- ¾ cup mozzarella cheese, shredded (plus extra for garnish)
- 2 tablespoons Kewpie mayonnaise
- 1 teaspoon granulated sugar
- Pinch of salt
- Black pepper to taste
Instructions
- Preheat the Oven: Preheat your oven to 450°F (232°C) and lightly grease a small cast iron skillet (5-6 inches) to prevent sticking and ensure even baking.
- Mix Ingredients: In a mixing bowl, combine the drained sweet corn, shredded mozzarella cheese, Kewpie mayonnaise, granulated sugar, a pinch of salt, and black pepper to taste. Stir thoroughly until all ingredients are well incorporated.
- Transfer and Garnish: Pour the combined mixture into the prepared skillet, spreading it evenly. Sprinkle extra shredded mozzarella cheese on top for a gooey, golden crust.
- Bake: Place the skillet in the preheated oven and bake for about 10 minutes, or until the cheese is fully melted and the top turns a golden brown color.
- Cool and Serve: Remove the skillet from the oven and allow the dish to cool briefly before serving to enjoy the melty, cheesy corn warm.
Notes
- You can substitute Kewpie mayonnaise with regular mayonnaise, though Kewpie adds a unique umami flavor.
- Use a cast iron skillet or any oven-safe small dish to bake the corn cheese mixture.
- For added texture, sprinkle some chopped green onions or a dash of chili flakes before baking.
- This dish is best served immediately while hot and cheesy.
- Prep Time: 5 minutes
- Cook Time: 10 minutes
- Category: Appetizer
- Method: Baking
- Cuisine: Korean

