Homemade Mint Chocolate Chip Ice Cream Recipe
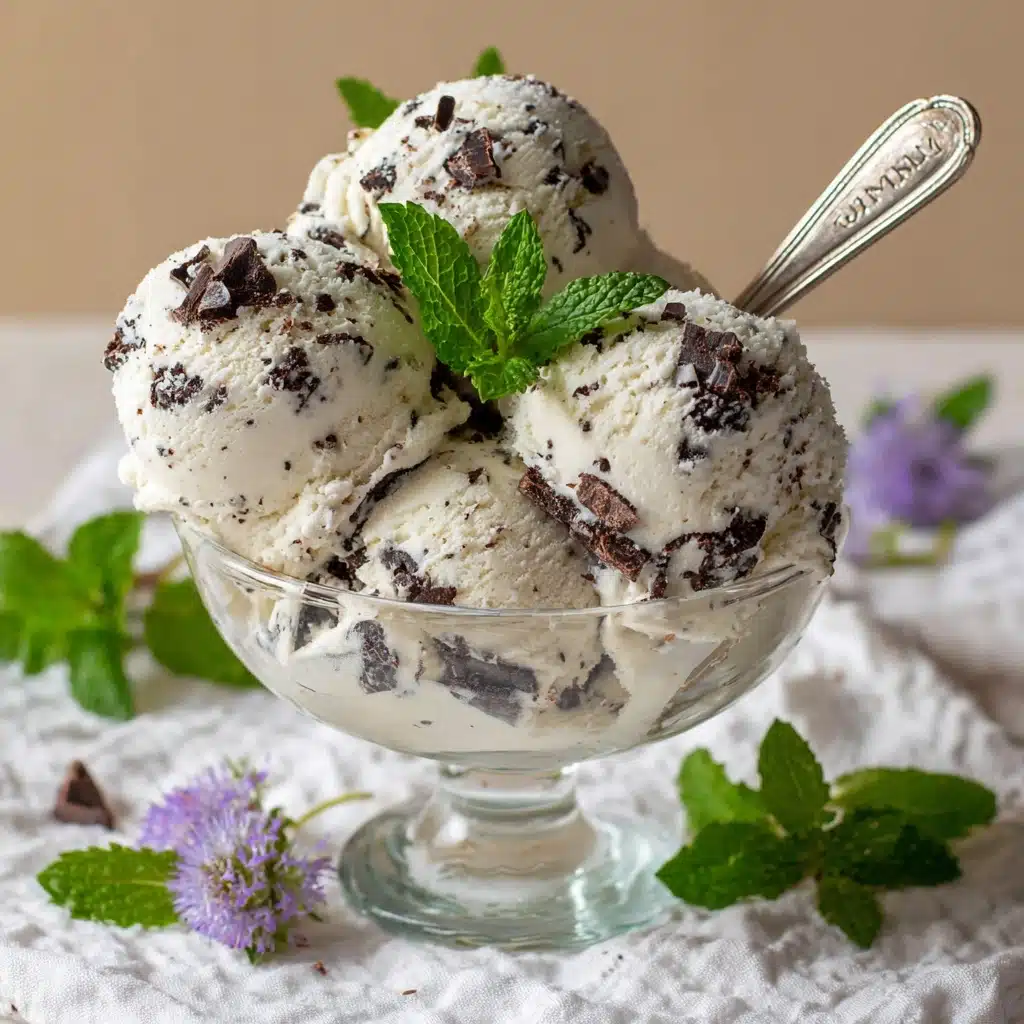
If you’re searching for a dessert that balances cool, creamy freshness with decadent chocolate, let me introduce you to my Homemade Mint Chocolate Chip Ice Cream Recipe. This beloved classic is a must for both ice cream lovers and mint enthusiasts, featuring a dreamy base infused with pure peppermint and dotted with rich chocolate chips. There’s something so satisfying about making this treat from scratch—you control the flavor, the texture, and even the vibrant color. One scoop, and you’ll understand why this is a staple in my kitchen all summer long!
Ingredients You’ll Need
The beauty of the Homemade Mint Chocolate Chip Ice Cream Recipe is in its simplicity. Each ingredient plays a starring role, building layers of flavor and creating that signature creamy, scoopable texture. Here’s what you’ll need and why each one matters:
- Heavy Cream: This is the secret to a luxuriously rich and smooth ice cream base—don’t skimp on fat for the best texture!
- Whole Milk: Balances out the richness while keeping the ice cream light enough to scoop easily.
- Granulated Sugar: Sweetens the mixture and helps create a soft texture by lowering the freezing point.
- Pure Peppermint Extract: Brings that unmistakable minty freshness—start with the recommended amount and add more to taste if you love extra mint.
- Vanilla Extract: Rounds out the mint flavor, adding warmth and depth to the overall taste.
- Green Food Coloring (Optional): Gives your ice cream that classic minty hue—it’s totally up to you if you’d like to add it for a visual pop!
- Mini Chocolate Chips or Finely Chopped Semi-Sweet Chocolate: The star mix-in, providing irresistible texture and chocolatey bursts in every bite.
How to Make Homemade Mint Chocolate Chip Ice Cream Recipe
Step 1: Mix the Base
Start by grabbing a medium mixing bowl and whisking together the heavy cream, whole milk, sugar, peppermint extract, and vanilla extract. Whisk until the sugar is fully dissolved and the mixture feels smooth—this ensures your ice cream will have a consistent sweetness and creamy body. If you’re going for that iconic green color, add a few drops of food coloring now and whisk until evenly tinted.
Step 2: Chill the Mixture
Cover the bowl with plastic wrap and refrigerate your minty mixture for at least 2 hours, or until thoroughly chilled. This step is key: a cold base churns up fluffier, silkier ice cream and ensures everything freezes evenly. If you’re pressed for time, you can even prep this part the day before so it’s ready to go when you want to churn.
Step 3: Churn to Perfection
Pour the chilled mixture into your ice cream maker and churn according to the manufacturer’s instructions, which usually takes about 20 to 25 minutes. You’ll see the base transform from a liquid to a thick, creamy soft-serve consistency. This is when the magic happens—air gets whipped in, making your Homemade Mint Chocolate Chip Ice Cream Recipe irresistibly light and scoopable.
Step 4: Add Chocolate Chips
When the ice cream is nearly finished churning (about a minute before the end), sprinkle in your mini chocolate chips or finely chopped chocolate. Churn just long enough to evenly distribute the chocolate bits, so every scoop is packed with texture and flavor.
Step 5: Freeze Until Firm
Transfer your freshly churned ice cream to a lidded container, smoothing the top with a spatula. Pop it into the freezer for at least 4 hours, or until firm enough to scoop. This final freeze is what gives your ice cream that classic, scoop-shop texture—creamy, dense, and oh-so-refreshing.
How to Serve Homemade Mint Chocolate Chip Ice Cream Recipe
Garnishes
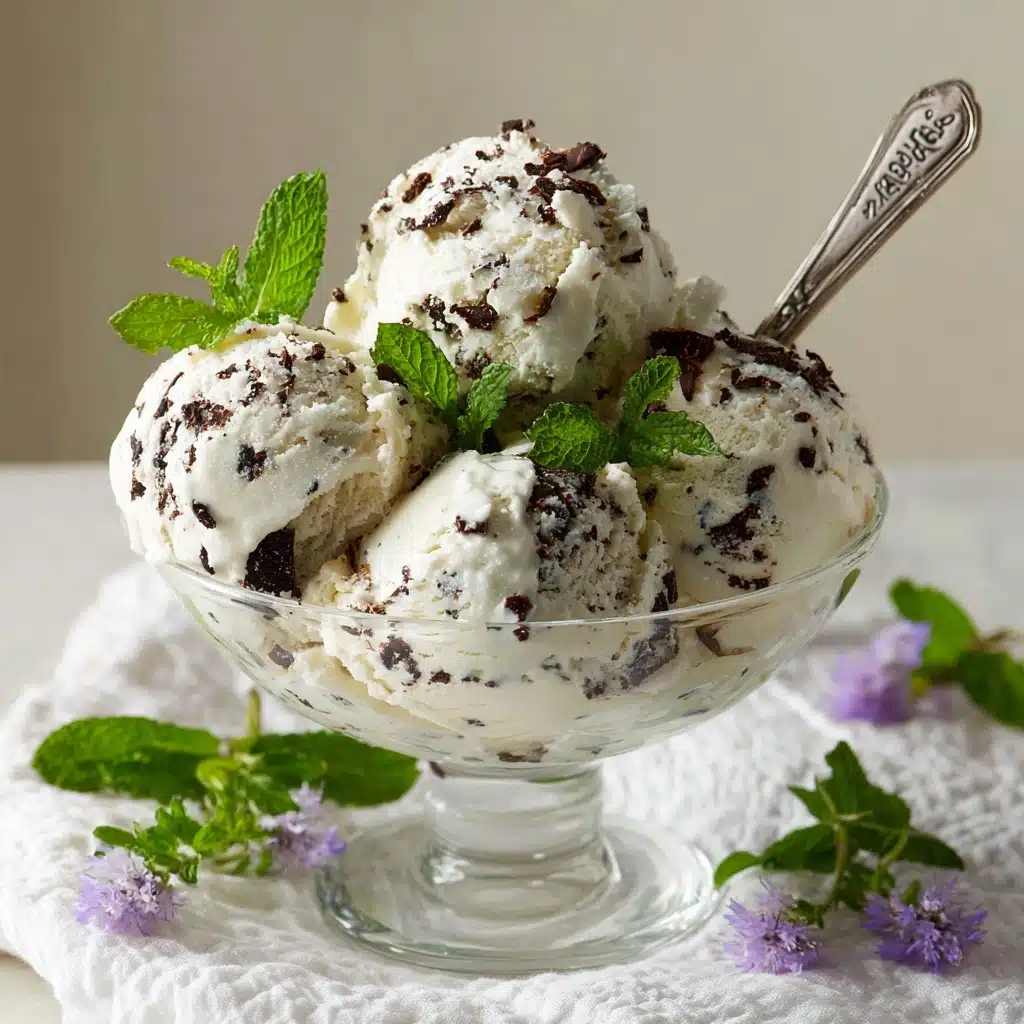
This ice cream is a showstopper on its own, but if you want to take things up a notch, top each scoop with fresh mint leaves, a drizzle of chocolate sauce, or even a few extra chocolate chips for dramatic flair. A light dusting of cocoa powder can also add a lovely contrast to the minty green.
Side Dishes
Pair your Homemade Mint Chocolate Chip Ice Cream Recipe with crisp chocolate wafer cookies, buttery shortbread, or a warm brownie for a decadent dessert experience. It’s also fantastic alongside fresh berries—the tartness balances the sweet, creamy flavors beautifully.
Creative Ways to Present
For a fun twist, serve scoops in edible chocolate cups or sandwich the ice cream between chocolate chip cookies for homemade ice cream sandwiches. Layer it in parfait glasses with whipped cream and extra chocolate shavings for an elegant dinner party dessert.
Make Ahead and Storage
Storing Leftovers
Keep any leftover ice cream in a tightly sealed, freezer-safe container. Press a piece of parchment paper or plastic wrap directly onto the surface before sealing to prevent ice crystals and freezer burn—this helps preserve that dreamy texture for days.
Freezing
This Homemade Mint Chocolate Chip Ice Cream Recipe will keep well in the freezer for up to two weeks. After that, while still safe to eat, it may start to lose its creamy consistency. For the best flavor and texture, enjoy it within the first week.
Reheating
Ice cream doesn’t need reheating, but if your batch is super firm straight from the freezer, just let it sit at room temperature for 5 to 10 minutes before scooping. This softens it up perfectly, making serving a breeze.
FAQs
Can I make this recipe without an ice cream maker?
Absolutely! Simply pour the chilled base into a shallow dish, freeze for 1 hour, then stir in the chocolate chips. Continue freezing, stirring every 30 minutes until set for a delicious no-churn version of the Homemade Mint Chocolate Chip Ice Cream Recipe.
What kind of chocolate works best?
Mini chocolate chips are classic, but you can use finely chopped semi-sweet or dark chocolate for a more decadent twist. Chopping your own chocolate creates tiny shards that melt into the ice cream, making every bite a treat.
How do I make the mint flavor stronger or milder?
For a bolder mint punch, add a touch more peppermint extract—just a few extra drops go a long way. If you prefer subtlety, stick with the recipe amount and let the chocolate shine alongside the mint.
Can I skip the food coloring?
Of course! The green color is purely for tradition and fun. If you love a more natural look, simply leave out the food coloring—the flavor will be just as wonderful.
Is this recipe gluten-free?
Yes, the Homemade Mint Chocolate Chip Ice Cream Recipe is naturally gluten-free as written. Just double-check your chocolate chips and extracts to ensure they’re certified gluten-free if needed.
Final Thoughts
If you’ve never tried making ice cream at home, this Homemade Mint Chocolate Chip Ice Cream Recipe is the perfect place to start. It’s easy, customizable, and so much more flavorful than anything store-bought. Give it a whirl—you’ll have a freezer full of smiles by the end of the day!
Print
Homemade Mint Chocolate Chip Ice Cream Recipe
- Total Time: 6 hours (including chill and freeze time)
- Yield: 8 servings 1x
- Diet: Vegetarian
Description
This Homemade Mint Chocolate Chip Ice Cream is a refreshing and creamy dessert perfect for any occasion. Made with rich heavy cream, whole milk, and a delightful peppermint flavor, it’s enhanced by mini chocolate chips for a classic mint chocolate taste. Easy to prepare with no cooking required, this recipe is ideal for a sweet summer treat or a cool dessert anytime.
Ingredients
Ice Cream Base
- 2 cups heavy cream
- 1 cup whole milk
- 3/4 cup granulated sugar
- 1 1/2 teaspoons pure peppermint extract
- 1/2 teaspoon vanilla extract
- A few drops green food coloring (optional)
Add-ins
- 3/4 cup mini chocolate chips or finely chopped semi-sweet chocolate
Instructions
- Mix Ingredients: In a medium mixing bowl, whisk together the heavy cream, whole milk, sugar, peppermint extract, and vanilla extract until the sugar is fully dissolved. Add a few drops of green food coloring if desired and mix until evenly tinted.
- Chill Mixture: Cover and refrigerate the mixture for at least 2 hours, or until thoroughly chilled to ensure a smooth texture when churned.
- Churn Ice Cream: Pour the chilled mixture into an ice cream maker and churn according to the manufacturer’s instructions, usually about 20–25 minutes.
- Add Chocolate Chips: When the ice cream is almost finished churning, add in the mini chocolate chips and churn for another minute to incorporate evenly throughout the ice cream.
- Freeze: Transfer the ice cream to a lidded container and freeze for at least 4 hours or until firm.
- Serve: Scoop the ice cream into bowls or cones and serve cold for a delicious homemade dessert.
Notes
- For a more intense mint flavor, increase peppermint extract slightly, but avoid overdoing it as it can quickly overpower the ice cream.
- If you don’t have an ice cream maker, pour the chilled mixture into a shallow dish, freeze for 1 hour, then stir in the chocolate chips and return to the freezer, stirring every 30 minutes until set for a similar texture.
- You can substitute semi-sweet chocolate with dark chocolate or milk chocolate chips based on your preference.
- Using green food coloring is optional and only for visual appeal; the flavor won’t be affected without it.
- Prep Time: 10 minutes
- Cook Time: 0 minutes
- Category: Dessert
- Method: No-Cook (Churned)
- Cuisine: American
Nutrition
- Serving Size: 1/2 cup
- Calories: 290
- Sugar: 23g
- Sodium: 40mg
- Fat: 20g
- Saturated Fat: 13g
- Unsaturated Fat: 5g
- Trans Fat: 0g
- Carbohydrates: 25g
- Fiber: 1g
- Protein: 3g
- Cholesterol: 70mg
