Gluten-Free Mini Cheesecakes Recipe
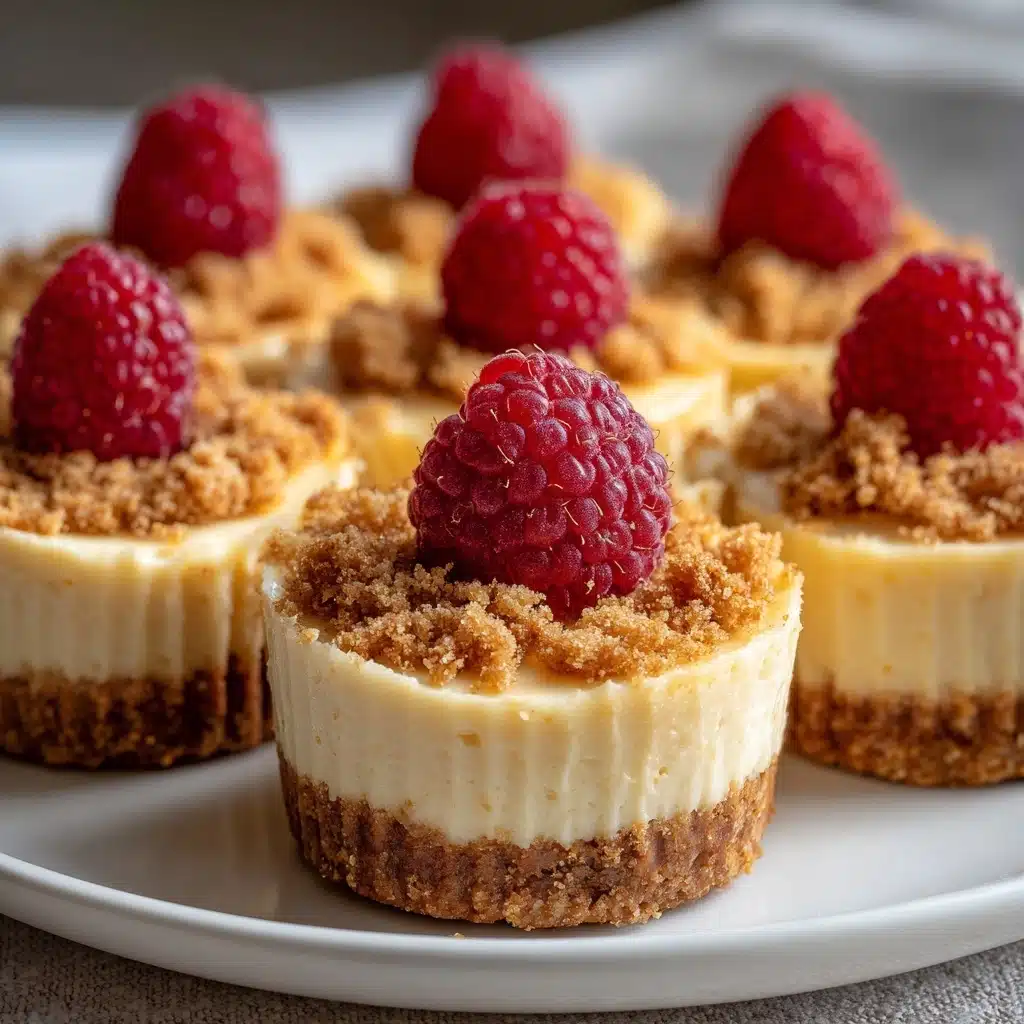
Gluten-Free Mini Cheesecakes are pure bite-sized bliss—creamy, rich, and crowned with your favorite fruit, they deliver the ultimate treat for anyone craving a classic New York–style cheesecake without the gluten. Their smooth, tangy filling on a buttery crumb crust is as dreamy as it sounds, and because they’re individually portioned, they’re perfect for sharing at parties or savoring solo. You won’t believe how simple they are to whip up, and the fact that you can make them ahead is just the cherry on top (literally, if you wish)!
Ingredients You’ll Need
You’ll be amazed at how just a handful of staples combine to create something this heavenly. Each ingredient brings its own magic to these cheesecakes, from the crumbly crust to the luscious filling. Here’s everything you need to make Gluten-Free Mini Cheesecakes that will disappear in a flash:
- Gluten-free graham cracker crumbs: These create the classic, crumbly base without the gluten—make sure they’re finely crushed for the best crust.
- Granulated sugar: Adds just the right amount of sweetness to both the crust and creamy filling.
- Unsalted butter, melted: Binds the crust and adds incredible richness—melt it fully for easy mixing.
- Cream cheese, softened: The heart of the cheesecakes! Let it soften at room temperature for ultra-smooth results.
- Eggs: Give the filling structure and that signature custardy bite—add them one at a time for the best texture.
- Vanilla extract: Rounds out the flavors and brings warmth to every bite.
- Sour cream: Lends creaminess and a subtle tang that makes each mini cheesecake sing.
- Fresh fruit or fruit preserves (for topping): The crowning touch—choose berries, stone fruit, or your favorite preserve for beautiful color and a burst of freshness.
How to Make Gluten-Free Mini Cheesecakes
Step 1: Prepare Your Muffin Tin
Start by preheating your oven to 325°F (160°C). Grab a standard 12-cup muffin tin and line each well with paper liners. This not only makes removing your Gluten-Free Mini Cheesecakes a breeze but also gives them a picture-perfect bakery look.
Step 2: Make the Gluten-Free Graham Cracker Crust
In a small bowl, mix your gluten-free graham cracker crumbs, 1/4 cup of sugar, and the melted butter. Keep mixing until everything looks like damp sand. Divide the mixture evenly among the muffin cups, pressing it down firmly with your fingertips (or the bottom of a small glass) to form a sturdy, level crust at the bottom of each liner.
Step 3: Mix the Cheesecake Filling
Place the softened cream cheese into a large mixing bowl and beat it until completely smooth and creamy—no lumps allowed! Add the remaining 2/3 cup sugar and beat until the mixture is light and fluffy. Next, beat in the eggs, one at a time, scraping down the sides after each addition. Finally, add the vanilla extract and sour cream, mixing just until combined to keep your filling silky and light.
Step 4: Fill and Bake
Spoon the cheesecake batter over the prepared crusts, filling each liner about 3/4 full. Gently smooth the tops with a spoon. Slide the muffin tin into the oven and bake for 18 to 20 minutes, just until the centers are barely set (they’ll still jiggle a bit). Don’t worry—resist the urge to overbake; the real magic happens as they cool.
Step 5: Cool, Chill, and Top
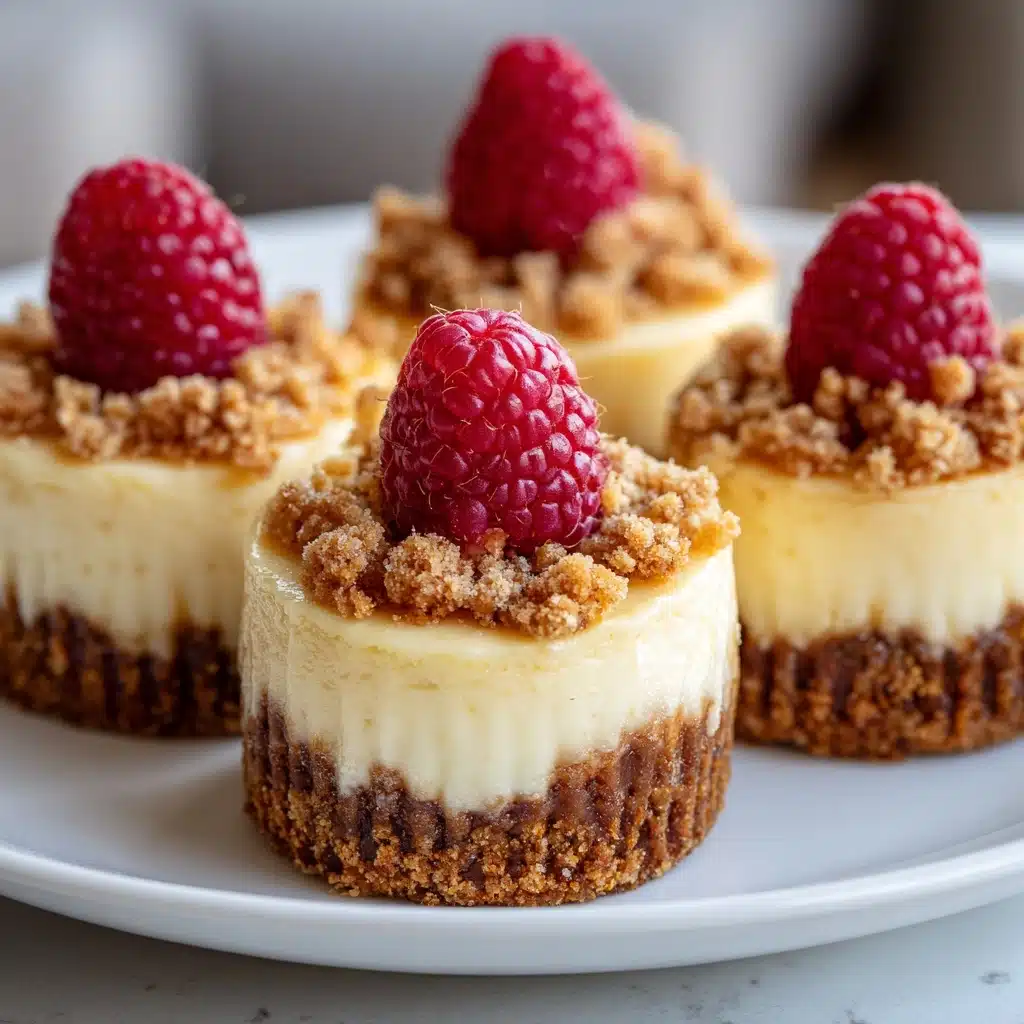
Let the mini cheesecakes cool completely in the pan—this helps them set without cracking. Once cool, move them to the fridge to chill for at least 2 hours. This firming-up time is key for that classic cheesecake texture. Before serving, crown each one with fresh fruit, a generous spoonful of fruit preserves, or a dollop of whipped cream.
How to Serve Gluten-Free Mini Cheesecakes
Garnishes
For an extra pop of color and flavor, top your cheesecakes with jewel-like berries—think blueberries, raspberries, or sliced strawberries. A swirl of fruit preserves or even a little citrus zest brings a fun, zippy finish. Don’t shy away from adding a touch of whipped cream or even a mint leaf if you want to make them feel extra-special.
Side Dishes
Gluten-Free Mini Cheesecakes shine on their own, but if you want to serve them as part of a spread, pair with a simple fruit salad, lemony sorbet, or a platter of chocolate-dipped strawberries. These side dishes add freshness and a touch of elegance to any dessert table.
Creative Ways to Present
Wow your guests by arranging the cheesecakes on a tiered cake stand or nestling them into colorful cupcake wrappers for parties. For a grab-and-go treat, try boxing them in small gift boxes. Want a group activity? Set up a mini cheesecake “bar” with toppings like chocolate chips, coconut flakes, and nuts for everyone to customize their own bite-sized creation.
Make Ahead and Storage
Storing Leftovers
Your Gluten-Free Mini Cheesecakes will keep beautifully in the refrigerator for up to four days. Store them in an airtight container so they stay fresh and creamy. Top with fruit or whipped cream right before serving for the best texture and taste.
Freezing
If you need to stash them away for a rainy day, wrap each mini cheesecake tightly in plastic wrap and place them in a zippered freezer bag or airtight container. They’ll stay tasting fantastic for up to two months. To thaw, just move them to the fridge overnight.
Reheating
These cheesecakes are meant to be enjoyed chilled, but if you prefer them closer to room temperature, simply leave them out for about 15 minutes before serving. No need for an oven or microwave—just a little patience to let them warm up naturally.
FAQs
Can I use a different gluten-free crust option?
Absolutely! If you’re not into graham crackers, gluten-free chocolate cookie crumbs make a decadent chocolatey base, or you could try crushed gluten-free vanilla wafers for a milder flavor.
Is there a dairy-free alternative for this recipe?
Yes, you can swap the cream cheese, sour cream, and butter with dairy-free or vegan alternatives. Just make sure you choose brands that are meant for baking for the best results and texture.
Do Gluten-Free Mini Cheesecakes need to bake in a water bath?
No water bath needed! Because these are mini-sized and baked in muffin tins, they set beautifully without any extra fuss.
Can I make them ahead for a party?
Definitely. Gluten-Free Mini Cheesecakes are a host’s dream since they can be made up to two days in advance. Keep them refrigerated and add toppings just before serving.
What’s the best way to remove the cheesecakes from the muffin tin?
As long as you use paper liners, they’ll pop out easily once chilled. If you go for silicone liners, simply peel them away gently after refrigerating the cheesecakes.
Final Thoughts
There’s something irresistible about Gluten-Free Mini Cheesecakes—the creamy filling, the buttery crust, and the playful toppings are guaranteed to bring a smile to anyone’s face. Whether you’re gluten-free by necessity or just for fun, these charming little treats deliver all the joys of cheesecake in the sweetest, simplest form. Give them a try, and get ready for dessert to disappear faster than you can say, “Who wants seconds?”
Print
Gluten-Free Mini Cheesecakes Recipe
- Total Time: 2 hours 35 minutes
- Yield: 12 mini cheesecakes 1x
- Diet: Non-Vegetarian
Description
Indulge in these delightful Gluten-Free Mini Cheesecakes, perfect for any occasion. Creamy and rich, these bite-sized treats are sure to impress with their buttery graham cracker crust and velvety smooth cream cheese filling. Top them with your favorite fruits or preserves for a burst of flavor.
Ingredients
For the Crust:
- 1 1/2 cups gluten-free graham cracker crumbs
- 1/4 cup granulated sugar
- 5 tablespoons unsalted butter, melted
For the Filling:
- 16 ounces cream cheese, softened
- 2/3 cup granulated sugar
- 2 large eggs
- 1 teaspoon vanilla extract
- 1/4 cup sour cream
For Topping:
- Fresh fruit or fruit preserves
Instructions
- Preheat and Prepare: Preheat oven to 325°F (160°C) and line a 12-cup muffin tin with paper liners.
- Make the Crust: In a small bowl, mix graham cracker crumbs, 1/4 cup sugar, and melted butter. Press mixture into muffin cups to form crusts.
- Prepare the Filling: In a large bowl, beat cream cheese until smooth. Add 2/3 cup sugar and mix until fluffy. Beat in eggs one at a time, then add vanilla extract and sour cream, mixing until combined.
- Fill and Bake: Spoon filling over crusts, filling each about 3/4 full. Bake for 18–20 minutes until set.
- Cool and Serve: Cool in the pan, then refrigerate for at least 2 hours. Top with fruit or whipped cream before serving.
Notes
- For a twist, use gluten-free chocolate cookie crumbs for the crust.
- Cheesecakes can be stored in the fridge for up to 4 days or frozen for longer shelf life.
- Prep Time: 15 minutes
- Cook Time: 20 minutes
- Category: Dessert
- Method: Baking
- Cuisine: American
Nutrition
- Serving Size: 1 mini cheesecake
- Calories: 220
- Sugar: 15 g
- Sodium: 160 mg
- Fat: 14 g
- Saturated Fat: 8 g
- Unsaturated Fat: 5 g
- Trans Fat: 0 g
- Carbohydrates: 19 g
- Fiber: 0 g
- Protein: 4 g
- Cholesterol: 55 mg


