Classic Peanut Butter and Jelly Sandwich Recipe
If you’ve ever craved a quick, satisfying snack that hits all the right notes in your mouth, you’re in for a treat with this Classic Peanut Butter and Jelly Sandwich Recipe. It’s the perfect combination of creamy, sweet, and slightly salty that brings back childhood memories while pleasing taste buds of all ages. Whether you want something nostalgic for lunch or a simple yet delicious bite anytime, this sandwich is an unbeatable classic that never goes out of style.

Ingredients You’ll Need
These ingredients are wonderfully simple but absolutely essential to achieving that perfect Classic Peanut Butter and Jelly Sandwich Recipe. Each one plays a starring role, from the softness of your favorite bread to the luscious texture of peanut butter and the fruity sweetness of jelly, creating harmonious layers of flavor.
- 2 slices of bread: Choose white, whole wheat, or any bread you love for the perfect base—soft and sturdy enough to hold everything together.
- 2 tablespoons creamy or crunchy peanut butter: Pick your favorite style; creamy gives smooth richness while crunchy adds delightful texture.
- 2 tablespoons jelly or jam: Strawberry, grape, or your preferred flavor adds sweet, fruity contrast that complements the peanut butter beautifully.
How to Make Classic Peanut Butter and Jelly Sandwich Recipe
Step 1: Prepare the Bread
Start by laying the two slices of bread flat on a clean cutting board. This simple step sets the stage for an even spread and helps you assemble the sandwich neatly without any mess. Using fresh bread makes all the difference in texture and mouthfeel.
Step 2: Spread the Peanut Butter
With a butter knife or spreader, evenly coat one slice of bread with your peanut butter. Don’t be shy here—2 tablespoons is just right to ensure every bite has that creamy or crunchy peanut flavor you crave. If you want less mess, spreading peanut butter first also helps keep the bread sturdy for the jelly.
Step 3: Add the Jelly or Jam
Next, spread 2 tablespoons of jelly or jam on the other slice of bread. The sweet fruitiness balances the peanut butter perfectly. Be gentle to avoid tearing the bread, especially if it’s soft or thin-sliced.
Step 4: Assemble the Sandwich
Now comes the best part: press the two slices together with the peanut butter and jelly sides facing each other. Light pressure helps the ingredients meld together, ensuring each bite offers a perfect mix of flavors and textures.
Step 5: Slice and Serve
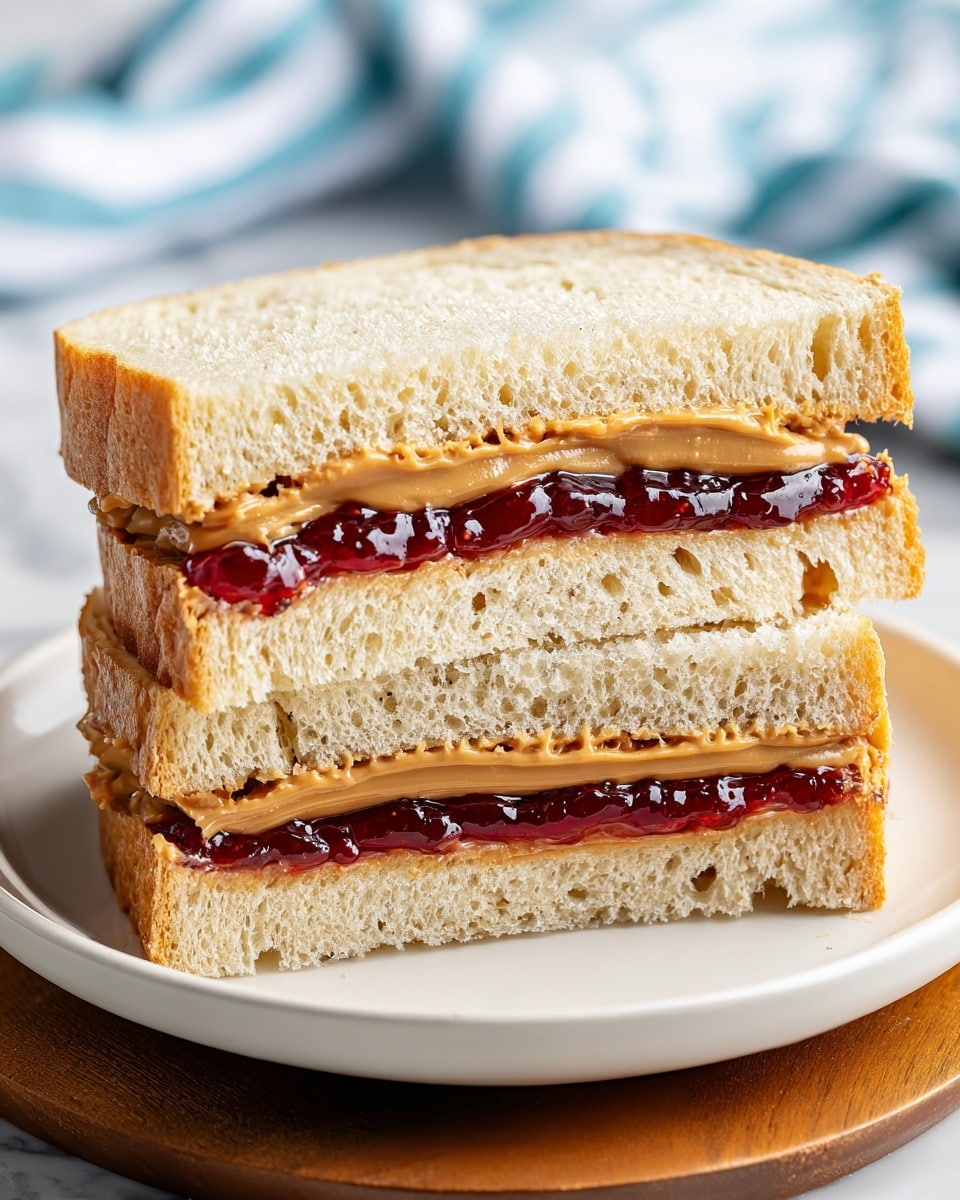
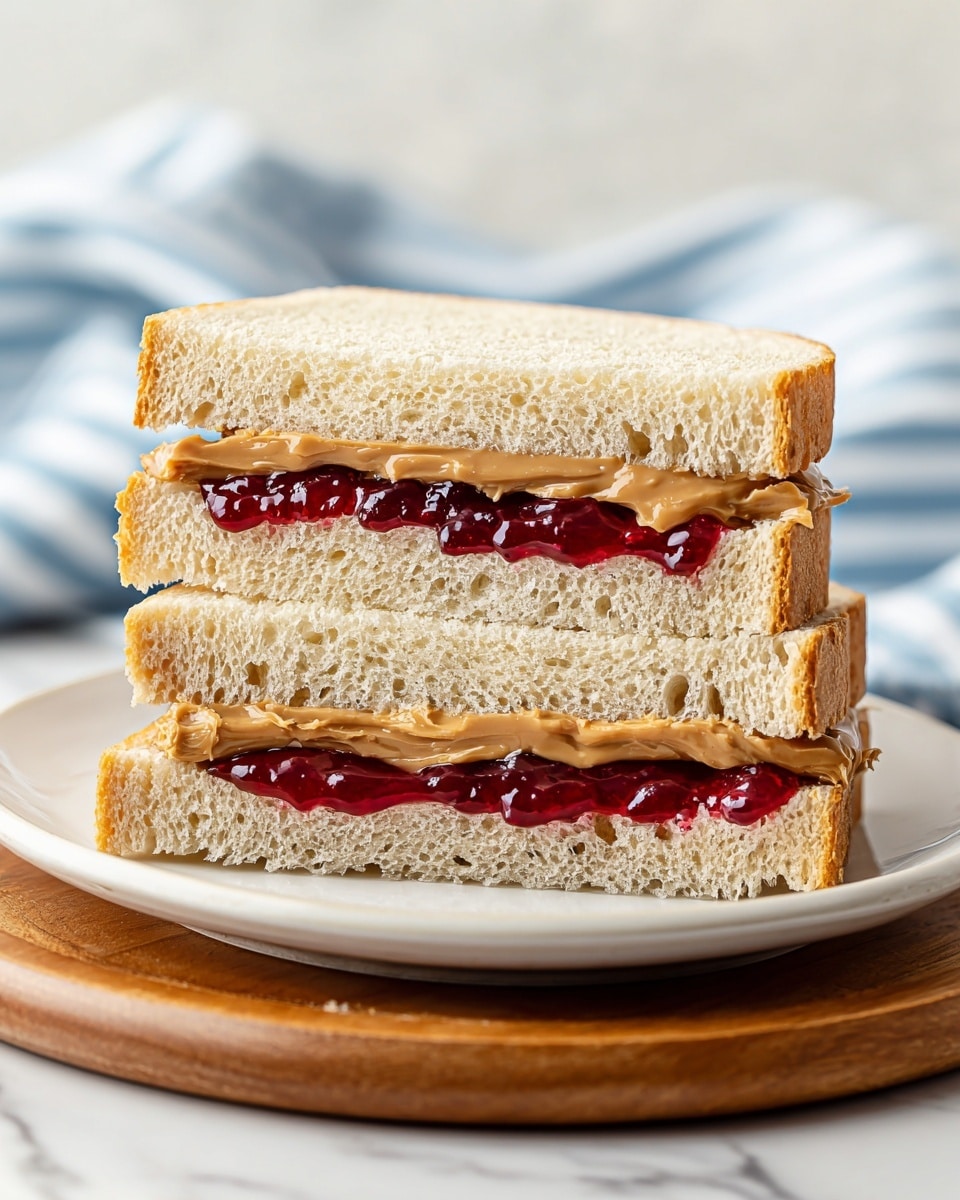
If you like, slice the sandwich in half diagonally or down the middle to make it easier to handle. Serving can be as simple as your favorite plate or wrapped for a take-along snack. This step finishes off your Classic Peanut Butter and Jelly Sandwich Recipe beautifully.
How to Serve Classic Peanut Butter and Jelly Sandwich Recipe

Garnishes
While the sandwich is delicious on its own, you can get creative with garnishes to add extra flair. A sprinkle of crushed peanuts around the plate or a few fresh berries on the side can elevate the visual appeal and complement the flavors without overpowering that classic taste.
Side Dishes
Pair your sandwich with simple side dishes like crunchy apple slices, a handful of baby carrots, or a small bowl of yogurt for a balanced snack or light meal. These sides add texture and nutrition while keeping the experience fresh and inviting.
Creative Ways to Present
For a fun twist on the Classic Peanut Butter and Jelly Sandwich Recipe, try using cookie cutters to shape the sandwich into hearts or stars—a hit with kids and adults alike. You can even toast the sandwich lightly for a warm, melty variation that offers a different but equally satisfying flavor profile.
Make Ahead and Storage
Storing Leftovers
If you have any leftovers, store the sandwich in an airtight container or wrap it tightly in plastic wrap to keep the bread from drying out. It’s best enjoyed within the same day for optimal freshness and texture, especially to avoid soggy bread from the jelly.
Freezing
You can freeze the sandwich by wrapping it individually in plastic wrap and then placing it in a freezer-safe bag. When it’s time to enjoy it, thaw at room temperature or in the refrigerator. Keep in mind that the bread texture might change slightly after freezing, but the flavors remain delightful.
Reheating
If you prefer a warm sandwich, lightly toast it in a skillet or toaster oven for a few minutes. Reheating brings out the rich aroma of peanut butter and softens the jelly, making each bite extra comforting while keeping that Classic Peanut Butter and Jelly Sandwich Recipe charm intact.
FAQs
Can I use other types of nut butters?
Absolutely! Almond, cashew, or sunflower seed butter can be delicious alternatives if you want to switch things up or accommodate allergies, giving a new twist while keeping the sandwich just as tasty.
What’s the best type of bread for this sandwich?
White and whole wheat breads are traditional favorites, but feel free to experiment with multigrain, sourdough, or even gluten-free options. The key is choosing bread that’s soft enough to bite through yet sturdy enough to hold your fillings.
Should I toast the bread before assembling?
Toasting is optional and depends on your preference. It adds a nice crunch and warm flavor, but if you want the authentic classic experience, fresh untoasted bread is just perfect.
Can I make this sandwich vegan?
Yes! Opt for peanut butter with no added honey and choose vegan bread along with fruit preserves that don’t use gelatin or animal-based ingredients to keep it plant-based and delicious.
How can I prevent the bread from getting soggy?
To avoid soggy bread, spread the peanut butter first as it acts as a moisture barrier before adding the jelly. Also, assembling the sandwich shortly before eating helps maintain that ideal texture.
Final Thoughts
No matter how many fancy sandwiches you try, the Classic Peanut Butter and Jelly Sandwich Recipe holds a special place in our hearts and lunchboxes. It’s quick, comforting, and endlessly satisfying—perfect for busy days or when you just want a taste of simple happiness. Give it a go and enjoy every nostalgic, delicious bite!
Print
Classic Peanut Butter and Jelly Sandwich Recipe
- Total Time: 5 minutes
- Yield: 1 sandwich 1x
Description
A timeless and simple Classic Peanut Butter and Jelly Sandwich made quickly with creamy or crunchy peanut butter and your favorite jelly or jam. Perfect for a quick snack or lunch, this sandwich combines the rich, nutty flavor of peanut butter with the sweet, fruity taste of jelly for a satisfying treat anyone can enjoy.
Ingredients
Ingredients
- 2 slices of bread (white, whole wheat, or your choice)
- 2 tablespoons creamy or crunchy peanut butter
- 2 tablespoons jelly or jam (such as strawberry or grape)
Instructions
- Prepare the bread: Lay the two slices of bread flat on a cutting board to have a stable base for spreading the fillings.
- Spread peanut butter: Evenly spread 2 tablespoons of creamy or crunchy peanut butter over one slice of bread, making sure to cover the surface for balanced flavor.
- Spread jelly: Spread 2 tablespoons of your favorite jelly or jam on the other slice of bread, ensuring an even layer for proper taste distribution.
- Assemble sandwich: Press the two slices of bread together so that the peanut butter and jelly sides face each other, creating the classic sandwich.
- Slice and serve: Optionally, slice the sandwich in half to make it easier to handle, then serve immediately for best freshness and taste.
Notes
- Use any type of bread you prefer—white, whole wheat, multigrain, or gluten-free—to suit dietary needs or taste preferences.
- For a healthier version, choose natural peanut butter with no added sugar or oils and a low-sugar jelly.
- Try crunchy peanut butter for added texture or creamy for smoothness.
- To avoid sogginess, spread peanut butter first, then jelly, as the peanut butter acts as a moisture barrier.
- Use a knife dedicated to peanut butter and another for jelly to avoid mixing flavors in the jars.
- Prep Time: 5 minutes
- Cook Time: 0 minutes
- Category: Snack
- Method: No-Cook
- Cuisine: American


