Chocolate Mousse Cake Recipe
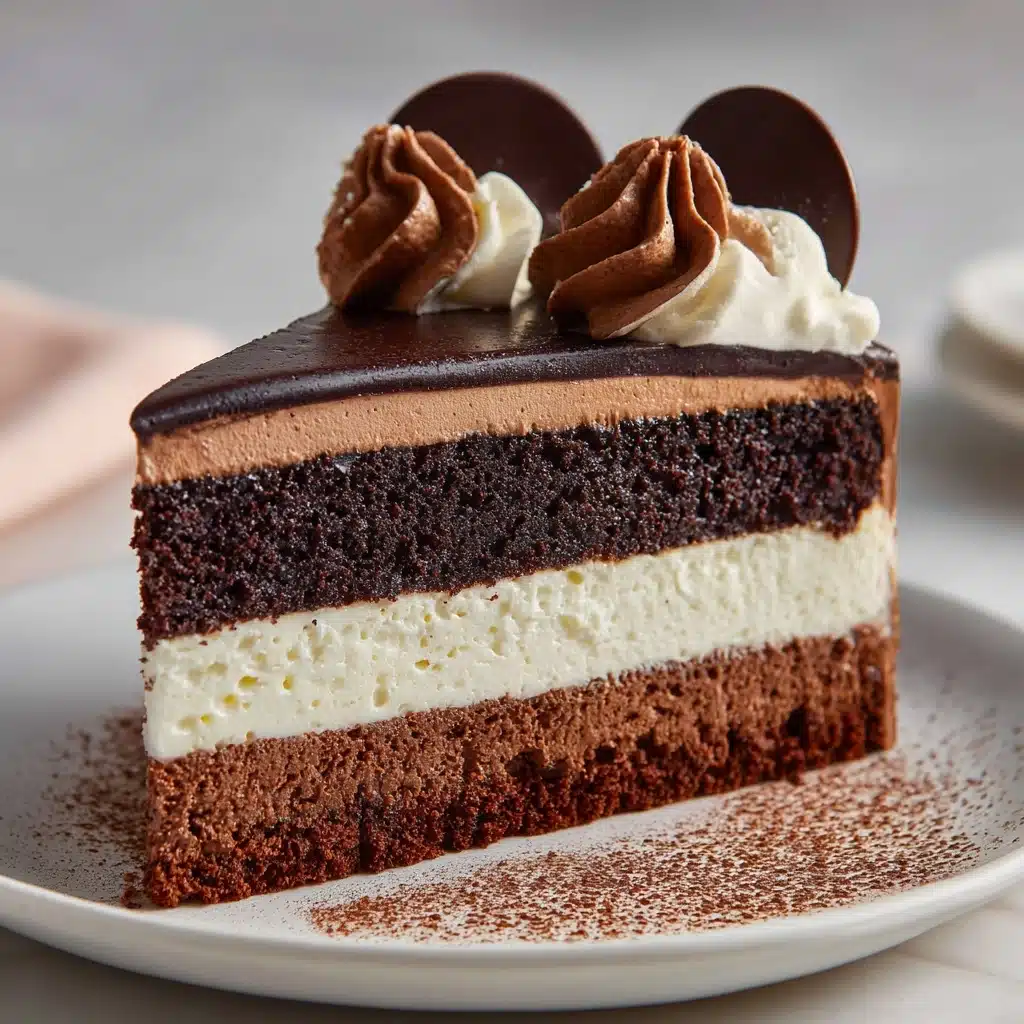
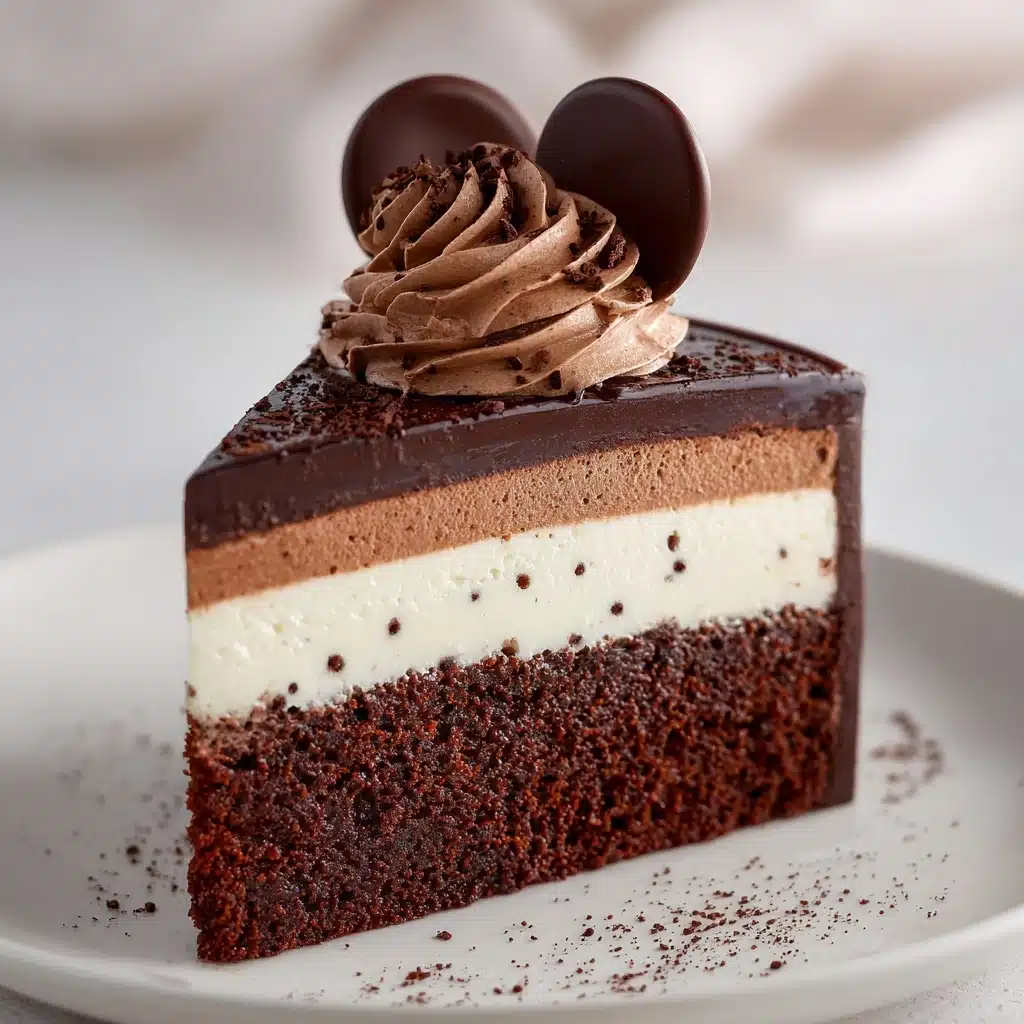
Chocolate Mousse Cake is the ultimate showstopper for any special occasion—or even just when you want to treat yourself to something truly decadent! The melt-in-your-mouth mousse pairs perfectly with a tender, chocolatey cake base, and every forkful feels like a celebration. While it looks elegant and impressive, you’ll love how approachable each step is, and your efforts are rewarded with layer upon layer of chocolatey bliss. This dessert is for chocolate lovers who want a luxurious, creamy texture and deep flavor in every bite.
Ingredients You’ll Need
Creating a fabulous Chocolate Mousse Cake is all about assembling a few simple but essential ingredients. Each one brings a key element to the texture, flavor, or stunning appearance that makes this cake unforgettable.
- All-purpose flour: The backbone of the cake base, giving it structure and a perfectly tender crumb.
- Unsweetened cocoa powder: Delivers that rich, intense chocolate flavor for the cake layer.
- Granulated sugar: Balances the bitterness of the cocoa with a gentle sweetness throughout.
- Baking soda & baking powder: This duo ensures the cake rises beautifully and stays soft.
- Salt: Enhances all those chocolate notes and keeps the cake from tasting flat.
- Buttermilk: Adds tanginess and moisture, making for an extra-tender cake crumb.
- Vegetable oil: Keeps the cake delightfully moist, even after chilling.
- Large egg: Binds everything together and contributes to the cake’s structure.
- Vanilla extract: Rounds out the chocolate with a beautiful, warming undertone.
- Hot water: Helps bloom the cocoa, deepening both color and flavor.
- Semi-sweet chocolate (chopped): The star of the mousse—choose a good-quality chocolate for the best results.
- Unsalted butter: Adds richness and a silky smooth texture to the mousse.
- Heavy whipping cream (cold): Whipped to dreamy soft peaks, it gives the mousse its signature lightness.
- Powdered sugar: Gently sweetens both the mousse and the finishing whipped cream topping.
- Chocolate shavings or cocoa powder: Finishes the cake with drama, texture, and extra chocolatey flair.
How to Make Chocolate Mousse Cake
Step 1: Prepare the Cake Layer
Let’s get this party started with our decadent cake base! Preheat your oven to 350°F (175°C) and grease a 9-inch springform pan for easy removal later. Whisk together the flour, cocoa powder, sugar, baking soda, baking powder, and salt in a large bowl. Pour in the buttermilk, oil, egg, and vanilla, mixing until just combined. Stir in the hot water—the batter will be thin, but that’s what gives the cake its wonderfully moist texture. Spread it into the pan and bake for 25–30 minutes, or until a toothpick poked in the center comes out clean. Let the cake cool completely in the pan (this helps the mousse layer later!).
Step 2: Make the Chocolate Mousse
Here’s where the Chocolate Mousse Cake pivots from delicious to downright irresistible. Melt your chopped chocolate and butter together—either gently over a double boiler or in quick bursts in the microwave. Once it’s smooth and glossy, set it aside to cool a bit. In another bowl, whip the cold heavy cream, powdered sugar, and vanilla until soft peaks form. Gently fold the cooled chocolate mixture into the whipped cream, keeping things airy and light. Aim for a totally smooth, mousse-like texture that makes you want to grab a spoon right then and there!
Step 3: Assemble the Layers
Now, for that iconic layered effect. Once your cake base has cooled fully (patience pays off!), spread the mousse evenly atop the cake layer while it’s still in the springform pan. Smooth the top with a spatula for a gorgeous finish. Pop the whole thing in the fridge for at least 4 hours or, even better, overnight. This lets the mousse set to the perfect, sliceable consistency.
Step 4: Add the Whipped Cream Topping
Time for the crowning glory! Whip up the remaining heavy cream with a touch of powdered sugar until soft peaks hold. You can dollop, spread, or get fancy with piped swirls—whatever mood strikes. Finish with a handful of chocolate shavings or a dusting of cocoa powder across the top for a truly elegant look.
Step 5: Unmold and Enjoy
Once your Chocolate Mousse Cake is fully chilled, run a thin knife around the pan’s edge, pop off the springform sides, and get ready to wow your crowd. Each slice will show off those luscious layers, making every serving feel special. Get your forks ready—it’s showtime!
How to Serve Chocolate Mousse Cake
Garnishes
Having fun with garnishes is one of the best ways to put your personal touch on a Chocolate Mousse Cake. Classic chocolate shavings or a dusting of cocoa powder look stunning, but consider a few fresh berries, a sprinkle of edible gold, or even a drizzle of raspberry puree for extra flair. Each option enhances both the look and the flavor, so go ahead and get creative!
Side Dishes
This cake is truly the star of the show, so it shines brightest with simple sides. Serve with a cup of freshly brewed coffee or espresso to complement the dessert’s richness. If you’d like a fruity counterpoint, a small bowl of fresh raspberries or strawberries works beautifully—their tartness balances all that luscious chocolate.
Creative Ways to Present
For holiday gatherings and parties, try making individual mini Chocolate Mousse Cakes by dividing the layers between ramekins or silicone molds. Or, use a heart-shaped pan for Valentine’s Day to turn this dessert into a sweet love letter. You can even serve slices atop a pool of raspberry sauce or plate with a quenelle of vanilla ice cream for restaurant-worthy drama.
Make Ahead and Storage
Storing Leftovers
If you’re lucky enough to have leftovers, store your Chocolate Mousse Cake tightly covered in the refrigerator. It stays fresh and delicious for up to three days, and in fact, many fans swear the flavors get even better after a day in the fridge as the layers meld and intensify.
Freezing
Yes, you can freeze this cake! For best results, slice the cake and wrap individual pieces tightly in plastic wrap and foil. Freeze for up to one month. Thaw overnight in the refrigerator before serving, and always add the whipped cream topping fresh after thawing for best appearance.
Reheating
Chocolate Mousse Cake is best enjoyed cold or just slightly chilled, so there’s no need to reheat. If your cake has been frozen, simply defrost slices in the fridge. The mousse will return to its light and creamy texture, ready to enjoy without any warming.
FAQs
Can I use dark chocolate instead of semi-sweet for the mousse?
Absolutely! Dark chocolate gives the mousse an even deeper, more intense flavor. If you’re a true chocolate aficionado, go for at least 70 percent cocoa solids. Just note that you might want to sweeten the mousse a touch more, as dark chocolate can be a bit more bitter.
Is it possible to make this recipe gluten-free?
Yes! Simply swap the all-purpose flour for your favorite gluten-free flour blend. Choose one formulated for cakes and baking for best results, and double-check that your cocoa powder and baking powder are also gluten-free.
Can I assemble Chocolate Mousse Cake ahead of time?
Definitely! In fact, making it a day in advance allows the flavors to meld and the mousse to firm up perfectly. Just hold off on adding the whipped cream topping and garnishes until shortly before serving for the prettiest presentation.
What type Dessert
A 9-inch springform pan is ideal, as it allows you to easily release the cake without disturbing the clean mousse layers. If you don’t have one, use a deep cake pan lined with parchment, but be extra gentle when unmolding.
Can I add fruit or other flavors to the layers?
You sure can! Try spreading a layer of raspberry preserves atop the cake layer before adding the mousse for a fruity twist. You could also fold a bit of orange zest or espresso powder into the mousse for added complexity.
Final Thoughts
Every home baker deserves to have a go-to Chocolate Mousse Cake in their recipe box, and this one brings pure joy from start to finish. It’s a guaranteed crowd-pleaser, whether you serve it at a party or sneak a slice just for yourself. Gather your ingredients and dive in—you’ll be amazed at how easy and rewarding it is to make this chocolate masterpiece!
Print
Chocolate Mousse Cake Recipe
- Total Time: 1 hour (plus 4 hours chilling)
- Yield: 10 servings 1x
- Diet: Vegetarian
Description
Indulge in the decadent delight of this Chocolate Mousse Cake. A rich, moist chocolate cake base topped with a velvety smooth chocolate mousse layer, finished with a cloud-like whipped cream topping. Perfect for special occasions or a sweet treat any day!
Ingredients
Cake Layer:
- 1 cup all-purpose flour
- 1/2 cup unsweetened cocoa powder
- 1 cup granulated sugar
- 1 teaspoon baking soda
- 1/2 teaspoon baking powder
- 1/4 teaspoon salt
- 1/2 cup buttermilk
- 1/4 cup vegetable oil
- 1 large egg
- 1 teaspoon vanilla extract
- 1/2 cup hot water
Mousse Layer:
- 8 oz semi-sweet chocolate (chopped)
- 2 tablespoons unsalted butter
- 1 1/2 cups heavy whipping cream (cold)
- 1/4 cup powdered sugar
- 1 teaspoon vanilla extract
Topping:
- 1/2 cup heavy whipping cream
- 1 tablespoon powdered sugar
- Chocolate shavings or cocoa powder for garnish
Instructions
- Cake Layer: Preheat the oven to 350°F (175°C). Grease and line a 9-inch springform pan. Combine dry ingredients, add wet ingredients, mix, pour into pan, and bake for 25–30 minutes. Cool.
- Mousse Layer: Melt chocolate with butter, cool. Whip cream with sugar and vanilla. Fold whipped cream into chocolate. Spread over cake and chill for 4 hours.
- Topping: Whip cream with sugar, spread over mousse. Garnish with chocolate shavings or cocoa powder.
Notes
- Make a day ahead for best texture.
- Use dark chocolate for a richer flavor.
- Add a layer of raspberry preserves for a fruity twist.
- Prep Time: 30 minutes
- Cook Time: 30 minutes
- Category: Dessert
- Method: Baking, Chilling
- Cuisine: French-Inspired
Nutrition
- Serving Size: 1 slice
- Calories: 420
- Sugar: 28g
- Sodium: 210mg
- Fat: 28g
- Saturated Fat: 16g
- Unsaturated Fat: 9g
- Trans Fat: 0g
- Carbohydrates: 40g
- Fiber: 3g
- Protein: 5g
- Cholesterol: 80mg


