Chocolate Kiss Cookies Recipe
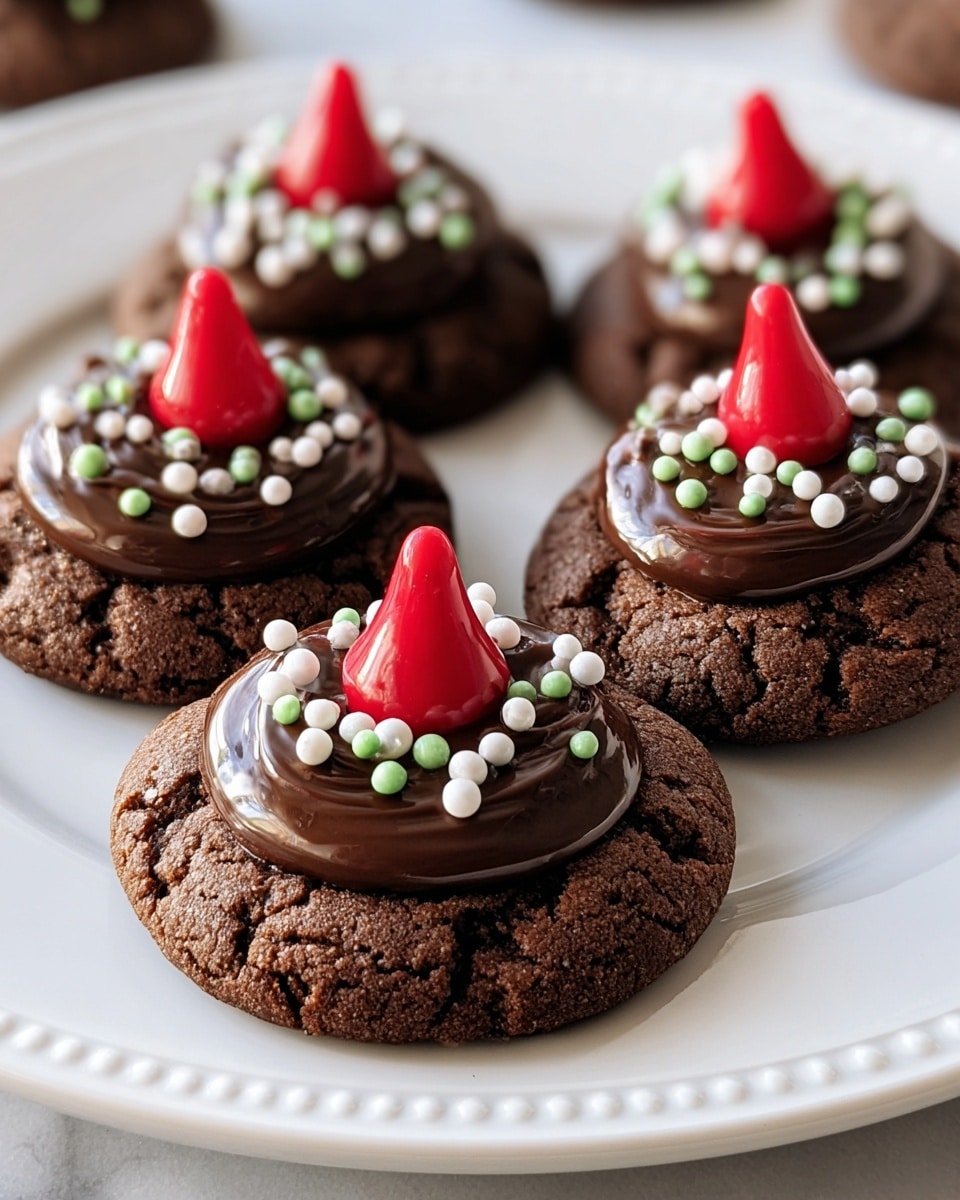
If you’re on the hunt for a delightful treat that combines rich chocolate flavor with an irresistibly soft texture, the Chocolate Kiss Cookies Recipe is your new best friend. These cookies bring together a tender chocolate dough topped with that iconic, melty Hershey’s chocolate kiss, making every bite a perfect balance of fudgy and sweet. Whether you’re baking for the holidays or just craving a cozy homemade dessert, this recipe is sure to fill your kitchen with warmth and chocolatey goodness.
Ingredients You’ll Need
These ingredients are straightforward yet essential to crafting the ultimate Chocolate Kiss Cookies. Each one plays a crucial role, from giving the dough its softness to adding depth with cocoa and that signature sweetness from the sugar.
- 1 cup unsalted butter, softened: Provides a rich, creamy base for the dough and ensures tender cookies.
- 1 cup granulated sugar: Adds clean, sweet flavor and helps create a slightly crisp edge.
- 1 cup light brown sugar, packed: Brings moisture and a subtle caramel note for chewiness.
- 2 large eggs: Bind the ingredients and contribute to the cookie’s soft texture.
- 2 teaspoons vanilla extract: Enhances the overall flavor with a warm, aromatic touch.
- 2 ¼ cups all-purpose flour: Forms the structure needed to hold the cookies’ shape.
- ⅔ cup unsweetened cocoa powder: Delivers deep, chocolatey richness without added sweetness.
- 1 teaspoon baking soda: Helps the cookies rise slightly and spread just right.
- ½ teaspoon salt: Balances the sweetness and intensifies the chocolate flavor.
- About 36 chocolate kiss candies, unwrapped: The star of the show, each pressed into the cookie for that perfect melty finish.
How to Make Chocolate Kiss Cookies Recipe
Step 1: Prep Your Oven and Baking Sheets
Start by preheating your oven to 350°F (175°C) and line your baking sheets with parchment paper. This ensures your cookies bake evenly and won’t stick, giving you a smooth, clean result every time.
Step 2: Cream Butter and Sugars
In a large mixing bowl, cream together the softened butter, granulated sugar, and brown sugar until the mixture is light and fluffy. This step is crucial because it incorporates air into the dough, which helps make your cookies wonderfully soft and tender.
Step 3: Add Eggs and Vanilla
Next, beat in the eggs one at a time, ensuring each is fully mixed in before adding the next. Follow with the vanilla extract for that warm, inviting aroma that adds complexity to the flavor.
Step 4: Combine Dry Ingredients
In a separate bowl, whisk together the all-purpose flour, unsweetened cocoa powder, baking soda, and salt. This ensures all the dry ingredients are evenly distributed, helping your cookies bake uniformly with rich chocolate flavor in every bite.
Step 5: Mix Dry Ingredients into Wet
Gradually add your dry ingredients into the wet mixture, mixing carefully until fully combined. Don’t overmix here; just blend enough to ensure a smooth, chocolatey dough ready to be scooped.
Step 6: Scoop, Bake, and Add Chocolate Kisses
Scoop tablespoon-sized portions of dough and roll them into balls. Place them about 2 inches apart on your prepared baking sheets to give them room to spread. Bake for 8 to 10 minutes, just until the edges set. The magic moment comes next—immediately press a chocolate kiss into the center of each hot cookie, letting it melt slightly as the cookie cools.
How to Serve Chocolate Kiss Cookies Recipe
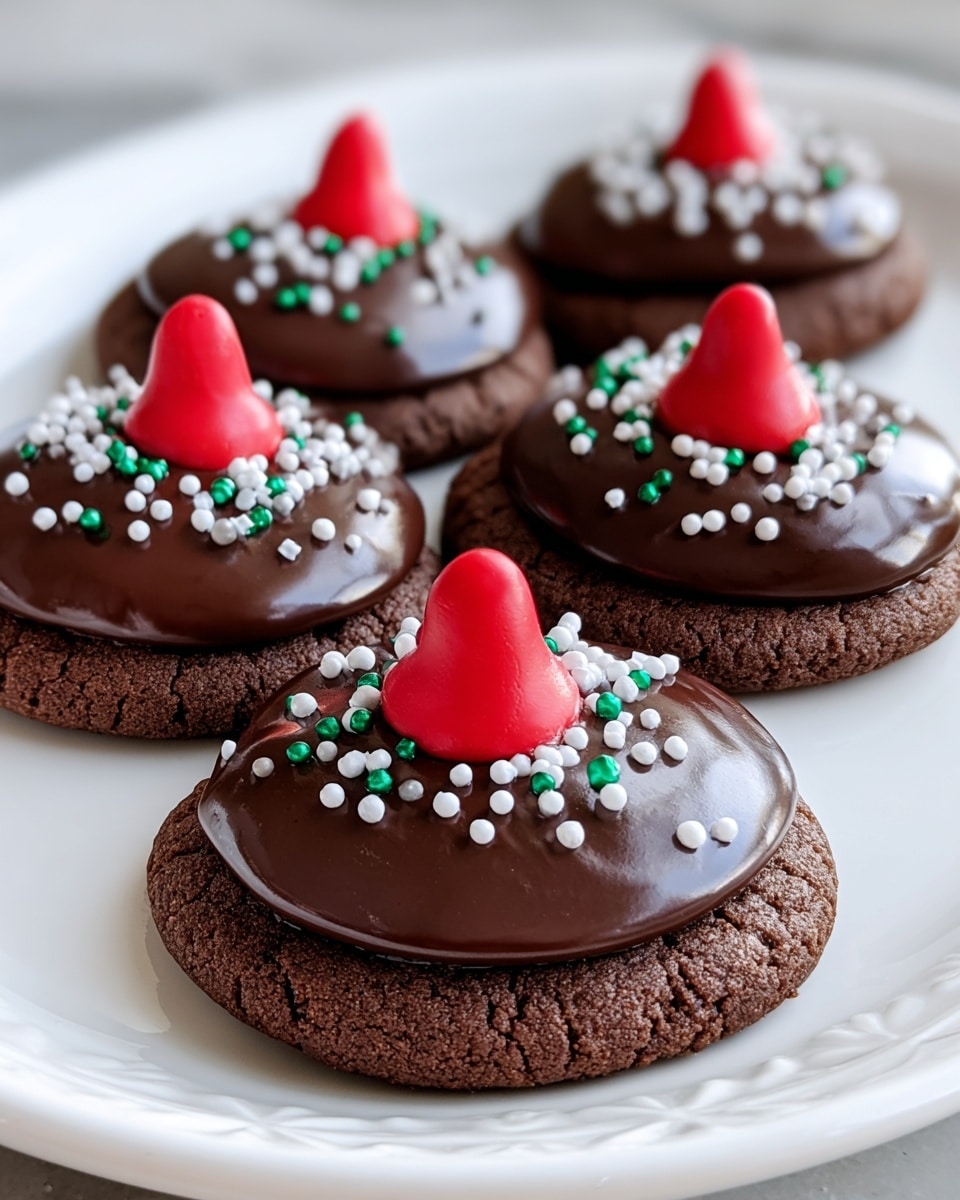
Garnishes
While these cookies shine on their own, consider dusting a little powdered sugar over the cooled cookies for a delicate, snowy touch. A sprinkle of chopped almonds or a light drizzle of white chocolate can add an elegant contrast too.
Side Dishes
Chocolate Kiss Cookies pair wonderfully with a cold glass of milk, a cozy cup of coffee, or even a scoop of vanilla ice cream. The creamy beverages and ice cream complement the rich chocolate flavor and soften the cookie’s fudgy texture delightfully.
Creative Ways to Present
For parties or gift-giving, arrange these cookies in a tiered dessert tray or pack them in colorful tins lined with parchment. You can even tie a cute ribbon around small cookie stacks for a charming, homemade touch that shows care and makes any occasion feel special.
Make Ahead and Storage
Storing Leftovers
Keep any leftover Chocolate Kiss Cookies in an airtight container at room temperature for up to 5 days. This preserves their softness and keeps those chocolate kisses perfectly melty without becoming too hard or crumbly.
Freezing
If you want to extend their shelf life, freeze the baked cookies in a single layer on a baking sheet before transferring them to a freezer-safe container or bag. They’ll keep beautifully for up to 3 months and thaw quickly when you’re ready to enjoy them.
Reheating
To enjoy your cookies warm, pop them in the microwave for 10 to 15 seconds or place them in a low oven (around 300°F) for just a few minutes. This revives the softness and re-melts the chocolate kisses for that freshly baked experience.
FAQs
Can I use different types of chocolate kisses in this recipe?
Absolutely! While classic milk chocolate kisses are delicious, you can experiment with dark chocolate, caramel-filled, or even flavored kisses to add a new twist to the classic Chocolate Kiss Cookies Recipe.
What if I don’t have unsweetened cocoa powder?
If you don’t have unsweetened cocoa powder, you might use Dutch-processed cocoa, but expect a slightly different texture and flavor. It’s best to stick to unsweetened for the intended rich, balanced chocolate taste.
Can I make these cookies gluten-free?
Yes! Substitute the all-purpose flour with a gluten-free blend designed for baking. Just be sure it contains xanthan gum or a similar binder to help maintain the cookie’s structure.
Why do I press the chocolate kisses in after baking, not before?
Pressing the kisses in after baking prevents them from melting entirely and losing their signature shape. This way, you get that perfect soft cookie base with a beautiful, melty chocolate finish on top.
Can I roll the dough balls in sugar for a different look?
Definitely! Rolling the dough balls in granulated sugar before baking creates a sparkly finish that adds a subtle crunch and extra sweetness, making your Chocolate Kiss Cookies even more enticing.
Final Thoughts
There’s something truly comforting and joyful about baking up a batch of these Chocolate Kiss Cookies. They’re simple to make, irresistibly chocolatey, and perfect for sharing (or not!). I can’t wait for you to try this Chocolate Kiss Cookies Recipe and make it a beloved staple in your kitchen. Happy baking!
Print
Chocolate Kiss Cookies Recipe
- Total Time: 25 minutes
- Yield: 36 cookies 1x
- Diet: Vegetarian
Description
Delicious and festive Chocolate Kiss Cookies, perfect for holidays or any sweet craving. These soft, cocoa-rich cookies are topped with a classic Hershey’s Kiss, offering a perfect balance of chocolate flavor and a delightful melt-in-your-mouth texture.
Ingredients
Cookie Dough
- 1 cup unsalted butter, softened
- 1 cup granulated sugar
- 1 cup light brown sugar, packed
- 2 large eggs
- 2 teaspoons vanilla extract
- 2 ¼ cups all-purpose flour
- ⅔ cup unsweetened cocoa powder
- 1 teaspoon baking soda
- ½ teaspoon salt
Topping
- About 36 chocolate kiss candies, unwrapped
Instructions
- Preheat and prepare: Preheat the oven to 350°F (175°C) and line baking sheets with parchment paper to prevent sticking and ensure even baking.
- Cream butter and sugars: In a large mixing bowl, combine the softened butter, granulated sugar, and brown sugar. Cream them together until the mixture is light and fluffy, which helps create a tender cookie texture.
- Add eggs and vanilla: Beat in the eggs one at a time, ensuring each is fully incorporated before adding the next. Then add the vanilla extract and mix well to distribute flavors evenly.
- Combine dry ingredients: In a separate bowl, whisk together the all-purpose flour, unsweetened cocoa powder, baking soda, and salt. This step ensures even distribution of leavening agents and cocoa.
- Mix dry and wet ingredients: Gradually add the dry ingredients into the wet ingredients, mixing until fully combined to form the cookie dough without overmixing to avoid tough cookies.
- Form dough balls and bake: Scoop tablespoon-sized portions of dough and roll into balls. Place them on the prepared baking sheets about 2 inches apart to allow for spreading. Bake for 8 to 10 minutes or until the edges are set but the center is still soft.
- Add chocolate kisses: Remove the cookies from the oven and immediately press one unwrapped chocolate kiss into the center of each cookie while still warm, so the chocolate slightly melts and adheres.
- Cool: Let the cookies cool on the baking sheet for 5 minutes to set, then transfer them to a wire rack to cool completely for ideal texture and to avoid sogginess.
Notes
- To prevent the chocolate kisses from melting excessively, chill them before placing on the cookies.
- Store the cookies in an airtight container at room temperature for up to 5 days to maintain freshness.
- For a sparkly finish, roll the dough balls in sugar before baking for added texture and sweetness.
- Prep Time: 15 minutes
- Cook Time: 10 minutes
- Category: Dessert
- Method: Baking
- Cuisine: American
