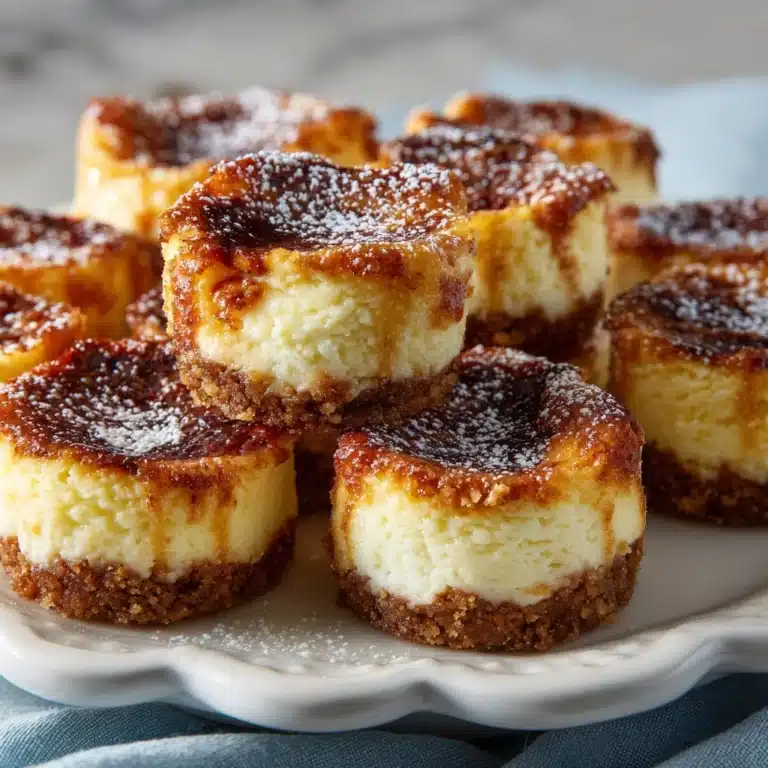
Cherry Pie Bars Recipe
If you’re craving a dessert that feels like a hug from your grandma, this Cherry Pie Bars Recipe is the perfect pick. Picture tender, buttery bars baked to golden perfection with a luscious cherry pie filling nestled right in the center, all finished with a delicate almond-infused glaze. It’s an easy, crowd-pleasing twist on classic cherry pie that’s perfect for potlucks, family dinners, or just a cozy treat at home. Once you make these bars, they’ll quickly become one of your favorite go-to desserts.

Ingredients You’ll Need
These ingredients are incredibly simple yet essential in creating the perfect balance of flavor and texture for your cherry pie bars. Each one plays a thoughtful role, from the richness of butter to the fruity burst from the cherry filling and the subtle notes from almond extract.
- 1 cup unsalted butter, softened: Provides a rich, creamy base crucial for that tender crumb.
- 2 cups granulated sugar: Sweetens the bars just right without overpowering the cherry filling.
- 4 large eggs: Helps bind ingredients together and adds moisture.
- 1 teaspoon vanilla extract: Adds warmth and depth of flavor.
- 1/2 teaspoon almond extract: Offers a subtle, nutty fragrance that beautifully complements cherries.
- 3 cups all-purpose flour: The structure that holds everything together.
- 1 teaspoon salt: Balances the sweetness and enhances all flavors.
- 1 (21-ounce) can cherry pie filling: The star ingredient delivering juicy bursts of cherry goodness.
- 1 cup powdered sugar: For the sweet, smooth glaze finishing touch.
- 2 tablespoons milk: Thins out the glaze for perfect drizzling.
- 1/4 teaspoon almond extract: Reaffirms the almond flavor in the glaze for consistency.
How to Make Cherry Pie Bars Recipe
Step 1: Prepare Your Pan and Preheat
Start by preheating your oven to 350°F (175°C). Lightly grease a 9×13-inch baking dish so your bars don’t stick and slide right out when they’re done. This simple prep step sets the stage for a smooth baking experience.
Step 2: Cream Butter and Sugar
In a large bowl, cream together the softened butter and granulated sugar until the mixture becomes light and fluffy. This step is key for creating a tender texture that melts in your mouth. Use an electric mixer to make this much easier and more efficient.
Step 3: Add Eggs and Extracts
Next, add the eggs one at a time while beating well after each addition. This helps incorporate air and keeps the batter smooth. Stir in the vanilla and almond extracts, which give these bars their unforgettable aromatic charm.
Step 4: Mix Dry Ingredients and Combine
In a separate bowl, whisk together the all-purpose flour and salt. Gradually add this dry mixture to your wet ingredients, gently mixing until just combined. Over-mixing could make your bars tough, so handle with care for a tender bite.
Step 5: Layer the Batter and Cherry Filling
Spread about two-thirds of your batter evenly in the prepared baking pan—this will be the bottom layer holding your sweet cherry surprise. Spoon the cherry pie filling over the batter carefully so it spreads nicely without sinking completely.
Step 6: Add Remaining Batter and Bake
Drop spoonfuls of the remaining batter over the cherry layer. Don’t worry if it’s uneven; those pockets of dough will bake into golden patches that add delightful texture. Bake for 35 to 40 minutes until the top turns lightly golden and a toothpick comes out clean.
Step 7: Cool and Glaze
Allow your cherry pie bars to cool completely in the pan, which makes slicing much neater. While cooling, whisk together powdered sugar, milk, and almond extract to create a sweet glaze. Drizzle this over the bars for a glossy finish that elevates both flavor and appearance.
How to Serve Cherry Pie Bars Recipe

Garnishes
For serving, keep it simple or fancy: a dusting of powdered sugar, fresh cherries on top, or even a light sprinkle of chopped toasted almonds will add a lovely crunch. Garnishes enhance the bars without stealing the spotlight from that luscious cherry center.
Side Dishes
These bars pair wonderfully with a scoop of vanilla ice cream or a dollop of whipped cream. If you’re aiming for a more grown-up touch, a cup of hot coffee or a glass of dessert wine complements the cherry and almond flavors perfectly.
Creative Ways to Present
Try serving the bars on a rustic wooden platter for a casual vibe or plate them individually with fresh mint leaves and a drizzle of chocolate sauce for impressing guests. These bars are versatile and fit every occasion from casual family nights to celebratory dinners.
Make Ahead and Storage
Storing Leftovers
Once cooled, store your cherry pie bars in an airtight container at room temperature for up to three days. This keeps them moist and flavorful. For longer freshness, refrigeration is your friend and can extend shelf life by several more days.
Freezing
If you want to make these bars ahead of time or save some for later, wrap them tightly in plastic wrap and place them in a freezer-safe container. They freeze well for up to two months and thaw quickly at room temperature or in the fridge.
Reheating
To bring back that fresh-baked feeling, warm individual bars in the microwave for about 15 seconds or pop them in a low oven for a few minutes. This helps revive their softness and enhances the aroma, making them taste just as delightful as the day you baked them.
FAQs
Can I use fresh cherries instead of canned cherry pie filling?
You sure can, but you’ll need to cook your cherries with sugar and a thickener like cornstarch beforehand to mimic the texture and sweetness of canned filling. This adds a fresh flavor but requires an extra step.
What if I don’t have almond extract? Can I skip it?
Almond extract gives a special complementary flavor to the cherries, but if you don’t have it, you can leave it out or substitute with a bit of additional vanilla extract. The bars will still be delicious, just slightly less nutty.
Are these bars gluten-free?
This recipe calls for all-purpose flour, which contains gluten. To make gluten-free Cherry Pie Bars, you can try a gluten-free flour blend, but results might vary, especially with texture.
Can I make smaller batches of this recipe?
Absolutely! You can easily halve the ingredients and bake in a smaller pan. Just watch the baking time closely as it might be shorter due to thinner layers.
How do I make the glaze thicker or thinner?
If your glaze is too thick, add milk a few drops at a time until desired consistency. For a thinner glaze, use less powdered sugar or a bit more milk, depending on how you like to drizzle it.
Final Thoughts
If you’re looking for a dessert that’s both comforting and impressive with minimal effort, the Cherry Pie Bars Recipe is a must-try. It captures the best of cherry pie in a convenient bar form that is easy to bake, share, and enjoy. I can’t wait for you to whip up a batch and see how quickly these bars disappear at your next gathering!
Print
Cherry Pie Bars Recipe
- Total Time: 55 minutes
- Yield: 24 bars 1x
- Diet: Vegetarian
Description
Cherry Pie Bars are a delightful and easy-to-make dessert featuring a buttery base layered with sweet cherry pie filling and topped with a light almond glaze. Perfect for gatherings, these bars balance rich flavor with a tender crumb, making them an irresistible American classic treat.
Ingredients
Batter
- 1 cup unsalted butter, softened
- 2 cups granulated sugar
- 4 large eggs
- 1 teaspoon vanilla extract
- 1/2 teaspoon almond extract
- 3 cups all-purpose flour
- 1 teaspoon salt
Filling and Glaze
- 1 (21-ounce) can cherry pie filling
- 1 cup powdered sugar
- 2 tablespoons milk
- 1/4 teaspoon almond extract
Instructions
- Preheat and Prepare Pan: Preheat the oven to 350°F (175°C) and lightly grease a 9×13-inch baking dish to prevent sticking.
- Cream Butter and Sugar: In a large bowl, cream together the softened butter and granulated sugar until the mixture becomes light and fluffy, ensuring a smooth batter.
- Add Eggs and Extracts: Incorporate the eggs one at a time, beating well after each addition to maintain the batter’s consistency. Mix in the vanilla and almond extracts for flavor.
- Combine Dry Ingredients: In a separate bowl, whisk together the all-purpose flour and salt to evenly distribute the salt before gradually adding this dry mix to the wet ingredients until fully combined into a smooth batter.
- Assemble Bars: Spread about two-thirds of the batter evenly in the prepared baking pan. Spoon the entire cherry pie filling over this base, then drop spoonfuls of the remaining batter on top of the cherries to create a patchy layer.
- Bake: Place the pan in the preheated oven and bake for 35–40 minutes, or until the top is lightly golden and a toothpick inserted into the batter comes out clean.
- Cool and Glaze: Allow the bars to cool completely in the pan. In a small bowl, whisk together powdered sugar, milk, and almond extract to make the glaze, then drizzle it evenly over the cooled bars.
- Serve: Slice into 24 bars and serve, enjoying a perfect balance of sweet cherries and buttery crust.
Notes
- Cherry pie filling can be substituted with blueberry or apple pie filling for variety.
- Store bars in an airtight container at room temperature for up to 3 days.
- Refrigerate bars to keep them fresh for a longer period.
- Prep Time: 15 minutes
- Cook Time: 40 minutes
- Category: Dessert
- Method: Baking
- Cuisine: American


