Brookie For One Recipe
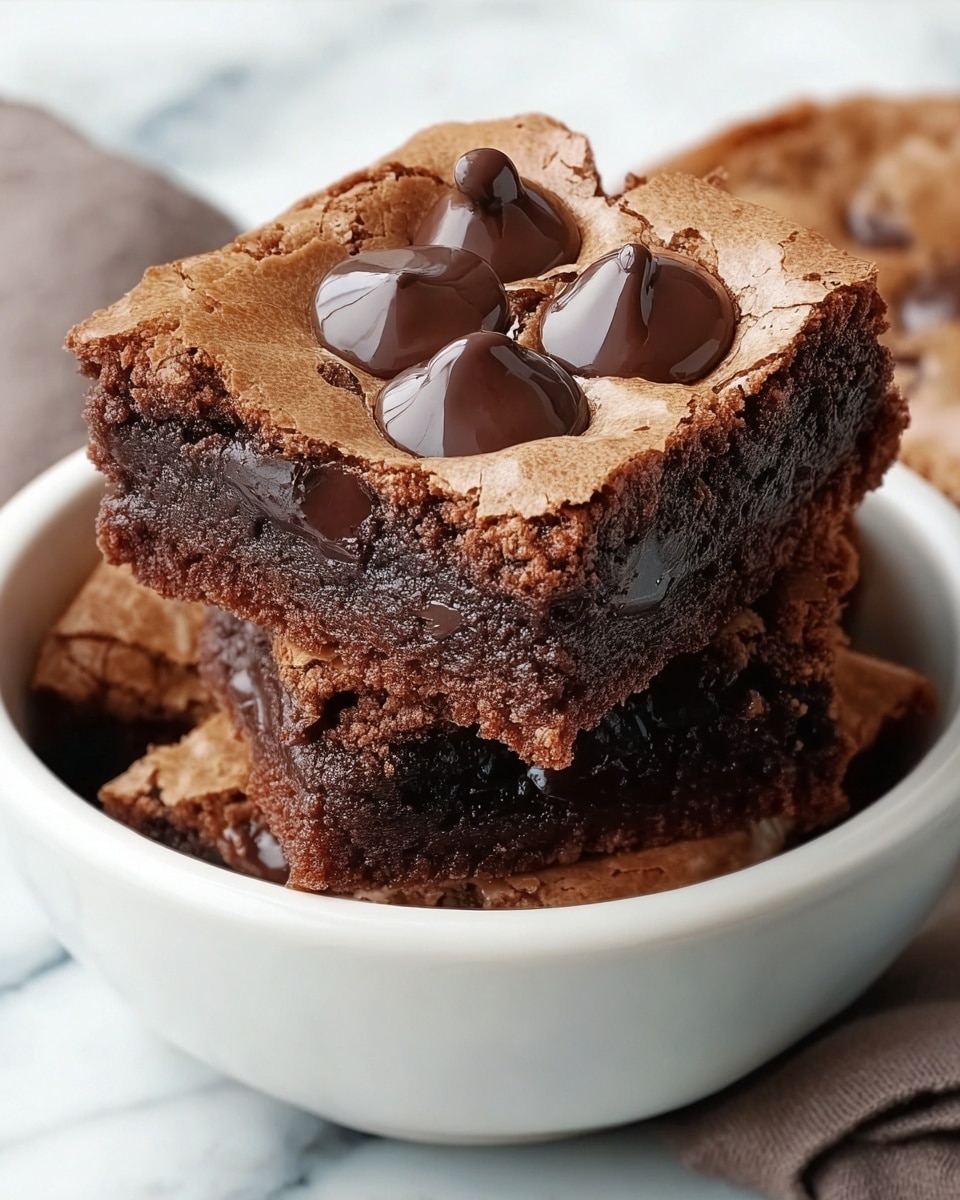
If you have a serious sweet tooth but only want a single-serving dessert to satisfy your cravings, this Brookie For One Recipe is an absolute game-changer. Imagine the perfect harmony between rich, fudgy brownie and chewy, chocolate-studded cookie baked together in a tiny ramekin. It’s quick, decadent, and made with simple ingredients you probably already have in your kitchen. Whether it’s a cozy night in or an impromptu treat, this brookie promises warm, gooey indulgence that’s just the right size for one and will make you feel like you’ve hit dessert gold.
Ingredients You’ll Need
Keeping it simple is the secret to this delightful brookie. Each ingredient plays its part to build layers of flavor and texture, from the buttery cookie base to the luscious brownie topping. Let’s break down these essentials:
- Unsalted butter: Provides richness and a smooth, melt-in-your-mouth texture for the cookie layer.
- Granulated sugar: Adds sweetness and helps create that lightly crisp edge in the cookie dough.
- Brown sugar: Brings a subtle molasses flavor and keeps the cookie chewiness perfect.
- Egg yolk: Binds the ingredients together and contributes to a tender crumb.
- Vanilla extract: Enhances the overall flavor with its warm, aromatic notes.
- All-purpose flour: The foundation for both cookie and brownie layers, creating structure and balance.
- Salt: A pinch to intensify the sweetness and complement the chocolate.
- Chocolate chips (for cookie layer): Delicious melty pockets throughout the cookie base.
- Unsweetened cocoa powder: Adds deep chocolate flavor to the brownie top without extra sugar.
- Milk: Gives moisture and richness to the brownie batter, making it silky smooth.
- Chocolate chips (for brownie layer): Final bursts of chocolate gooeyness to finish it off perfectly.
How to Make Brookie For One Recipe
Step 1: Preheat and Prep
Start by warming up your oven or toaster oven to 350°F (175°C) and greasing a small ramekin or oven-safe dish lightly with butter or non-stick spray. Setting the stage right ensures your brookie cooks evenly and doesn’t stick, making clean-up a breeze.
Step 2: Create the Cookie Layer
In a small mixing bowl, melt the butter gently, either in the microwave or over a double boiler. Stir in both granulated and brown sugars until the mixture is smoothly combined. Next, add the egg yolk and vanilla extract for that luscious, rich flavor. Incorporate 2 tablespoons of flour and a pinch of salt, then fold in 1 tablespoon of chocolate chips. Press this cookie dough evenly along the bottom of your prepared ramekin, forming a sturdy, flavorful base layer that will support the brownie topping beautifully.
Step 3: Make the Brownie Layer
Without cleaning the bowl, mix the remaining 1 tablespoon of flour, cocoa powder, milk, and chocolate chips together. Stir until you have a smooth, chocolaty batter. Gently spread this brownie mixture over the cookie layer in your ramekin, trying to create an even surface. The contrast between these two layers is what makes this brookie truly special and satisfying.
Step 4: Bake to Perfection
Place your ramekin in the preheated oven and bake for 14 to 16 minutes. Aim for a perfectly set top, with the center still slightly soft and fudgy—a clear sign that gooey indulgence awaits. Remove it from the oven and let it cool for a few minutes before enjoying. This warm treat is best savored fresh, with each bite delivering that unbeatable mix of chewy cookie and rich brownie.
How to Serve Brookie For One Recipe
Garnishes
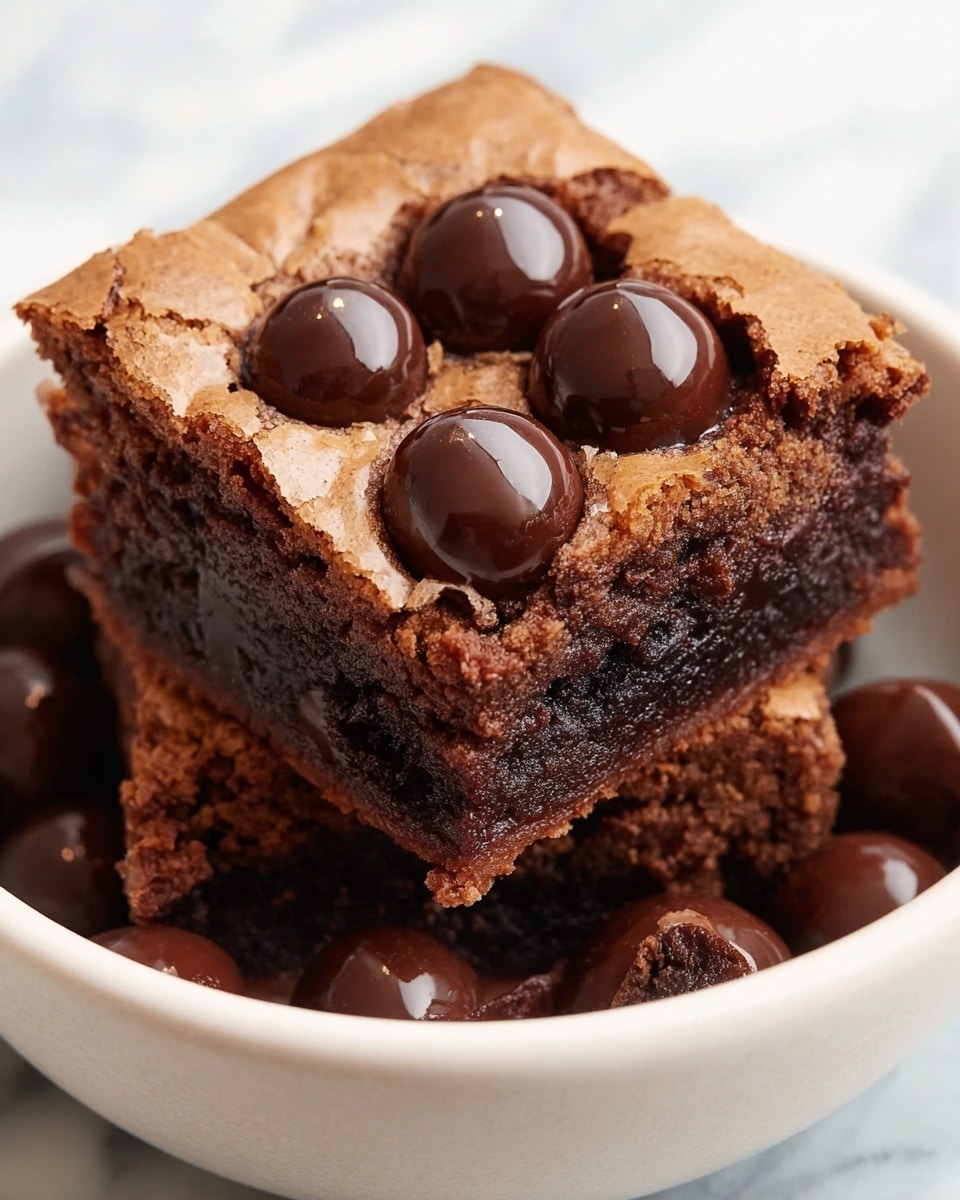
A scoop of vanilla ice cream melts like magic on top of a warm brookie, balancing the intense chocolate flavors with creamy coolness. You can also sprinkle a few flakes of sea salt or drizzle caramel sauce for an extra touch of sophistication. Fresh berries or a dusting of powdered sugar add color and brightness, making each serving feel like a celebration.
Side Dishes
This brookie shines as a standalone dessert, but if you want a little extra, a cup of rich coffee or vanilla-flavored milk makes a wonderful companion. For a more elaborate treat, serve it alongside a dollop of whipped cream or a small fruit salad to provide a refreshing contrast to the decadent chocolate.
Creative Ways to Present
For a fun twist, try layering your brookie in mini mason jars or clear glass cups to show off those luscious cookie and brownie strata. It’s a great way to impress guests or elevate a simple dessert night. You can also top it with crushed nuts, chocolate shavings, or edible gold dust for a gourmet touch that makes your single-serving dessert look as incredible as it tastes.
Make Ahead and Storage
Storing Leftovers
If you have any brookie left over (though it’s unlikely!), cover it tightly with plastic wrap or transfer to an airtight container. Keep it at room temperature for up to 1 day or refrigerate for up to 2 days without sacrificing flavor or texture.
Freezing
Because this is a rich, moist dessert designed to be enjoyed fresh, freezing isn’t ideal as it can affect texture. However, if you must save it for later, wrap it tightly in plastic and foil, then freeze for up to 1 month. Thaw overnight in the fridge and warm gently before serving to revive the gooey goodness.
Reheating
To bring your brookie back to warm perfection, microwave it for 20 to 30 seconds or reheat in a toaster oven at 300°F for a few minutes. Be careful not to overheat, or you might lose that melt-in-your-mouth texture that makes the Brookie For One Recipe so special.
FAQs
Can I make this Brookie For One Recipe vegan?
Absolutely! Swap the unsalted butter with a plant-based alternative and replace the egg yolk with 1 tablespoon of applesauce. Use plant-based milk instead of dairy milk, and you’re all set for a delicious vegan-friendly treat.
Is there a way to make this brookie without an oven?
Yes! This brookie can be made in the microwave by cooking it on high for 45 to 60 seconds. Keep an eye on it since microwave power varies, and stop once it looks set but still moist in the center.
Can I double or triple this recipe?
While you can multiply the ingredients, it’s best to bake them in individual ramekins or small dishes to maintain the perfect texture. Baking a large batch in one dish might change cooking times and affect the balance between cookie and brownie layers.
What type of chocolate chips works best?
Use semi-sweet or bittersweet chocolate chips for the ideal chocolate flavor that’s rich but not overly sweet. However, feel free to experiment with milk or dark chocolate chips to match your personal preference.
How do I know when the brookie is perfectly baked?
Look for a set top with edges that pull slightly away from the ramekin. The center should still be soft and a bit jiggly, indicating that moist, fudgy texture we all crave. Overbaking can dry it out, so it’s best to check around the 14-minute mark.
Final Thoughts
This Brookie For One Recipe is your new best friend when you need a quick, comforting, and utterly delicious dessert just for yourself. It’s proof that you don’t need elaborate ingredients or complicated techniques to create something really special. So grab a ramekin, whip up this heavenly treat, and enjoy every single bite of warm, chocolaty joy.
Print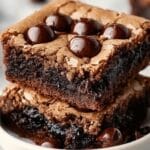
Brookie For One Recipe
- Total Time: 20 minutes
- Yield: 1 serving 1x
- Diet: Vegetarian
Description
This delicious Brookie For One combines the best of both worlds—a rich, gooey brownie layered over a sweet, chewy cookie base, all baked in a small ramekin for a perfect single serving dessert. Ready in just 20 minutes, it’s ideal for satisfying your chocolate cravings without the need for a whole batch.
Ingredients
Cookie Layer
- 1 tablespoon unsalted butter
- 1 tablespoon granulated sugar
- 1 tablespoon brown sugar
- 1 egg yolk
- ¼ teaspoon vanilla extract
- 2 tablespoons all-purpose flour
- Pinch of salt
- 1 tablespoon chocolate chips
Brownie Layer
- 1 tablespoon all-purpose flour
- 1 tablespoon unsweetened cocoa powder
- 1 tablespoon milk
- 1 tablespoon chocolate chips
Instructions
- Preheat Oven: Preheat your oven or toaster oven to 350°F (175°C) and lightly grease a ramekin or small oven-safe dish to prevent sticking.
- Make Cookie Layer: In a small bowl, melt the butter. Stir in the granulated sugar and brown sugar until fully combined. Add the egg yolk and vanilla extract, then mix in 2 tablespoons of flour, a pinch of salt, and 1 tablespoon of chocolate chips. Press this cookie dough evenly into the bottom of the prepared ramekin to form the base layer.
- Make Brownie Layer: Using the same bowl without cleaning, combine the remaining 1 tablespoon of flour, cocoa powder, milk, and 1 tablespoon of chocolate chips. Stir until the mixture is smooth and spread it gently over the cookie layer in the ramekin.
- Bake: Place the ramekin in the oven and bake for 14 to 16 minutes, until the top is set but the center remains soft and fudgy.
- Cool & Serve: Allow the brookie to cool for a few minutes before enjoying. Serve warm with a spoon or pair with a scoop of ice cream for an indulgent treat.
Notes
- To make this brookie in the microwave, cook on high for 45 to 60 seconds, adjusting time according to your microwave’s power.
- For a vegan version, substitute dairy-free butter and plant-based milk, and replace the egg yolk with 1 tablespoon of applesauce.
- Use a small ramekin or oven-safe dish approximately 4 inches in diameter for best results.
- Feel free to add nuts or extra chocolate chips to either layer for added texture and flavor.
- Prep Time: 5 minutes
- Cook Time: 15 minutes
- Category: Dessert
- Method: Baking
- Cuisine: American
