Black Forest Doughnuts Recipe
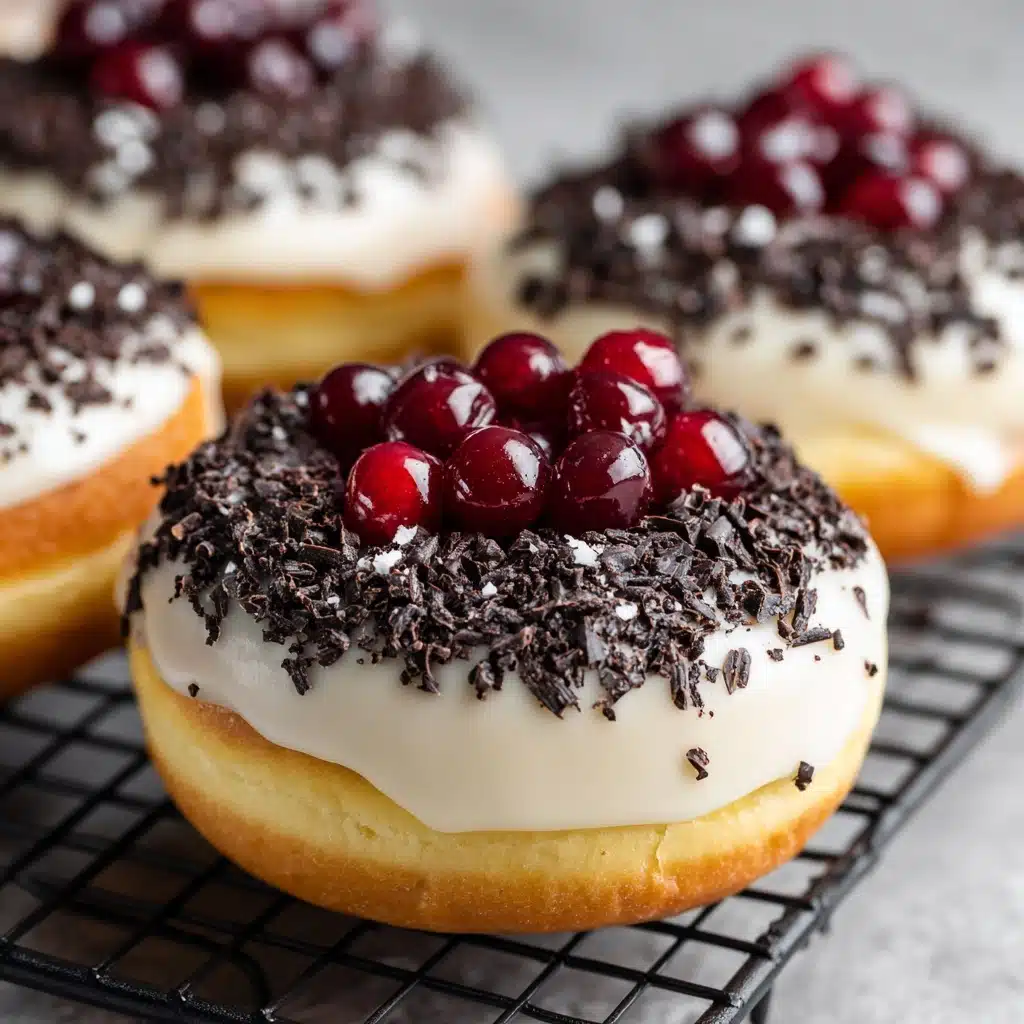
If you’ve ever wished you could enjoy the magic of Germany’s most-loved cake in a sweet handheld treat, these Black Forest Doughnuts are sure to make your dessert dreams come true! Picture all the essentials of Black Forest cake—rich chocolate, bright cherries, fluffy whipped cream, and a touch of elegance—reimagined as soft, moist, oven-baked doughnuts. Each bite brings together melt-in-your-mouth chocolatey goodness with the tangy sparkle of cherries, all finished with fresh cream and chocolate shavings. These doughnuts come together with simple ingredients in less than 30 minutes, promising all the decadent flair of the classic, but with an easy, joy-filled twist that anyone can pull off at home.
Ingredients You’ll Need
The joy of Black Forest Doughnuts starts with a handful of familiar baking essentials. Every ingredient matters—some give that gorgeous chocolate color, others add tenderness, sweetness, or a fruity twist. Here’s what you’ll need (and a few pro tips for each!):
- All-purpose flour: This is the bedrock for doughnut texture, providing just the right structure for a soft crumb.
- Unsweetened cocoa powder: For those deep, chocolatey notes; use a high-quality cocoa for the richest flavor.
- Granulated sugar: Sweetens the batter while also helping create a beautifully tender texture.
- Baking powder: Gives your doughnuts a gentle lift so they turn out light and cakey rather than dense.
- Baking soda: Teaming up with buttermilk, it ensures a perfect rise and a soft bite.
- Salt: Never skip; just a pinch balances flavors so your chocolate really pops.
- Buttermilk: Adds moisture and a subtle tang, making every bite melt-in-your-mouth soft.
- Large egg: Binds everything together and contributes to that lovely, tender crumb.
- Unsalted butter (melted): Enriches the doughnuts and keeps them just on the right side of indulgent.
- Vanilla extract: Rounds out the flavors, adding warm, comforting notes.
- Cherry pie filling (plus extra for topping): The star of the show, this gives that distinct Black Forest flavor—make sure to save some for topping!
- Mini chocolate chips: Little bursts of chocolate in every bite—try dark chocolate for extra depth.
- Whipped cream for topping: A cloud of lightly sweet, creamy goodness nobody can resist.
- Shaved chocolate for garnish: Adds a touch of elegance and extra chocolate appeal to finish things off.
How to Make Black Forest Doughnuts
Step 1: Prep Your Tools and Ingredients
Start by preheating your oven to 350°F (175°C) and greasing your doughnut pan well. Taking these first steps ensures everything comes together effortlessly when the batter is ready—plus, it prevents any unfortunate sticking!
Step 2: Mix the Dry Ingredients
In a large mixing bowl, whisk together the flour, unsweetened cocoa powder, granulated sugar, baking powder, baking soda, and salt. This not only evenly distributes the leaveners but also sifts out any stray lumps for a smooth chocolate base.
Step 3: Blend the Wet Ingredients
In a separate bowl, combine the buttermilk, large egg, melted butter, and vanilla extract. Whisk until everything is beautifully blended. This mix brings moisture and richness, setting the stage for a wonderfully tender crumb in your Black Forest Doughnuts.
Step 4: Combine Wet and Dry Mixtures
Pour the buttermilk mixture into the bowl with the dry ingredients. Stir gently, just until everything is incorporated—overmixing can make your doughnuts tough, so aim for a slightly lumpy batter.
Step 5: Add the Good Stuff
Gently fold in the cherry pie filling and mini chocolate chips. This step is where Black Forest Doughnuts start to come into their own—all the magic of chocolate and cherries in every bite!
Step 6: Fill the Pan
Spoon the batter into your prepared doughnut pan, filling each cavity about 3/4 full. Level off the tops a bit; this gives a consistent, classic doughnut shape.
Step 7: Bake and Cool
Slide your doughnut pan into the oven and bake for 10–12 minutes until the doughnuts are set and a toothpick comes out clean. Give them a hasty 5-minute cool in the pan, then transfer them to a wire rack to cool completely before topping. The anticipation is real, but it’s worth it!
Step 8: Top with Black Forest Flair
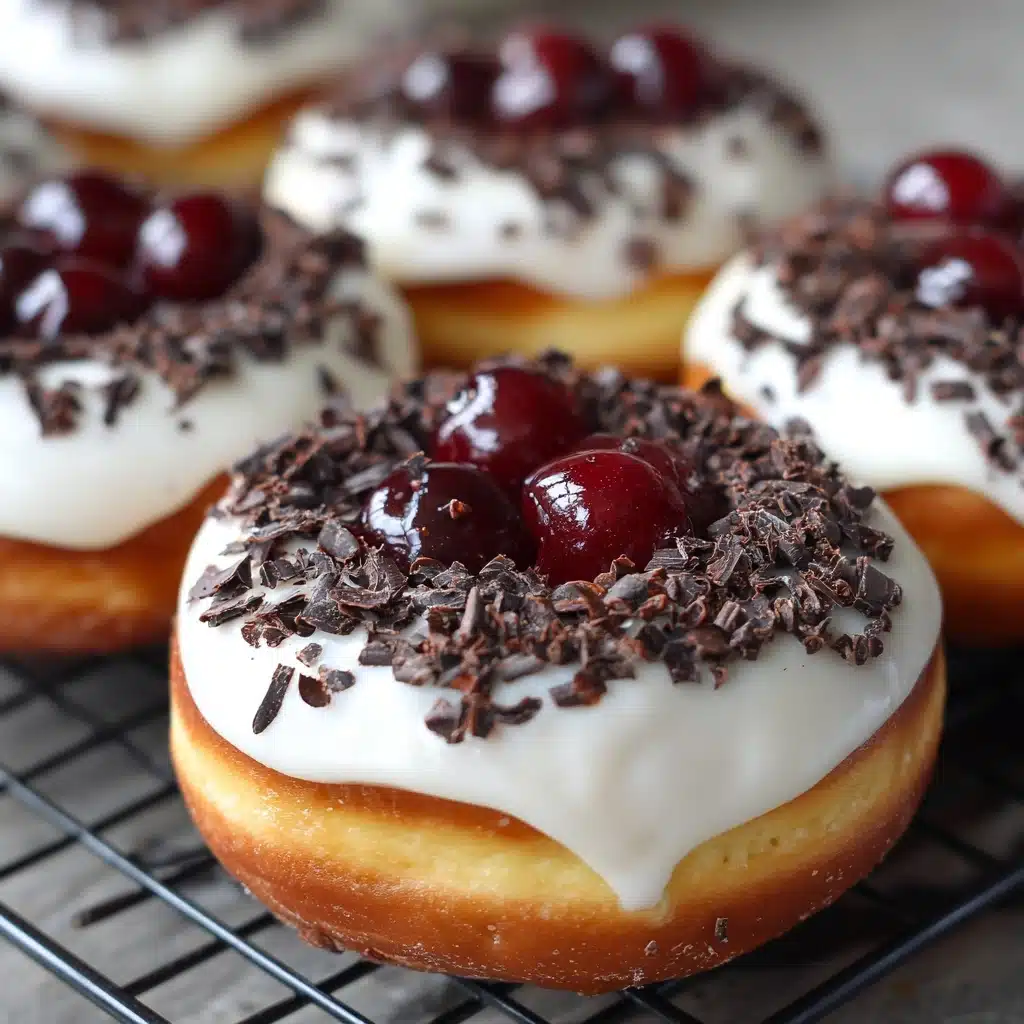
Once the doughnuts are cool, crown each with a generous dollop of whipped cream, a spoonful of cherry pie filling, and a flurry of shaved chocolate. Now your Black Forest Doughnuts look just as incredible as they taste!
How to Serve Black Forest Doughnuts
Garnishes
A swirl of freshly whipped cream, an extra spoonful of luscious cherry pie filling, and a delicate scatter of dark chocolate shavings will make each Black Forest Doughnut as picture-perfect as those from your favorite bakery. For a pretty effect, try using a piping bag for the cream and a vegetable peeler for those dramatic chocolate curls.
Side Dishes
While Black Forest Doughnuts easily shine solo, they pair especially well with a cold glass of milk, a strong cup of espresso, or even a scoop of vanilla ice cream if you’re feeling adventurous. Add a handful of fresh cherries to the plate if they’re in season, and you’ve got dessert perfection.
Creative Ways to Present
Stack the finished doughnuts on a pretty cake stand for a stunning centerpiece at brunch, or plate them individually with an extra drizzle of cherry sauce for a restaurant-style dessert. For a party, mini versions on skewers make a fun—and seriously adorable—Black Forest Doughnut bouquet!
Make Ahead and Storage
Storing Leftovers
If you somehow manage not to devour all your Black Forest Doughnuts right away, store them in an airtight container in the fridge—especially if you’ve already topped them with cream and cherries. They’ll stay soft and moist for up to 2 days, though the texture is best on the first day.
Freezing
Freezing is simple! Freeze the unfrosted doughnuts in a single layer on a baking sheet, then transfer them to a freezer-safe bag. They’ll keep their flavor and texture for up to 2 months. When ready to enjoy, thaw them at room temperature and then add the toppings fresh.
Reheating
To bring that just-baked warmth back, gently reheat plain doughnuts in the microwave for about 10-15 seconds or in a low oven. Be sure to add whipped cream, cherry filling, and chocolate shavings after reheating for the best texture and flavor experience.
FAQs
Can I make Black Forest Doughnuts without a doughnut pan?
Absolutely! Use a muffin tin instead. The doughnuts will be a bit more like cupcakes, but you’ll still get all the Black Forest flavor in every bite. Adjust the bake time if needed, and don’t forget to swirl in those cherries.
Can I use fresh cherries instead of cherry pie filling?
Yes, if cherries are in season, chop and lightly sweeten them before folding into the batter. This gives a fresher, fruitier note that makes these Black Forest Doughnuts even more celebratory.
Can I make these doughnuts gluten-free?
Certainly! Substitute your favorite 1:1 gluten-free flour blend for the all-purpose flour. The results are still light, flavorful, and just as delectable.
How do I keep the whipped cream from deflating?
For extra stability, use freshly whipped cream just before serving or fold in a bit of powdered sugar, which helps it stay fluffier for longer on your Black Forest Doughnuts.
Can I double this recipe for a crowd?
Go for it! This recipe doubles (or even triples) beautifully, making it perfect for special occasions, brunch buffets, or whenever you want to spread a little Black Forest joy to a group.
Final Thoughts
If you’re craving a showstopping dessert you can whip up in your own kitchen, these Black Forest Doughnuts are the treat to try. With their combination of rich chocolate, juicy cherries, and fluffy cream, they’re bound to become a new favorite whether you’re sharing them at a party or simply savoring one with your morning coffee. Give them a try—you won’t regret it!
Print
Black Forest Doughnuts Recipe
- Total Time: 27 minutes
- Yield: 6 doughnuts 1x
- Diet: Vegetarian
Description
Indulge in the decadent flavors of a classic Black Forest cake in the form of delicious baked doughnuts. These chocolatey treats are filled with cherry pie filling, topped with whipped cream, and finished with a sprinkle of shaved chocolate.
Ingredients
Doughnuts:
- 1 cup all-purpose flour
- 1/3 cup unsweetened cocoa powder
- 1/2 cup granulated sugar
- 1 teaspoon baking powder
- 1/4 teaspoon baking soda
- 1/4 teaspoon salt
- 1/2 cup buttermilk
- 1 large egg
- 2 tablespoons unsalted butter, melted
- 1 teaspoon vanilla extract
Additional Ingredients:
- 1/2 cup cherry pie filling, plus extra for topping
- 1/4 cup mini chocolate chips
- Whipped cream for topping
- Shaved chocolate for garnish
Instructions
- Preheat and Prepare: Preheat oven to 350°F (175°C) and grease a doughnut pan.
- Mix Dry Ingredients: In a large bowl, whisk together flour, cocoa powder, sugar, baking powder, baking soda, and salt.
- Combine Wet Ingredients: In another bowl, mix buttermilk, egg, melted butter, and vanilla. Pour into dry ingredients and mix.
- Add Fillings: Gently fold in cherry pie filling and mini chocolate chips.
- Bake: Spoon batter into doughnut pan and bake for 10–12 minutes until a toothpick comes out clean.
- Cool and Serve: Cool in pan for 5 minutes, then transfer to a wire rack. Top with whipped cream, cherry filling, and shaved chocolate.
Notes
- For a richer flavor, use dark chocolate chips.
- When in season, fresh cherries can be used, chopped and sweetened.
- Store doughnuts in the refrigerator if topped with cream.
- Prep Time: 15 minutes
- Cook Time: 12 minutes
- Category: Dessert
- Method: Baking
- Cuisine: German-American
Nutrition
- Serving Size: 1 doughnut
- Calories: 280
- Sugar: 22g
- Sodium: 180mg
- Fat: 11g
- Saturated Fat: 6g
- Unsaturated Fat: 4g
- Trans Fat: 0g
- Carbohydrates: 40g
- Fiber: 2g
- Protein: 4g
- Cholesterol: 35mg


