Sourdough Starter Recipe
If you’ve ever dreamed of making your own beautiful, tangy bread with that perfect crust and open crumb, mastering the Sourdough Starter Recipe is your golden ticket. This living culture of wild yeast and friendly bacteria not only brings incredible flavor to your baking but connects you to a centuries-old tradition of natural fermentation. It’s surprisingly simple to create with just flour and water, yet endlessly rewarding as you nurture it daily into a bubbly, vibrant starter ready to raise your loaves to delicious heights.

Ingredients You’ll Need
The magic of this Sourdough Starter Recipe hinges on incredibly basic but carefully chosen ingredients. Each component plays a crucial role: the flour feeds the natural yeast, and the water activates their fermentation, creating the lively bubbles and tang that define sourdough.
- Whole wheat or unbleached all-purpose flour: Whole wheat flour jumpstarts fermentation with abundant nutrients, while all-purpose flour is great for maintaining a balanced, mild flavor as the starter matures.
- Filtered or dechlorinated water (room temperature): Chlorine in tap water can inhibit yeast growth, so using filtered water ensures your starter thrives happily.
How to Make Sourdough Starter Recipe
Step 1: Mix Your Flour and Water
Start by combining 1 cup of flour with 1/2 cup of water in a clean glass jar, stirring until there are no dry flour pockets. Scrape down the jar’s sides for even fermentation and cover it loosely with a cloth or lid to allow the starter to breathe. Let it rest comfortably at room temperature for 24 hours — this slow beginning lets natural microbes begin their magic.
Step 2: Begin Feeding on Day Two
By now you may notice the first tiny bubbles, a hopeful sign that fermentation has begun. Discard half of the starter (about 1/2 cup) to keep acidity balanced, then add 1/2 cup of flour and roughly 1/4 to 1/2 cup water. Mix thoroughly, cover again, and let it sit for another 24 hours at room temperature as it gains strength.
Step 3: Daily Feedings Through Days Three to Seven
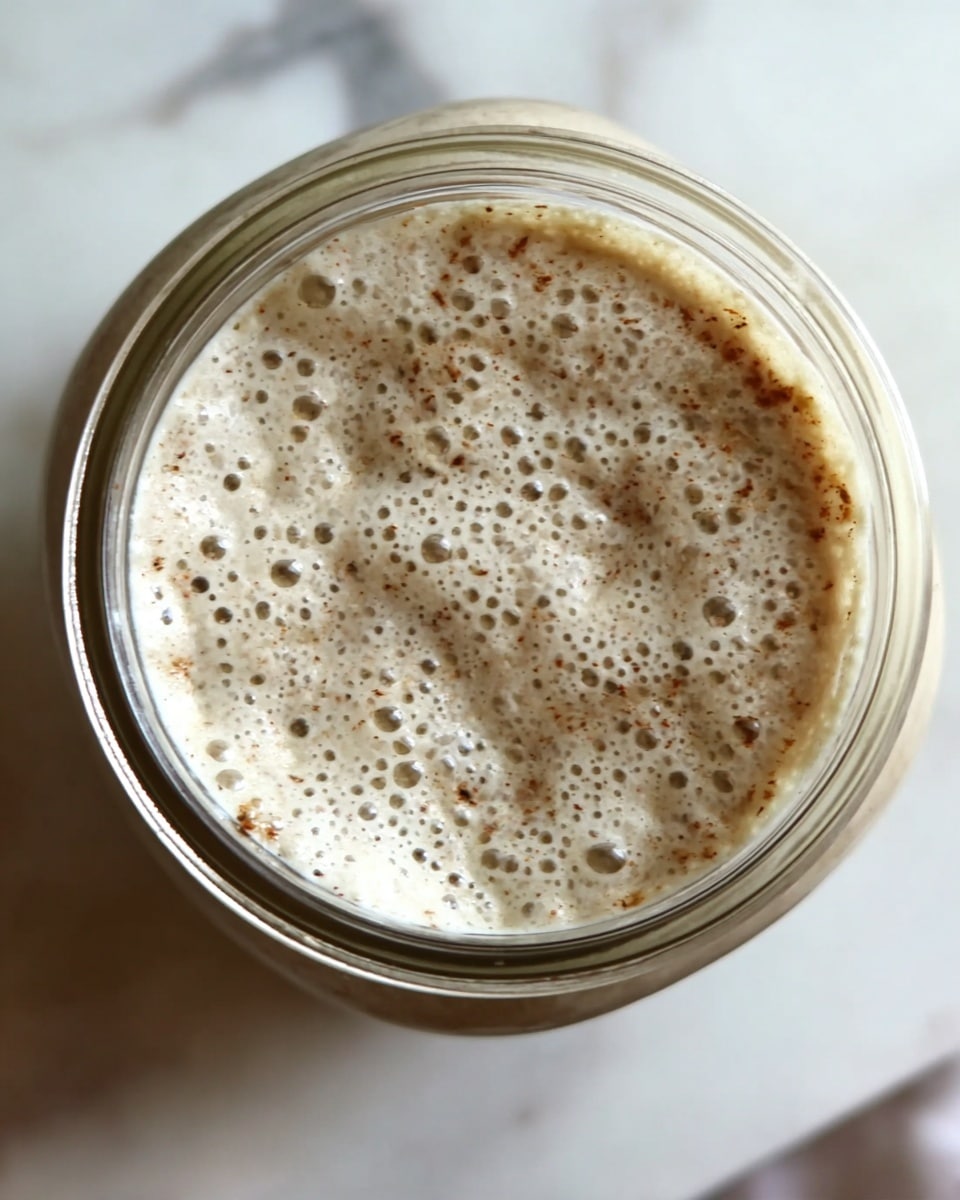
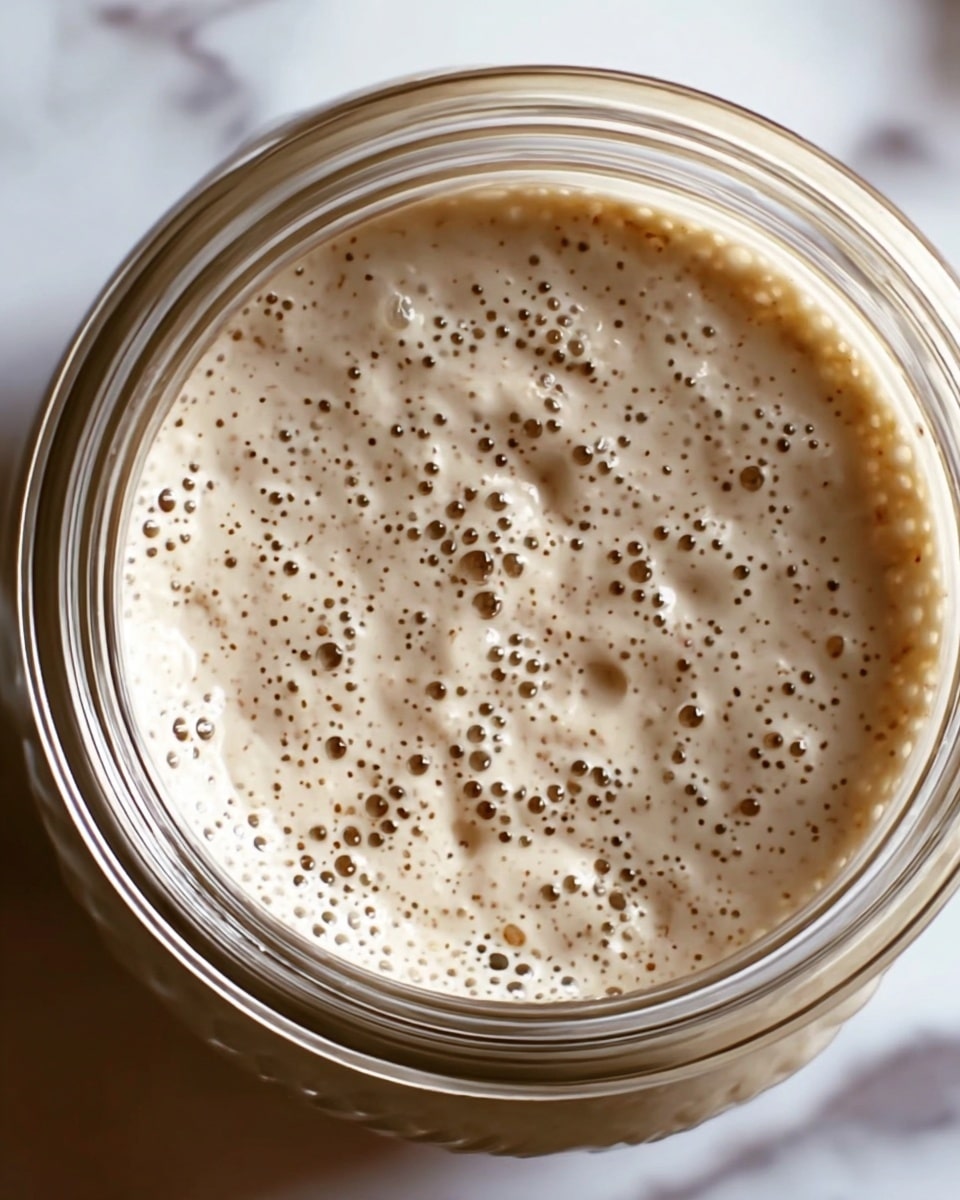
From day three onward, repeat the cycle of discarding half and feeding with fresh flour and water once every 24 hours. You can switch from whole wheat to all-purpose flour after day three if you started with the former. Around day four or five, expect the starter to bubble more vigorously and develop a pleasantly tangy aroma. By the end of the first week, your starter should rise and double in volume within 4 to 6 hours of feeding, sporting a light, airy texture that screams “ready to bake!”
Step 4: Confirm Readiness with the Float Test
To check if your Sourdough Starter Recipe is fully mature and lively, spoon a small amount into a bowl of room temperature water. If it floats effortlessly, the natural yeast have built enough gas to buoy the starter — a sure sign it’s primed and ready to leaven your bread with beautiful lift.
How to Serve Sourdough Starter Recipe

Garnishes
While the starter itself isn’t served as a dish, its vibrant tang and aroma transform your baking, adding depth and personality. You can enhance your sourdough breads with toppings like toasted seeds, fresh herbs, or a dusting of flour to showcase the rustic charm that your starter has helped develop.
Side Dishes
Sourdough bread made from your starter pairs wonderfully with an array of accompaniments. Think creamy cheeses, rich olive oil and balsamic dips, or even hearty soups — all perfect companions that highlight the sourdough’s crisp crust and chewy interior fostered by your starter.
Creative Ways to Present
Use your Sourdough Starter Recipe as the foundation to craft everything from classic boule and baguettes to focaccia topped with olives or caramelized onions. Beyond bread, try your hand at fluffy pancakes, tangy pizza crusts, or even fermented crackers, letting your starter shine in creative and delicious new forms.
Make Ahead and Storage
Storing Leftovers
If you’re not baking daily, simply store your mature starter in the refrigerator. Feeding it once a week will keep it healthy and ready to spring back to life when you decide to bake. Just bring it out a day ahead and feed it to reactivate those wild yeasts before baking.
Freezing
Though freezing is not the ideal environment for a living culture, you can freeze portions of your starter for longer storage. Thaw it gently in the fridge and resume regular feedings to revive its fermentation strength. Keep in mind that frozen starter may need a couple of feedings to return to full vigor.
Reheating
Your starter thrives at room temperature and does not require traditional reheating like a cooked dish. Instead, warming it gently after refrigeration by feeding and resting it at around 70 degrees Fahrenheit is the best way to bring your Sourdough Starter Recipe back to life.
FAQs
How long does it take to get a sourdough starter ready to bake with?
Typically, it takes about seven days of consistent feeding for your starter to become active and bubbly enough to leaven bread effectively. Patience during this period builds a stronger flavor and reliable rise.
Can I use all-purpose flour for my starter?
Absolutely! Many bakers start with whole wheat for its nutrients but switch to unbleached all-purpose flour for regular feedings, which produces a milder, balanced flavor and nice texture.
Why is discarding part of the starter necessary?
Discarding prevents your starter from growing too large and keeps acidity and yeast levels balanced, encouraging healthy fermentation rather than a saturated environment that stalls growth.
What does the float test indicate?
The float test confirms that your starter has built enough gas bubbles to provide lift. If a spoonful floats on water, that means it’s bubbly and ready to bake with, ensuring better bread rise and texture.
How do I maintain my starter if I don’t bake every day?
Store it in the fridge and feed it once a week. Before baking, take it out, feed it, and let it become active at room temperature to renew its strength and activity.
Final Thoughts
Embarking on the journey to create your own Sourdough Starter Recipe is like welcoming a little life into your kitchen — one that rewards your care with the most flavorful and satisfying breads you can imagine. With just flour, water, and a pinch of patience, you’ll transform simple ingredients into something truly extraordinary. Give it a try today, and enjoy the warm, crusty fruits of your labor!
Print
Sourdough Starter Recipe
- Total Time: 7 days
- Yield: 1 cup active sourdough starter 1x
- Diet: Vegan
Description
Learn how to create your own natural sourdough starter from scratch using simple ingredients and a step-by-step feeding process. This recipe guides you through fermenting flour and water over seven days to cultivate wild yeast, resulting in a bubbly, tangy starter that’s perfect for baking homemade sourdough bread. With minimal daily effort and basic kitchen tools, anyone can develop a lively starter that enhances flavor and texture in breads.
Ingredients
Starter Ingredients
- 1 cup (120g) whole wheat flour or unbleached all-purpose flour
- 1/2 cup (120g) filtered or dechlorinated water, room temperature
Instructions
- Day 1 Mixing: In a clean glass jar or container, combine the flour and water. Stir thoroughly until no dry flour remains, scrape down the sides, and loosely cover the container with a lid or cloth. Let this mixture sit at room temperature (70–75°F) for 24 hours to begin fermenting.
- Day 2 Feeding: Check for initial bubbles indicating fermentation. Discard about half of the starter (approximately 1/2 cup). Add 1/2 cup fresh flour and 1/4 to 1/2 cup water to the jar, then mix well. Cover and let rest another 24 hours at room temperature.
- Days 3 to 7 Daily Feedings: Each day, discard half of your starter and add fresh flour and water (maintaining the ratio). You may switch to all-purpose flour after day 3 if you began with whole wheat. Observe your starter as bubbles become more prominent and it develops a pleasantly tangy aroma by day 4 or 5.
- Readiness Check (Days 6–7): By this stage, your starter should double in size within 4–6 hours after feeding and exhibit a light, airy texture. To verify, perform the float test by dropping a small spoonful into water; if it floats, it is active and ready for baking.
Notes
- Always use filtered or dechlorinated water to protect natural yeast from chlorine.
- Store mature sourdough starter in the refrigerator when not baking regularly and feed it weekly to maintain vitality.
- Before baking, feed your starter and allow it to become active and bubbly to ensure optimal rising power in your bread.
- Prep Time: 10 minutes per day for 7 days
- Cook Time: 0 minutes
- Category: Basic, Bread
- Method: Fermentation
- Cuisine: Traditional


