Old-Fashioned Chocolate Pie Recipe
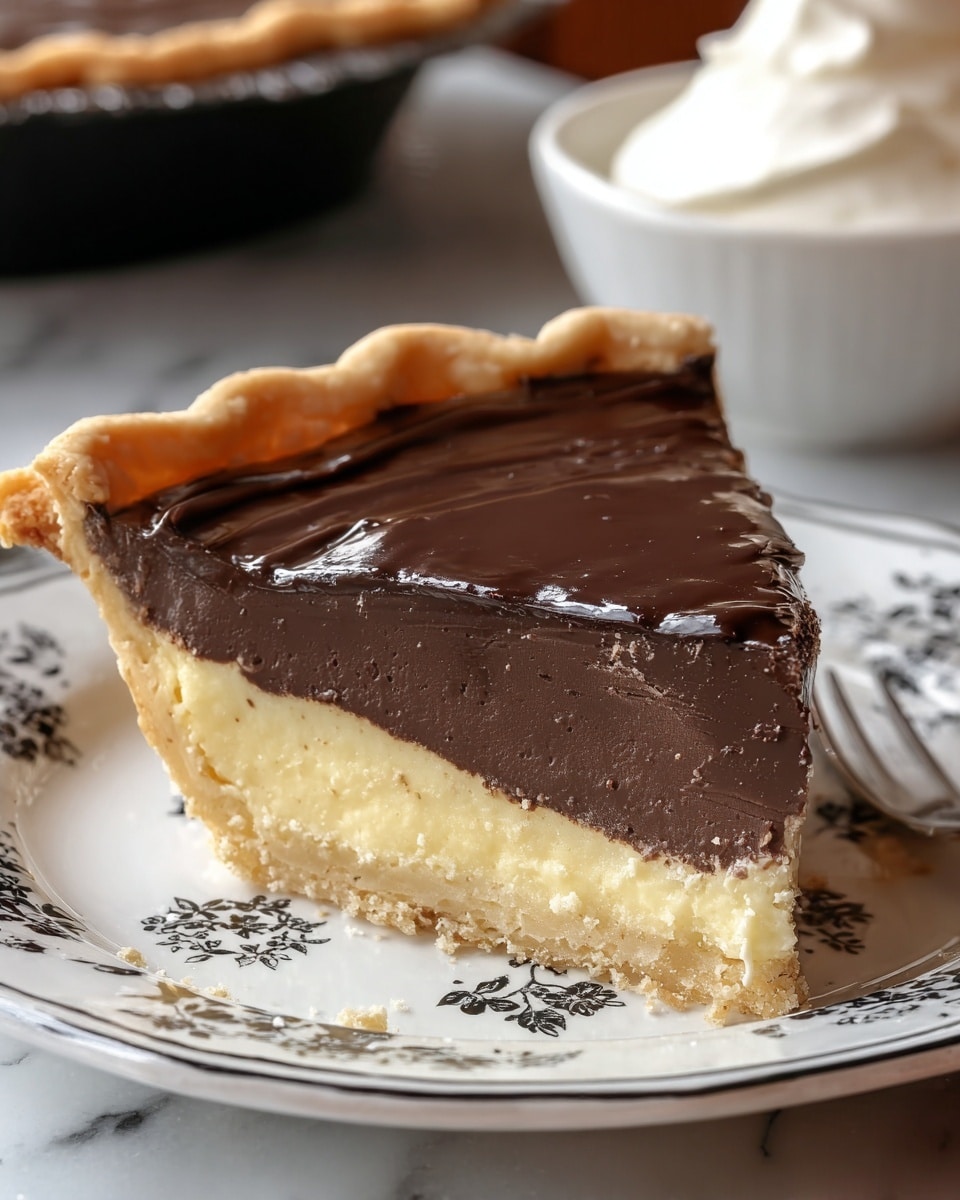
If you are looking for a nostalgic treat that brings back the warm comfort of classic desserts, this Old-Fashioned Chocolate Pie Recipe is exactly what you need. Rich, creamy, and indulgently chocolatey, this pie captures the essence of traditional homemade pies with its luscious filling nestled in a perfectly crisp crust. Each bite offers a delightful balance of flavors and textures that can turn an ordinary day into a special occasion. Whether you’re new to baking or a seasoned pie lover, this recipe will make you fall in love with chocolate pie all over again.
Ingredients You’ll Need
Gathering simple and wholesome ingredients is key to creating a truly memorable Old-Fashioned Chocolate Pie Recipe. Each component plays an important role, from the silky texture of whole milk to the deep cocoa flavor that makes this pie a chocolate lover’s dream.
- Prepared pie crust: Choose a store-bought or homemade crust to provide a flaky, buttery base for your filling.
- Granulated sugar: Sweetens the pie just right, balancing the cocoa’s natural bitterness.
- Unsweetened cocoa powder: Gives the pie its rich chocolate flavor and beautiful dark color.
- Salt: Enhances all the flavors and keeps the sweetness in check.
- Whole milk: Adds creamy richness and smooth consistency to the filling.
- Egg yolks: Provide structure and help thicken the filling into that luscious custard texture.
- Cornstarch: Acts as a thickening agent to give the pie filling its perfect set.
- Unsalted butter: Adds a velvety finish and depth of flavor.
- Vanilla extract: Brings warmth and rounds out the chocolate taste beautifully.
- Whipped cream (optional): A light, airy topping that complements the richness of the pie.
How to Make Old-Fashioned Chocolate Pie Recipe
Step 1: Prepare the Pie Crust
Preheat your oven to 350°F (175°C) and bake your prepared pie crust until it turns a lovely golden brown. This step ensures a crisp base that will hold the luscious filling without getting soggy. Once baked, set it aside to cool completely.
Step 2: Mix the Dry Ingredients
In a medium saucepan, whisk together granulated sugar, unsweetened cocoa powder, and salt. This dry mixture forms the foundation of the pie’s rich chocolate flavor and ensures even sweetness throughout.
Step 3: Incorporate the Milk
Gradually whisk the whole milk into the dry ingredients, taking care to avoid lumps. This step is crucial for achieving a smooth, velvety filling. The milk’s creaminess balances the intensity of the cocoa.
Step 4: Prepare the Egg Mixture
In a separate bowl, whisk together the egg yolks and cornstarch until the mixture is smooth and uniform. The eggs lend richness, while the cornstarch ensures the filling thickens just right without any graininess.
Step 5: Combine and Cook
Slowly pour the egg mixture into the milk mixture while stirring constantly over medium heat. This gradual combination prevents the eggs from curdling and starts the thickening process at a gentle pace.
Step 6: Thicken the Filling
Continue cooking and stirring the mixture until it thickens and just begins to boil, around 8 to 10 minutes. You’ll notice the filling becoming wonderfully creamy and perfectly thickened, ready to set inside the crust.
Step 7: Add Butter and Vanilla
Remove the saucepan from heat and stir in the unsalted butter and vanilla extract until completely smooth. These ingredients enrich the filling, giving it a glossy finish and enhancing the chocolate’s natural depth.
Step 8: Fill the Crust
Pour the decadent chocolate filling into your cooled pie crust, smoothing the top for an even appearance. This is where the magic happens — the moment your pie begins to take shape.
Step 9: Chill and Set
Allow the pie to cool to room temperature, then place it in the refrigerator for at least three hours or preferably overnight. This chilling step allows the filling to fully set into a sliceable, fork-friendly consistency that feels just like a classic homemade pie.
Step 10: Optional Whipped Cream Topping
Before serving, top your pie with a generous dollop of whipped cream if you like. The airy creaminess makes each bite even more indulgent and complements the dense, chocolatey custard perfectly.
How to Serve Old-Fashioned Chocolate Pie Recipe
Garnishes
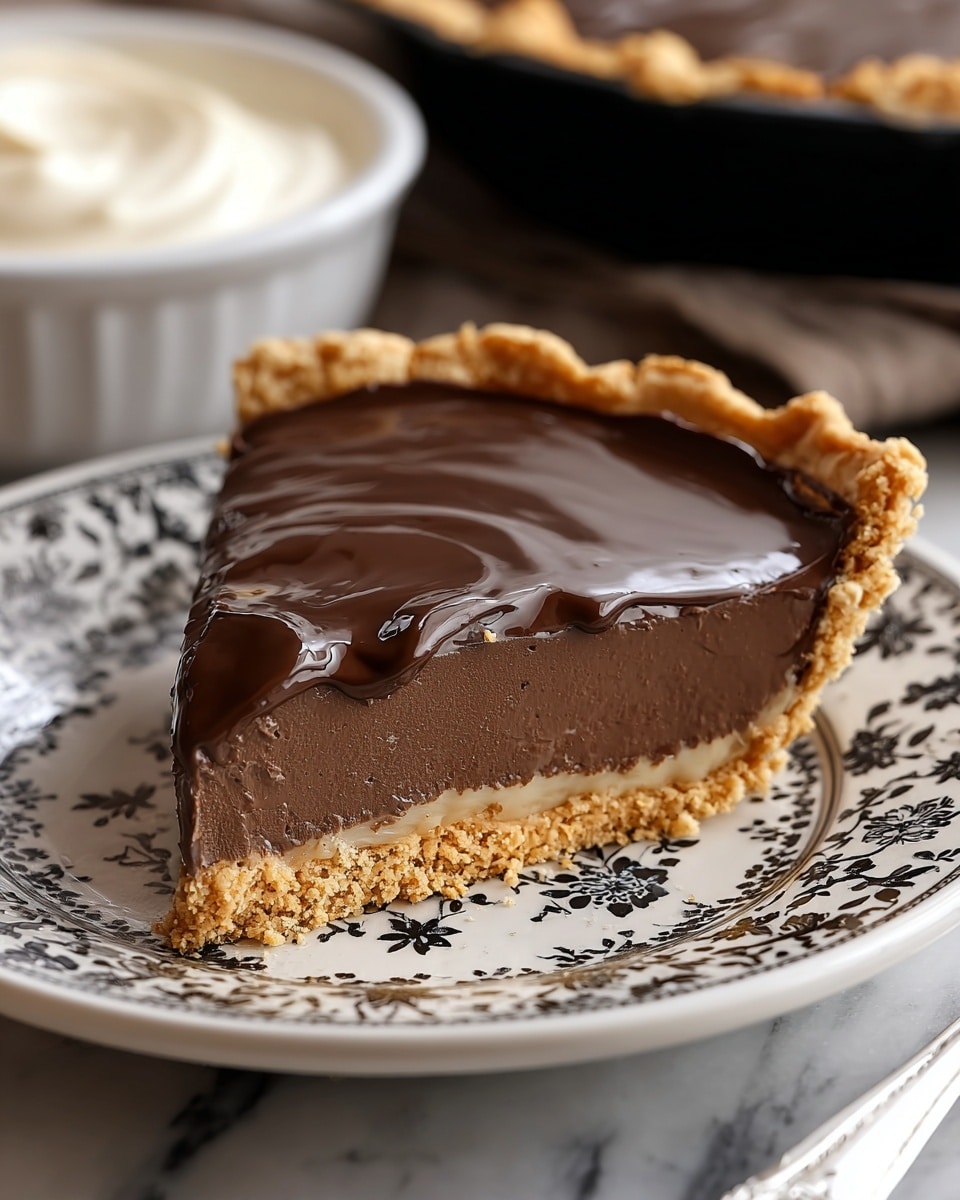
Enhance the timeless appeal of this pie with classic garnishes such as fresh whipped cream, a sprinkling of grated chocolate, or even a few fresh berries if you want a pop of color and a hint of fruity contrast.
Side Dishes
Old-fashioned chocolate pie pairs wonderfully with a hot cup of coffee or tea, making it a perfect finish to a cozy breakfast or a casual evening dessert. Light salads or fruit plates also provide a refreshing counterpart to the pie’s richness.
Creative Ways to Present
Try serving individual slices with a drizzle of caramel or raspberry sauce for a stunning visual and flavor twist. You can also place it on a beautiful cake stand or serve in charming vintage plates to truly capture that old-fashioned vibe everyone will admire.
Make Ahead and Storage
Storing Leftovers
Keep your Old-Fashioned Chocolate Pie Recipe covered tightly with plastic wrap or in an airtight container in the refrigerator. It will stay fresh and delicious for up to 3 days, making it easy to enjoy multiple servings without losing any of the magic.
Freezing
If you want to make this pie well in advance, it can be frozen before adding whipped cream. Wrap it securely in plastic wrap and aluminum foil to prevent freezer burn. When ready to enjoy, thaw it overnight in the refrigerator for the best texture.
Reheating
This pie is best served chilled, so reheating is generally not recommended. However, if you’d like a slightly warmer slice, let it sit at room temperature for 15–20 minutes before serving to soften up the filling gently.
FAQs
Can I use low-fat milk instead of whole milk?
Whole milk is ideal for its creamy texture and rich flavor that enhance the pie filling. Using low-fat milk will result in a thinner filling that lacks some of the lusciousness, but it can work if you’re looking to lighten the pie.
Do I have to use store-bought pie crust?
Not at all! Homemade pie crust adds a wonderful personal touch and unbeatable freshness. Just be sure to bake it fully before adding the filling to maintain that crisp texture.
How long can I keep the pie in the fridge?
The pie will remain delicious for about three days refrigerated. After that, the crust might start to soften too much, and the filling can lose some of its fresh flavor.
Is it possible to make this pie dairy-free?
You can substitute the whole milk with a creamy plant-based milk like oat or coconut milk and use a non-dairy butter alternative. Keep in mind this will alter the texture and flavor slightly, but the pie can still be delightful.
Why does the filling need to be cooked for so long?
Cooking the filling gradually allows the cornstarch to fully activate and the eggs to thicken properly without scrambling, resulting in a smooth, custard-like texture that’s rich and stable once chilled.
Final Thoughts
This Old-Fashioned Chocolate Pie Recipe is a timeless treasure for anyone who loves the perfect combination of creamy chocolate filling and flaky pie crust. It’s a dessert that brings warmth, smiles, and a little slice of nostalgia to the table. I highly encourage you to give this recipe a try and experience the pure joy of homemade chocolate pie — your friends and family will thank you for it!
Print
Old-Fashioned Chocolate Pie Recipe
- Total Time: 3 hours 35 minutes
- Yield: 8 servings 1x
- Diet: Vegetarian
Description
This classic Old-Fashioned Chocolate Pie features a rich, silky chocolate filling nestled in a flaky pie crust. Made with simple pantry ingredients and cooked on the stovetop, this pie offers nostalgic comfort with a luscious texture, perfect for any chocolate lover looking for a timeless dessert.
Ingredients
Pie Crust
- 1 prepared pie crust (store-bought or homemade)
Chocolate Filling
- 1 1/4 cups granulated sugar
- 1/4 cup unsweetened cocoa powder
- 1/4 teaspoon salt
- 2 1/2 cups whole milk
- 3 large egg yolks
- 2 tablespoons cornstarch
- 2 tablespoons unsalted butter
- 1 teaspoon vanilla extract
Topping (Optional)
- Whipped cream
Instructions
- Preheat and bake crust: Preheat your oven to 350°F (175°C). If using a homemade pie crust, bake it until golden brown, then set aside to cool completely before filling.
- Combine dry ingredients: In a medium saucepan, whisk together the granulated sugar, unsweetened cocoa powder, and salt to create a smooth base.
- Add milk: Gradually whisk in the whole milk to the dry mixture, stirring continuously to prevent lumps from forming.
- Prepare egg mixture: In a separate bowl, whisk the large egg yolks and cornstarch together until the mixture is smooth and uniform.
- Mix egg and milk mixtures: Slowly pour the egg yolk mixture into the saucepan with the milk mixture while stirring constantly over medium heat to combine thoroughly.
- Cook filling: Continue to cook the mixture, stirring continuously, until it thickens and comes to a boil, which should take about 8-10 minutes.
- Finish filling: Remove the saucepan from heat and immediately stir in the unsalted butter and vanilla extract until the filling is completely smooth.
- Assemble pie: Pour the warm chocolate filling into the cooled pie crust, smoothing the top with a spatula.
- Chill pie: Allow the pie to cool to room temperature, then refrigerate for at least 3 hours or overnight to ensure it sets properly.
- Serve: Before serving, optionally garnish with whipped cream for an extra touch of richness and creaminess.
Notes
- Ensure the pie crust is completely cooled before adding the filling to prevent it from becoming soggy.
- Stir continuously while cooking the filling to avoid burning or curdling the eggs.
- This pie tastes best when allowed to chill overnight, enhancing the texture and flavor.
- Use high-quality cocoa powder for richer chocolate flavor.
- For variation, sprinkle chocolate shavings or a dusting of cocoa powder on top before serving.
- Prep Time: 20 minutes
- Cook Time: 15 minutes
- Category: Dessert
- Method: Stovetop
- Cuisine: American
