Banana Wafer Cake Recipe
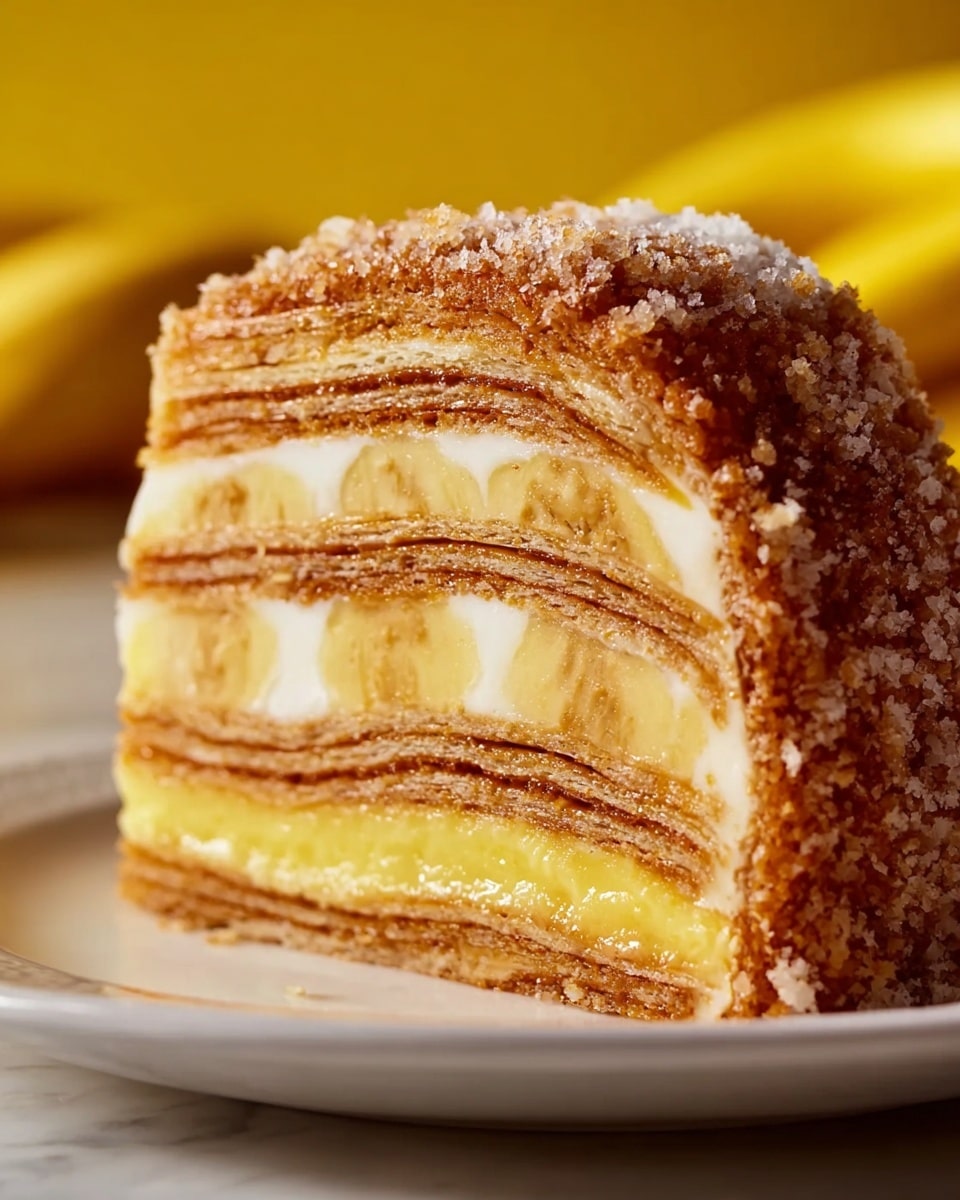
If you have a sweet tooth and a soft spot for easy, no-bake desserts, this Banana Wafer Cake Recipe is about to become your new best friend. It combines the natural sweetness of ripe bananas, the creamy richness of vanilla pudding and whipped cream, and the delightful crunch of vanilla wafer cookies into a layered, dreamy treat that’s as simple to make as it is irresistible. Whether you’re hosting a summer picnic or just craving something indulgent without firing up the oven, this cake delivers flavor and comfort in every bite with minimal effort.
Ingredients You’ll Need
Every ingredient in this Banana Wafer Cake Recipe plays a starring role, keeping things straightforward yet flavorful. From the smooth vanilla pudding to the fresh bananas and crisp wafers, each element adds a unique texture and taste that makes this cake so special.
- Ripe bananas: Choose 3 to 4 for natural sweetness and a soft, luscious fruit layer.
- Vanilla wafer cookies: About 12 ounces provide the crunchy base and layers that soak up creamy goodness beautifully.
- Heavy whipping cream: 2 cups whipped to fluffy peaks, adding lightness and richness.
- Whole milk: 1 cup to mix the pudding and create that silky texture.
- Instant vanilla pudding mix: 3.4 ounces for that classic, smooth vanilla flavor and thick filler layer.
- Granulated sugar: 1/4 cup to sweeten the pudding just right.
- Vanilla extract: 1 teaspoon for an extra depth of aromatic flavor.
- Cinnamon (optional): 1/2 teaspoon to add a warm, spicy note that complements the bananas perfectly.
- Fresh banana slices (optional): For garnish and extra fresh appeal on top.
How to Make Banana Wafer Cake Recipe
Step 1: Prepare the Pudding
Start by whisking your instant vanilla pudding mix together with whole milk and granulated sugar in a large bowl. Follow the package instructions carefully to get that perfectly thickened base. Once the pudding has set, stir in vanilla extract and a bit of cinnamon if you want a hint of warmth. Set it aside to cool so it’s ready for layering.
Step 2: Whip the Heavy Cream
In a separate bowl, whip the heavy cream with an electric mixer until it forms stiff peaks—this airy whipped cream is what makes the cake feel so light and fluffy amidst its creamy layers.
Step 3: Assemble the First Layers
Grab a large serving dish—something around 9×13 inches works perfectly—and lay down a solid layer of vanilla wafer cookies as the cake’s foundation. Their crunchy texture will soften nicely once they soak up all that creamy pudding and banana goodness.
Step 4: Add the Bananas and Pudding
Next comes a layer of sliced bananas spread evenly over the wafers. Then, fold the whipped cream gently into the vanilla pudding mixture until combined, creating a creamy, dreamy layer to spread on top of the bananas. This combination balances the fruit’s natural sweetness with creamy indulgence.
Step 5: Repeat the Layers
Keep the magic going by adding another layer of wafers, followed by more banana slices, and finish with that luscious pudding and whipped cream blend. The alternating textures and flavors create a sensational cake experience in every bite.
Step 6: Chill to Perfection
Cover the dish with plastic wrap and let your banana wafer cake chill in the refrigerator for at least 4 hours. Overnight chilling is even better to let the flavors meld together and allow the wafers to soften just enough, melting into the creamy layers and bananas.
Step 7: Final Touches
Before you serve, add a few fresh banana slices or a sprinkle of cinnamon on top for a pretty, appetizing finish that also adds a burst of fresh flavor.
How to Serve Banana Wafer Cake Recipe
Garnishes
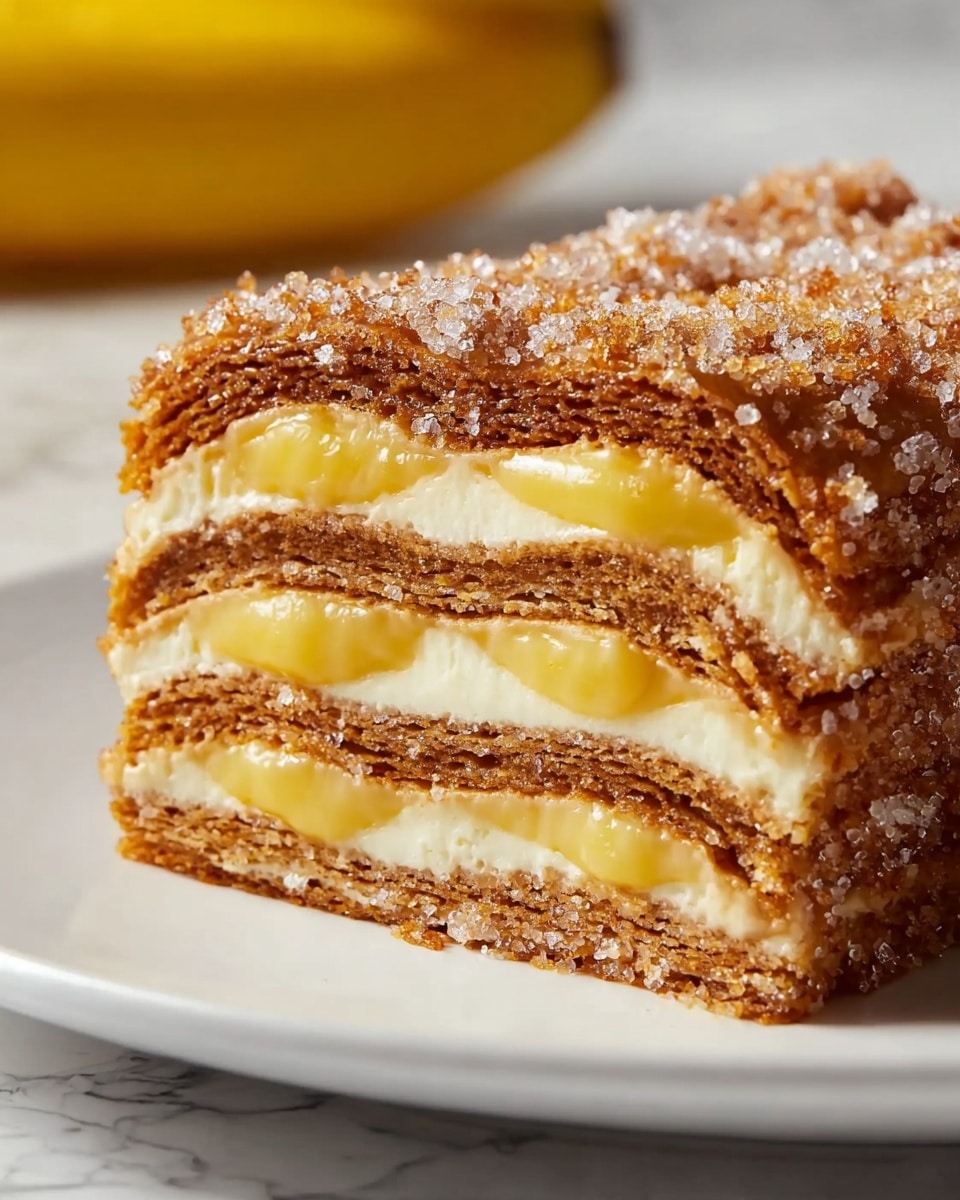
The simple addition of fresh banana slices on top brightens the look and taste of the cake, while a light dusting of cinnamon or even a few chocolate shavings can take your presentation to the next level. These little touches add color and extra flavor to each slice.
Side Dishes
This cake pairs wonderfully with a scoop of vanilla ice cream or a drizzle of caramel sauce if you want to add some richness. For a refreshing contrast, serve alongside fresh berries or a tangy fruit salad to balance the creamy sweetness.
Creative Ways to Present
If you’re feeling fancy, serve the Banana Wafer Cake Recipe in individual glass parfait cups to show off its beautiful layers. Alternatively, create mini trifle jars for charming, personalized desserts that guests will rave about.
Make Ahead and Storage
Storing Leftovers
Keep your leftover banana wafer cake covered tightly with plastic wrap or in an airtight container and place it in the refrigerator. It stays delicious and moist for up to 3 days, making it perfect for enjoying over a few days without losing any flavor.
Freezing
This cake isn’t the best candidate for freezing because the fresh bananas and wafers can become mushy or soggy after thawing. It’s best enjoyed fresh, so plan to consume it within a few days of making.
Reheating
Since this is a chilled, no-bake dessert, it’s meant to be served cold, so no reheating is necessary. Just take it out of the fridge about 10 minutes before serving if you want it to soften just a touch for easier slicing.
FAQs
Can I use different types of cookies instead of vanilla wafers?
Absolutely! While vanilla wafers are classic for this recipe due to their sweetness and texture, you can experiment with other light, crisp cookies like graham crackers or shortbread – just keep in mind they’ll affect the flavor slightly.
How ripe should the bananas be?
Your bananas should be fully ripe with plenty of yellow and maybe a few brown spots for maximum sweetness and softness. Under-ripe bananas won’t give the same creamy texture or flavor impact.
Is there a way to make this recipe vegan?
Yes! Substitute the heavy cream with coconut cream whipped to stiff peaks, use a plant-based milk like almond or oat, and find a vegan instant vanilla pudding mix or make your own from scratch to keep the creamy texture intact.
Can I prepare this cake a day in advance?
Definitely. In fact, preparing it the day before improves the flavor as the wafers soften and the layers meld together for a more cohesive taste overall.
What can I do if I don’t have instant pudding mix?
You can make a homemade pudding using cornstarch, sugar, vanilla extract, and milk cooked on the stove until thickened. While it takes a bit longer, it adds a nice personal touch to your Banana Wafer Cake Recipe.
Final Thoughts
This Banana Wafer Cake Recipe is truly one of those delightful, fuss-free desserts that never fails to impress with its creamy, fruity, and crunchy layers. Whether you’re making it for a family gathering or a cozy night in, it’s guaranteed to bring smiles and cravings. Give it a try—you might just find yourself keeping this recipe in your permanent collection!
Print
Banana Wafer Cake Recipe
- Total Time: 4 hours 15 minutes (including chilling time)
- Yield: 8 servings 1x
Description
This Banana Wafer Cake is a no-bake, creamy, and delicious dessert featuring layers of ripe bananas, vanilla wafer cookies, and a luscious vanilla pudding whipped cream filling. Perfect for a quick yet indulgent treat, it requires minimal preparation and chilling time to meld flavors and soften the wafers to cake-like perfection.
Ingredients
Banana Wafer Cake
- 3–4 ripe bananas, sliced
- 1 box (about 12 oz) vanilla wafer cookies
- 2 cups heavy whipping cream
- 1 cup whole milk
- 1 package (3.4 oz) instant vanilla pudding mix
- 1/4 cup granulated sugar
- 1 teaspoon vanilla extract
- 1/2 teaspoon cinnamon (optional, for added flavor)
- Fresh banana slices (for garnish, optional)
Instructions
- Prepare the Pudding: In a large bowl, whisk together the instant vanilla pudding mix, whole milk, and granulated sugar. Follow the package instructions to allow the pudding to thicken properly. Once thickened, stir in the vanilla extract and cinnamon if using. Set aside to cool to room temperature.
- Whip the Cream: In a separate bowl, use an electric mixer to whip the heavy whipping cream until stiff peaks form. This whipped cream will add a light and fluffy texture to the cake layers.
- Assemble the Cake: In a large 9×13-inch serving dish, start with a layer of vanilla wafer cookies arranged evenly on the bottom.
- Add Bananas and Pudding: Place a layer of sliced bananas on top of the wafer layer. Then spread a portion of the vanilla pudding mixture over the bananas.
- Combine Whipped Cream and Pudding: Gently fold the whipped cream into the remaining pudding mixture until combined, and then spread this creamy mixture over the pudding layer.
- Repeat Layers: Add another layer of vanilla wafer cookies, followed by sliced bananas, and then top with the combined pudding and whipped cream mixture.
- Chill and Set: Cover the dish with plastic wrap and refrigerate the cake for at least 4 hours, preferably overnight. This chilling process allows the wafers to soften and the flavors to meld together beautifully.
- Garnish and Serve: Before serving, optionally garnish with fresh banana slices or a sprinkle of cinnamon for an extra touch of flavor and presentation.
Notes
- Use ripe bananas for the best natural sweetness and flavor.
- For a firmer texture, chill the cake overnight instead of 4 hours.
- Substitute low-fat milk and light whipped topping for a lighter version, but the texture may be less creamy.
- If you want extra cinnamon flavor, dust the top of the cake with ground cinnamon right before serving.
- This cake is best consumed within 2-3 days of preparation when stored covered in the refrigerator.
- Prep Time: 15 minutes
- Cook Time: 0 minutes
- Category: Dessert
- Method: No-Cook
- Cuisine: American
