Glow Swirl Ice Cream Sandwiches Recipe
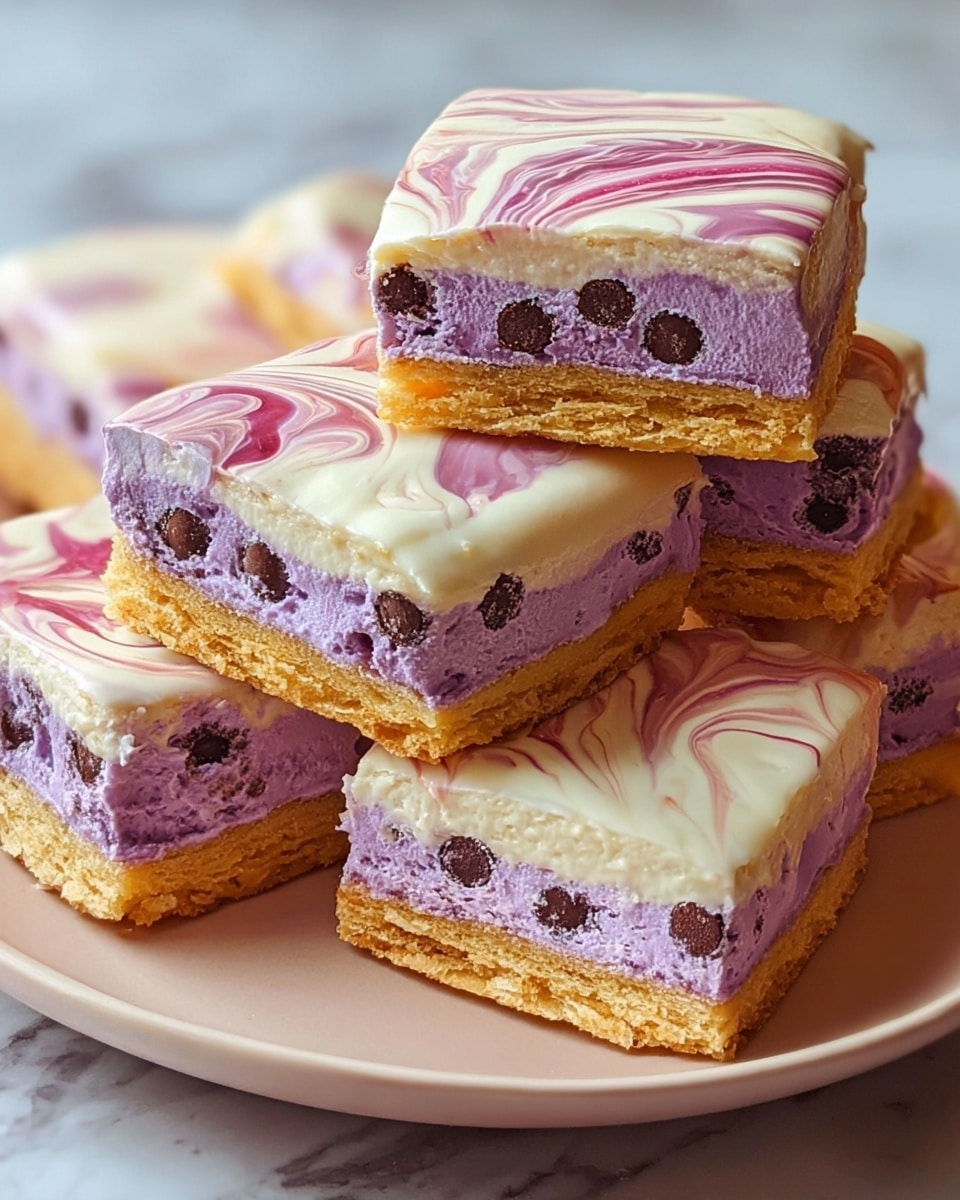
There is nothing quite as magical as biting into a dessert that looks as vibrant as it tastes, and the Glow Swirl Ice Cream Sandwiches Recipe delivers just that in every colorful, creamy bite. These neon-hued ice cream sandwiches are a playful twist on a classic treat, combining soft, pastel-dappled cookies with brightly swirled ice cream for a glowing effect that dazzles your senses. Whether you are planning a fun party or just want to add some excitement to your dessert rotation, these sandwiches will light up your taste buds and your gatherings with their cheerful, eye-catching appearance and irresistible flavor.
Ingredients You’ll Need
Getting the ingredients together for the Glow Swirl Ice Cream Sandwiches Recipe is simple and rewarding. Each component plays a key role: the flour and butter create soft, chewy cookies, while the neon food coloring brings that signature glow. And of course, the ice cream adds a creamy coolness that ties it all together beautifully.
- 1 1/2 cups all-purpose flour: Provides the perfect base for tender cookies that hold their shape.
- 1 teaspoon baking soda: Helps the cookies rise just enough for a light texture.
- 1/2 teaspoon salt: Balances flavor and enhances sweetness.
- 1/2 cup unsalted butter, softened: Key for richness and that melt-in-your-mouth softness.
- 1 cup granulated sugar: Sweetens and helps create that lovely cookie crumb.
- 1 large egg: Binds everything together perfectly.
- 1 teaspoon vanilla extract: Adds a warm, inviting flavor to the cookie dough.
- 1 tablespoon milk (optional): Makes the dough softer if needed, ensuring easy mixing.
- Neon food coloring (red, blue, green, or your choice): The magic behind the eye-popping colors in both cookies and ice cream.
- 4 cups vanilla ice cream (or any flavor you love), softened: The creamy center of your glow-in-the-dark creation.
- 1 tablespoon powdered sugar (optional): Stabilizes the ice cream so your sandwiches don’t melt too fast.
How to Make Glow Swirl Ice Cream Sandwiches Recipe
Step 1: Prepare the Cookie Dough
Start by preheating your oven to 350°F (175°C) and lining a baking sheet with parchment paper. Whisk together the flour, baking soda, and salt in a medium bowl to combine your dry ingredients evenly. In a separate large bowl, cream the softened butter with the granulated sugar until the mixture is fluffy and light, about 2–3 minutes. Beat in the egg and vanilla extract until everything is perfectly incorporated. Gradually fold in the dry ingredients, stirring just until combined—overmixing can toughen the dough. If it feels too stiff, splash in a tablespoon of milk to loosen it up.
Step 2: Color and Shape the Dough
Divide the dough into as many portions as you want colors—typically 3 to 4 for a glowing swirl effect. Add a few drops of neon food coloring to each portion and knead gently until the color is fully absorbed. Remember to use gloves or cover your hands, as the coloring loves to leave marks! Roll small balls from each colored dough, then arrange these balls close together on the baking sheet. Gently press them so they stick but don’t fully blend, then flatten slightly with your palm. This creates those distinct vibrant patches that make each cookie so dazzling.
Step 3: Bake the Cookies
Pop your colorful cookie dough mounds into the oven and bake for 8 to 10 minutes, or until the edges turn just golden but the centers stay soft and tender. Overbaking dulls the colors and hardens the texture, so keep a close eye. Once done, let them cool completely on a wire rack so they’re ready to hug your luscious ice cream.
Step 4: Color and Prepare the Ice Cream
While your cookies cool, spoon softened vanilla ice cream into separate bowls, matching the number of colors in your dough. Add drops of neon food coloring to each bowl and mix to get those perfect bright shades and swirls you dream of. You can even blend colors for an artistic effect! If you want your ice cream to hold up longer, fold in a tablespoon of powdered sugar for a little extra stability.
Step 5: Assemble and Freeze
On the flat side of one cooled cookie, scoop a generous dollop of your neon ice cream. Top it with a second cookie and gently press together to make the perfect sandwich. Repeat for the rest, then arrange your masterpieces on a parchment-lined baking sheet. Freeze for at least 1 to 2 hours to firm up the ice cream so it’s ready to glow and delight.
How to Serve Glow Swirl Ice Cream Sandwiches Recipe
Garnishes
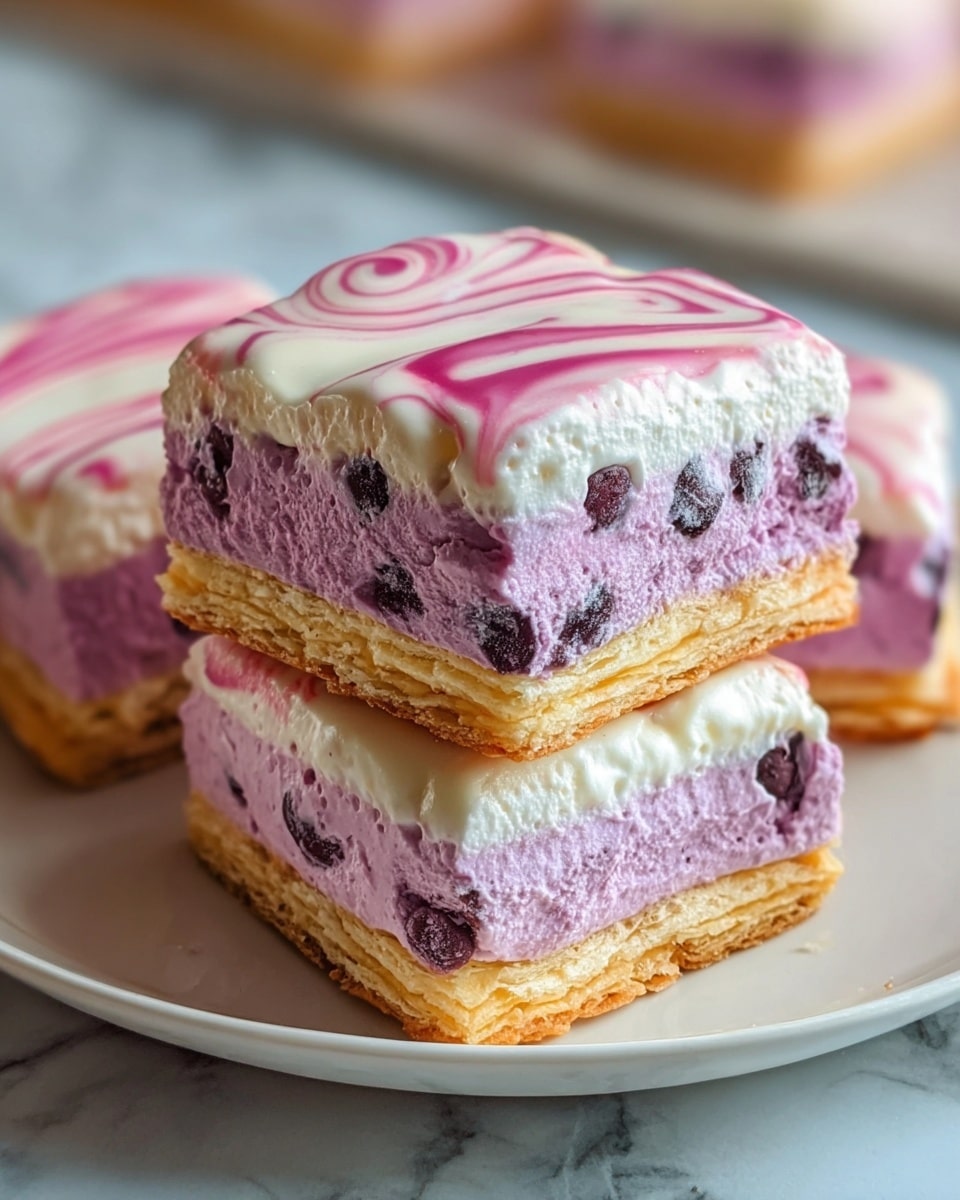
Add a little sparkle to your glow swirl ice cream sandwiches by dusting the top with edible glitter or sprinkles that match your neon theme. A few fresh berries on the side can add a pop of natural color and a juicy contrast, while a drizzle of a simple raspberry or lime sauce can introduce a tangy twist that complements the sweetness.
Side Dishes
Keep things fresh and fun by pairing these radiant sandwiches with light sides like a crisp fruit salad or a vibrant kale slaw dressed simply with lemon juice and honey. For a party, mini neon cupcakes or colorful gelatin shots can carry the glowing theme through the entire dessert spread.
Creative Ways to Present
Present your Glow Swirl Ice Cream Sandwiches Recipe by stacking them in a clear glass jar or arranging them on a platter encircled with string lights for a glowing effect in dim light. Serving on bright neon plates or with colorful napkins amps up the festive excitement and makes the sandwiches even more eye-catching and fun to share.
Make Ahead and Storage
Storing Leftovers
If you have leftovers, wrap each ice cream sandwich tightly in plastic wrap or place them in an airtight container to prevent freezer burn and maintain freshness. Stored correctly, they can stay fresh and delicious for up to one week, perfect for satisfying sweet cravings anytime.
Freezing
These Glow Swirl Ice Cream Sandwiches Recipe treats are ideal for freezing. Once assembled and frozen solid, keep them stored in a single layer initially, then stack with parchment paper in between. This method preserves their vivid colors and creamy texture so you can enjoy them whenever you want that glowing dessert experience.
Reheating
No need to reheat these beauties! They’re best enjoyed straight from the freezer to maintain that delightful soft-but-cool texture. If they get too hard, let them sit at room temperature for a few minutes before digging in. The colors and flavors stay as vibrant as ever without any warming needed.
FAQs
Can I use other ice cream flavors besides vanilla?
Absolutely! While vanilla lets the neon colors really pop, feel free to experiment with fruity or chocolate ice creams. Just make sure they’re softened properly for easy coloring and scooping.
Will the neon food coloring affect the taste?
The food coloring is designed to be vibrant but tasteless, so it won’t change the flavor of your cookies or ice cream, just their spectacular appearance.
How do I get the perfect swirl effect with the ice cream?
Mix your colored ice cream just enough to blend without fully combining the colors. Swirling gently with a spatula creates those pretty streaks that make the ice cream look truly magical.
Is it necessary to add powdered sugar to the ice cream?
It’s optional but helpful. Powdered sugar stabilizes the ice cream a bit, slowing melting and making the sandwiches easier to handle during assembly and serving.
Can I make these without neon food coloring?
You can, but the signature glow and playful look come from the neon hues. If you prefer a subtler approach, try pastel shades or colors that suit your occasion.
Final Thoughts
There is a unique joy in creating desserts that look as joyful as they taste, and the Glow Swirl Ice Cream Sandwiches Recipe truly brings that happiness to your kitchen. With its bright colors, tender cookies, and creamy ice cream, this recipe is a celebration on a plate that’s perfect for any fun occasion or simply brightening up your day. Give it a try—you’ll soon see why it’s become such a beloved treat to share with friends and family!
Print
Glow Swirl Ice Cream Sandwiches Recipe
- Total Time: 1 hour 40 minutes
- Yield: 12 servings 1x
Description
Glow Swirl Ice Cream Sandwiches are vibrant, colorful treats perfect for neon-themed parties. These soft, multi-colored cookies sandwich neon-hued ice cream, creating a fun and playful dessert that glows under UV light. The recipe combines classic soft cookies with a swirled ice cream filling enhanced with neon food coloring for an eye-catching dessert experience.
Ingredients
Cookie Dough
- 1 1/2 cups all-purpose flour
- 1 teaspoon baking soda
- 1/2 teaspoon salt
- 1/2 cup unsalted butter, softened
- 1 cup granulated sugar
- 1 large egg
- 1 teaspoon vanilla extract
- 1 tablespoon milk (optional, for extra softness)
- Neon food coloring (red, blue, green, or your choice of colors)
Ice Cream Filling
- 4 cups vanilla ice cream (or any ice cream of your choice, softened)
- Neon food coloring (same colors as the cookies or any desired shades)
- 1 tablespoon powdered sugar (optional, for stabilization)
Instructions
- Prepare the Cookie Dough: Preheat your oven to 350°F (175°C) and line a baking sheet with parchment paper to prepare for baking.
- Mix Dry Ingredients: In a medium bowl, whisk together the all-purpose flour, baking soda, and salt until evenly combined.
- Cream Butter and Sugar: In a separate large bowl, beat the softened butter and granulated sugar together for 2-3 minutes until the mixture is light and fluffy.
- Add Egg and Vanilla: Beat in the egg and vanilla extract until fully incorporated into the creamed mixture.
- Combine Ingredients: Gradually add the dry flour mixture to the wet ingredients, mixing just until everything is combined and no large flour pockets remain.
- Adjust Dough Consistency: If the dough feels too thick or dry, add a tablespoon of milk to soften it slightly for easier handling.
- Divide Dough and Add Color: Divide the dough into small portions based on the number of neon colors you want to use (usually 3-4). Add a few drops of neon food coloring to each portion and knead until the colors are fully blended in. Use gloves to avoid staining your hands.
- Form and Assemble Dough Balls: Roll small balls from each colored dough portion. Place the different colored dough balls close together on the baking sheet, ensuring they touch but do not mix completely.
- Shape Cookies: Gently press the dough balls together and flatten slightly with the palm of your hand to form multi-colored mounds.
- Bake the Cookies: Bake the cookies in the preheated oven for 8-10 minutes or until the edges are lightly golden but the center remains soft. Be careful not to overbake.
- Cool the Cookies: Remove the cookies from the oven and allow them to cool completely on a wire rack before assembling the sandwiches.
- Prepare Neon Ice Cream: Soften the vanilla ice cream and divide it into separate bowls for each neon color. Add a few drops of neon food coloring to each bowl and stir well to achieve your desired bright hues. Mix colors to create swirls if desired.
- Stabilize Ice Cream (Optional): To help prevent quick melting, mix a tablespoon of powdered sugar into each colored ice cream bowl for a more stable filling.
- Assemble Ice Cream Sandwiches: Once cookies are fully cooled, scoop a generous amount of the neon ice cream onto the flat side of one cookie.
- Complete Sandwich: Place a second cookie on top of the ice cream and gently press together to form the sandwich.
- Repeat Assembly: Continue assembling all the remaining cookies and ice cream until finished.
- Freeze the Sandwiches: Arrange the assembled sandwiches on a baking sheet lined with parchment paper. Freeze for at least 1-2 hours to allow the ice cream to firm up fully.
- Serve and Enjoy: Once firm, serve the Glow Swirl Ice Cream Sandwiches. They display vibrant colors and glow beautifully under UV light, making them ideal for neon or glow-in-the-dark parties.
Notes
- Use gloves when working with neon food coloring to avoid staining your hands.
- Do not overbake the cookies; they should remain soft to hold the ice cream nicely.
- Softening ice cream before coloring allows easy mixing but work quickly to prevent melting.
- The optional milk in the dough helps achieve a softer cookie texture.
- Powdered sugar in the ice cream filling stabilizes it and slows melting.
- For best glow effect, serve under UV or black light.
- Store assembled sandwiches in the freezer until ready to serve.
- Prep Time: 20 minutes
- Cook Time: 10 minutes
- Category: Dessert
- Method: Baking
- Cuisine: American

