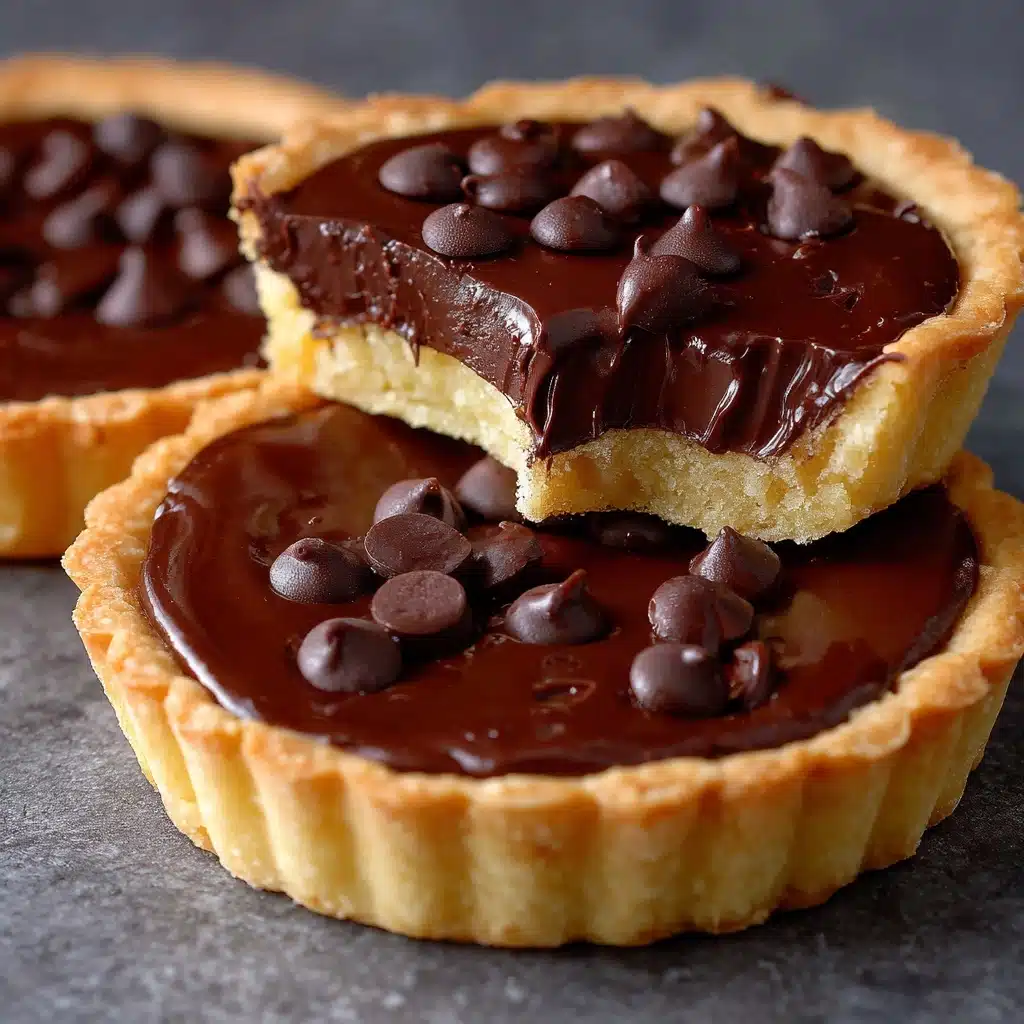
Chocolate-Filled Hand Pies Recipe
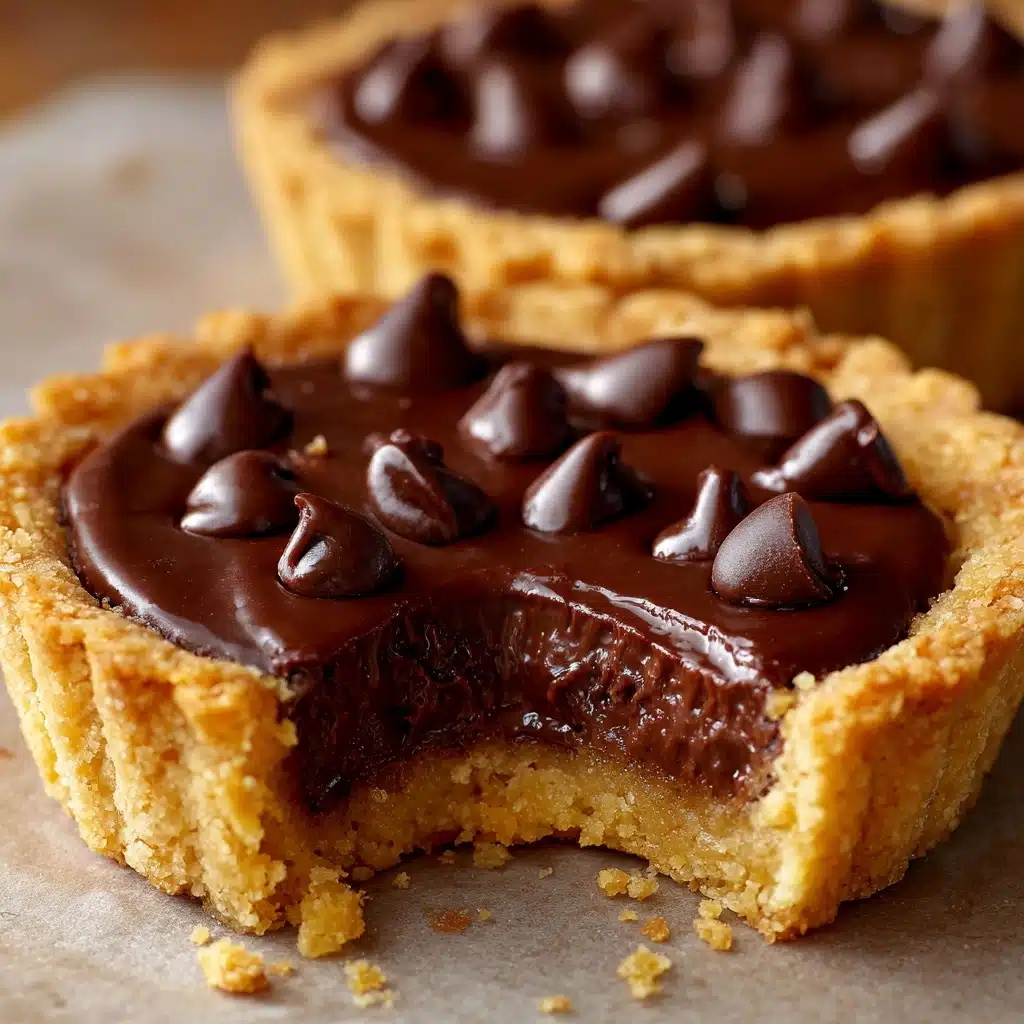
If you’re craving a treat that’s equal parts nostalgic and indulgent, these Chocolate-Filled Hand Pies are about to become your new obsession. Imagine flaky, golden pastry wrapped around a luscious, gooey chocolate center—just the right size to hold in your hand (or sneak for a midnight snack). Whether you’re baking for a weekend brunch, a dessert spread, or just want to satisfy your sweet tooth, this recipe delivers irresistible results with minimal fuss. Trust me, once you try these, the phrase “Chocolate-Filled Hand Pies” will forever make your mouth water!
Ingredients You’ll Need
-
Pie Crust
- 2 sheets refrigerated pie crusts (or homemade)
Filling
- 1 cup semisweet chocolate chips
- 2 tablespoons heavy cream
- 1 teaspoon vanilla extract
Topping
- 1 egg beaten (for egg wash)
- 1 tablespoon water
- 2 tablespoons granulated sugar for sprinkling
- Powdered sugar for dusting (optional)
How to Make Chocolate-Filled Hand Pies
Step 1: Prep Your Oven and Baking Sheet
Start by preheating your oven to 400°F (200°C). Line a baking sheet with parchment paper to ensure your Chocolate-Filled Hand Pies bake evenly and lift off easily when they’re done. This step sets you up for crisp, golden perfection.
Step 2: Make the Chocolate Filling
In a microwave-safe bowl, combine the semisweet chocolate chips and heavy cream. Heat the mixture in 30-second bursts, stirring after each, until the chocolate is completely melted and the filling is silky-smooth. Stir in the vanilla extract for an extra layer of flavor, then let the mixture cool for a few minutes—it should be thick but still spreadable.
Step 3: Shape and Fill the Pies
Roll out your pie crusts on a lightly floured surface. Use a 4-inch round cookie cutter or the rim of a glass to cut out as many circles as you can (you should get about 10 in total). Place a generous tablespoon of chocolate filling in the center of each dough circle, being careful not to overfill—this helps keep all the chocolatey goodness inside as they bake.
Step 4: Seal and Crimp the Hand Pies
Fold each dough circle in half over the filling to create a half-moon shape. Press the edges together firmly, then use the tines of a fork to crimp and seal. This not only keeps the chocolate tucked inside, but also gives your Chocolate-Filled Hand Pies that classic, homemade look.
Step 5: Brush and Sprinkle
In a small bowl, whisk together the beaten egg and water to make an egg wash. Brush this mixture over the tops of the hand pies, then sprinkle each one with a pinch of granulated sugar. The egg wash gives them a beautiful sheen, while the sugar adds a delicate crunch.
Step 6: Bake to Golden Perfection
Arrange your hand pies on the prepared baking sheet, leaving a little space between each. Bake for 15–18 minutes, or until the pies are puffed and golden brown. Your kitchen will smell amazing! Let the pies cool for a few minutes before handling.
Step 7: Finish and Serve
If you love a little extra flourish, dust the cooled pies lightly with powdered sugar. Serve them warm for the ultimate gooey, melty chocolate experience—though they’re delicious at room temperature, too!
How to Serve Chocolate-Filled Hand Pies
Garnishes
For a little extra wow factor, dust your Chocolate-Filled Hand Pies with powdered sugar just before serving. You can also drizzle them with a bit of melted chocolate or a simple vanilla glaze for a bakery-style finish. Fresh berries or a scoop of whipped cream alongside make each bite feel even more special.
Side Dishes
These hand pies are wonderful on their own, but if you want to turn dessert into a true event, try serving them with a scoop of vanilla ice cream or alongside a fresh fruit salad. A mug of hot coffee or a tall glass of cold milk also makes the chocolate filling shine.
Creative Ways to Present
Get playful with your presentation by wrapping each pie in parchment and tying with baker’s twine for a charming, picnic-ready look. Arrange them on a wooden board for a rustic vibe, or stack them on a tiered cake stand at your next party. Chocolate-Filled Hand Pies also make adorable edible gifts—just pop them into a cute box lined with tissue paper.
Make Ahead and Storage
Storing Leftovers
If you have any Chocolate-Filled Hand Pies left (which is rare!), store them in an airtight container at room temperature for up to 3 days. They’ll stay fresh and tasty, though the crust is best within the first day or two.
Freezing
You can freeze these hand pies after baking—just let them cool completely, then wrap each pie individually in plastic wrap and place in a freezer-safe bag or container. They’ll keep well for up to 2 months and are perfect for grabbing a quick treat whenever the craving strikes.
Reheating
To reheat, simply pop the pies in a 325°F (160°C) oven for about 8–10 minutes, or until warmed through and crisp again. The microwave works in a pinch, but the crust stays flakier with oven reheating.
FAQs
Can I use a different type Dessert, Snack
Absolutely! Milk chocolate or dark chocolate chips both work beautifully in Chocolate-Filled Hand Pies, so feel free to customize according to your taste. You can even try a flavored chocolate bar chopped into small pieces for a fun twist.
Is it possible to make these hand pies ahead of time?
Yes, you can assemble the pies and refrigerate them (unbaked) for up to a day in advance. Just bake them fresh when you’re ready to serve for the flakiest results. They also freeze well after baking.
What if I don’t have a cookie cutter?
No problem! The rim of a drinking glass works just as well to cut out circles for your Chocolate-Filled Hand Pies. Aim for about 4 inches in diameter, but a little bigger or smaller won’t hurt.
Can I add nuts or fruit to the filling?
Definitely! Feel free to sprinkle in chopped toasted hazelnuts, pecans, or even a few dried cherries along with the chocolate before sealing the pies. Just avoid overfilling to prevent leaks.
Are Chocolate-Filled Hand Pies suitable for kids to help make?
Yes! Kids love helping with filling, folding, and crimping the edges. Just be sure to supervise the melting chocolate and the baking steps. It’s a fun, hands-on recipe for all ages.
Final Thoughts
If you’re ready for a dessert that’s as fun to make as it is to eat, these Chocolate-Filled Hand Pies are calling your name. Whether you’re sharing them with friends or sneaking one for yourself, each bite is pure, chocolatey joy. Give them a try and watch them disappear—your kitchen might just become everyone’s favorite new bakery!
Print
Chocolate-Filled Hand Pies Recipe
- Total Time: 38 minutes
- Yield: 10 hand pies 1x
- Diet: Vegetarian
Description
Delight in these easy-to-make Chocolate-Filled Hand Pies, featuring a flaky pie crust enveloping a rich, smooth chocolate filling. Perfect as a warm dessert or snack, these mini pies combine the comforting flavors of semi-sweet chocolate and vanilla in a convenient handheld treat.
Ingredients
Pie Crust
- 2 sheets refrigerated pie crusts (or homemade)
Filling
- 1 cup semisweet chocolate chips
- 2 tablespoons heavy cream
- 1 teaspoon vanilla extract
Topping
- 1 egg beaten (for egg wash)
- 1 tablespoon water
- 2 tablespoons granulated sugar for sprinkling
- Powdered sugar for dusting (optional)
Instructions
- Preheat Oven and Prepare Baking Sheet: Preheat your oven to 400°F (200°C) and line a baking sheet with parchment paper to prevent sticking and ensure even baking.
- Make the Chocolate Filling: In a microwave-safe bowl, combine the semisweet chocolate chips and heavy cream. Heat in 30-second intervals, stirring between each, until the mixture is smooth and fully melted. Stir in the vanilla extract and let the filling cool slightly so it thickens but is still spreadable.
- Cut Pie Crust Circles: Roll out the pie crust sheets if needed, then use a cookie cutter or glass to cut out circles approximately 4 inches wide. These will form the base for your hand pies.
- Fill and Fold Pies: Place about 1 tablespoon of the chocolate filling in the center of each pie crust circle. Fold the dough over the filling into a half-moon shape, then press the edges firmly together. Use a fork to crimp the edges, sealing the pies completely to prevent filling from leaking during baking.
- Apply Egg Wash and Sugar: In a small bowl, whisk together the beaten egg and water to create an egg wash. Brush this over the tops of each hand pie to give them a beautiful golden color as they bake. Sprinkle the tops lightly with granulated sugar for added texture and sweetness.
- Bake the Hand Pies: Place the prepared hand pies on the lined baking sheet and bake in the preheated oven for 15 to 18 minutes, or until the crusts turn golden brown and crisp.
- Cool and Serve: Allow the pies to cool slightly after baking to set the filling. Optionally, dust with powdered sugar before serving for an elegant finishing touch. Enjoy warm for the best flavor and texture.
Notes
- For variety, substitute the chocolate filling with Nutella or peanut butter-chocolate spread.
- These hand pies are best enjoyed warm but can be reheated in the oven to restore their crispiness.
- Store any leftovers in an airtight container for up to 3 days to maintain freshness.
- Prep Time: 20 minutes
- Cook Time: 18 minutes
- Category: Dessert, Snack
- Method: Baking
- Cuisine: American
Nutrition
- Serving Size: 1 hand pie
- Calories: 210
- Sugar: 12g
- Sodium: 160mg
- Fat: 12g
- Saturated Fat: 6g
- Unsaturated Fat: 5g
- Trans Fat: 0g
- Carbohydrates: 24g
- Fiber: 1g
- Protein: 3g
- Cholesterol: 20mg


