Deviled Egg Chicks Recipe
If you’re ready to bring a little extra joy and whimsy to your table, look no further than these Deviled Egg Chicks. This playful twist on the classic deviled egg transforms a simple appetizer into an irresistible centerpiece—adorable, delicious, and always the first to disappear at any gathering. Whether for Easter, a spring brunch, or simply delighting kids and grownups alike, Deviled Egg Chicks are guaranteed to brighten every occasion with their cheery faces and creamy, savory filling.
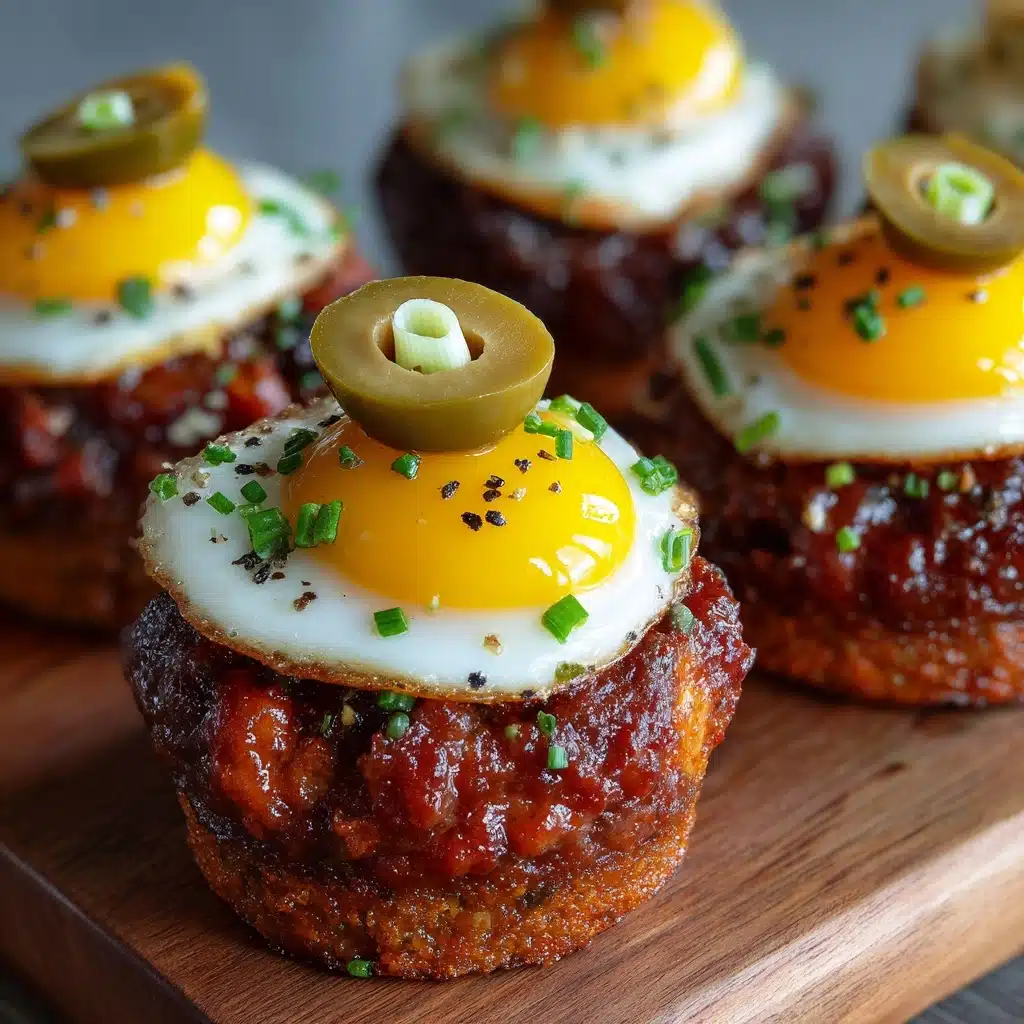
Ingredients You’ll Need
The beauty of Deviled Egg Chicks is in their simplicity—each ingredient plays a vital role in achieving the perfect balance of taste, creamy texture, and picture-perfect charm. Here’s what you’ll need, along with a few tips to get the best result every time.
- 12 large hard-boiled eggs: Boiled until just right for easy peeling and the ideal texture—these are the foundation of your chicks.
- 1/3 cup mayonnaise: Adds unforgettable richness and silky smoothness to the yolk filling.
- 2 teaspoons yellow mustard: Brings zesty brightness that wakes up the flavors and gives that classic deviled egg taste.
- 1 teaspoon white vinegar: Offers a gentle tang that balances the creamy filling and keeps it fresh.
- 1/4 teaspoon salt: Enhances every flavor without overpowering, letting the eggs shine.
- 1/4 teaspoon black pepper: Delivers a subtle kick and a bit of visual interest in the filling.
- 1 medium carrot, cut into tiny triangles: Essential for creating the chicks’ beaks and feet—choose a vibrant, fresh carrot for the best pop of color.
- 2 tablespoons black olives, cut into small pieces: These become adorable little eyes that bring your Deviled Egg Chicks to life; pitted olives make the job easy!
How to Make Deviled Egg Chicks
Step 1: Prepare and Boil the Eggs
Start with your dozen eggs and give them a gentle rinse. Place them in a pot, cover with cold water, and bring to a boil. Once boiling, reduce to a simmer for about 12 minutes. Transfer the eggs immediately to an ice bath for rapid cooling—this trick makes peeling a breeze and keeps whites tender. Once cool enough to handle, peel each egg carefully, as their smooth surface is key for the adorable chick effect.
Step 2: Shape the Egg Whites
Using a sharp knife, slice a thin layer off the bottom of each egg so it will stand upright without wobbling. Next, cut the top third off each egg. Gently remove the yolks and place them in a separate bowl; try not to tear the whites as you’ll need those for the chick bodies and hats. This part might take a little patience, but it’s honestly fun seeing these “hats” come off and imagining the chicks they’ll soon become.
Step 3: Make the Creamy Filling
It’s time to whip up the luscious center that gives Deviled Egg Chicks their signature richness. Mash the yolks thoroughly until there are no lumps, then add mayonnaise, yellow mustard, white vinegar, salt, and black pepper. Mix until unbelievably smooth and creamy—you want the filling to be pipe-able but not runny. Taste and adjust salt and pepper if needed. A round pastry tip or resealable bag snipped at the corner works beautifully for filling, but a small spoon is perfectly fine as well!
Step 4: Assemble the Chicks
Carefully spoon or pipe the yolk mixture into each egg white bottom, mounding it slightly above the edge—it should look like a chick’s head peeking out. Place the small egg white “hat” on each at a jaunty angle. It’s almost impossible not to smile at this point, as each chick starts to show its personality.
Step 5: Add Eyes, Beaks, and Feet
Now, channel your inner artist! Stick on little black olive pieces for eyes, add tiny carrot triangles for beaks between the hats and filling, and nuzzle a couple more carrot “feet” at the base of each chick. The details are quick to add, but they make all the difference for the adorable final effect. Admire your batch of charming Deviled Egg Chicks—they’re almost too cute to eat!
How to Serve Deviled Egg Chicks
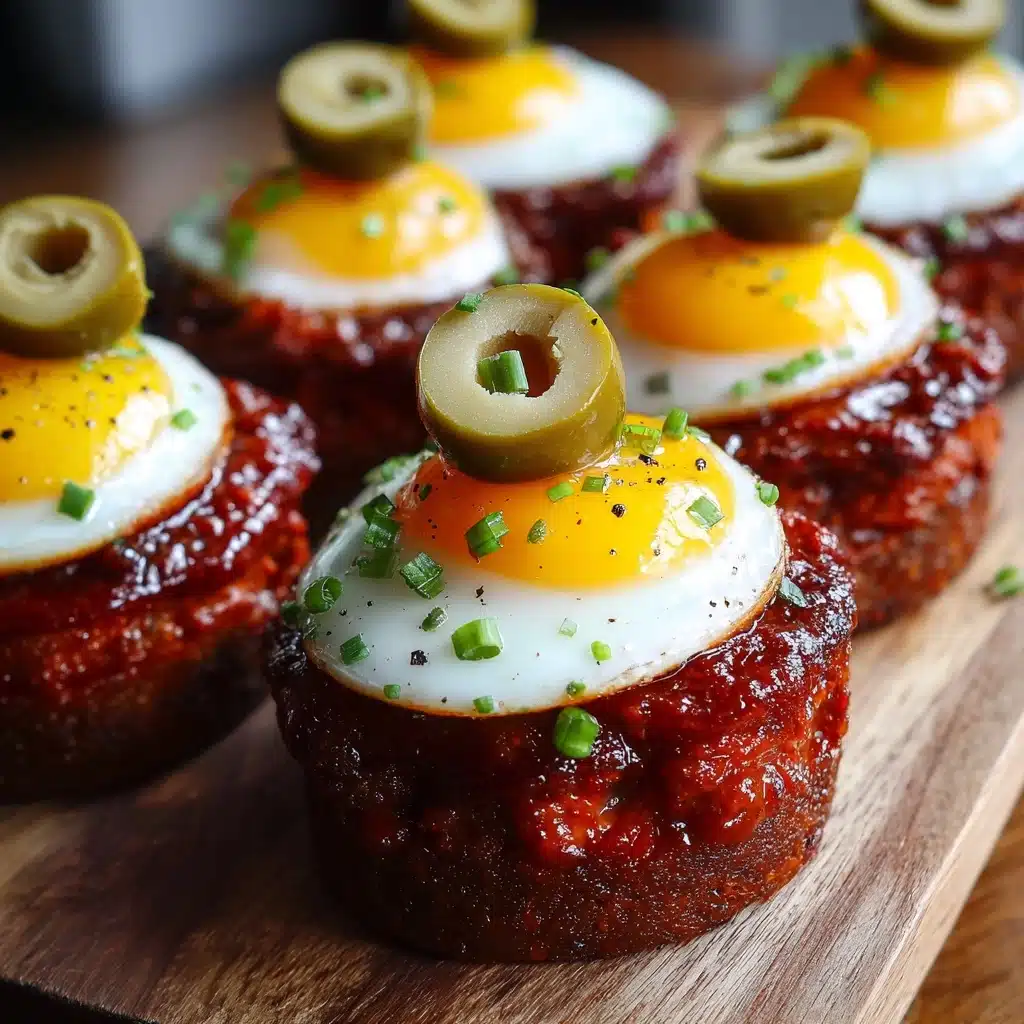
Garnishes
For a picture-perfect presentation, arrange your Deviled Egg Chicks on a platter lined with fresh parsley, dill, or lettuce leaves. These green accents add a lovely springtime feel while helping the chicks stand upright. A sprinkle of smoked paprika or chives around the platter adds just a pop of extra color and flavor, making your display irresistible.
Side Dishes
Deviled Egg Chicks are delightful all on their own, but they truly shine as part of a festive spread. Pair them with crisp fresh veggies, buttery croissants, or a light salad for a refreshing balance. They’re also fantastic alongside finger sandwiches, fruit platters, or classic brunch dishes, making them a versatile addition to any party menu.
Creative Ways to Present
Think outside the basket! Try nestling your Deviled Egg Chicks in a shallow dish filled with shredded lettuce, edible flowers, or even multicolored Easter grass for a playful touch. Mini cupcake wrappers can help keep each chick upright if you’re serving on a buffet. For a true showstopper, group chicks in a “flock” at the center of the table and watch everyone’s face light up.
Make Ahead and Storage
Storing Leftovers
If you find yourself with extra Deviled Egg Chicks, store them in an airtight container in the refrigerator. They stay fresh and tasty for up to 2 days, though their best, brightest appearance is on day one. If the carrot and olive details slide off, you can easily readjust them before serving again.
Freezing
Unfortunately, Deviled Egg Chicks don’t freeze well. The texture of the eggs changes, and the chick decorations can become soggy or misshapen. For the best results, stick to making just what you’ll enjoy within a couple days—you’ll be glad you did!
Reheating
These are a chilled make-ahead treat and are best served cold or at room temperature. There’s no need to reheat Deviled Egg Chicks—simply take them out of the fridge about 10–15 minutes before serving to take the chill off and enhance their flavor.
FAQs
Can I make Deviled Egg Chicks a day ahead?
Absolutely! Assembling them a few hours or even a day in advance works well—just keep them covered in the fridge. Wait until just before serving to add delicate garnishes or reposition faces if needed for the cutest results.
What if I don’t have a piping bag?
No problem at all. You can spoon the yolk filling into the egg whites, or use a resealable plastic bag with a corner snipped off. It might not be quite as precise, but your Deviled Egg Chicks will look just as charming and taste fantastic.
How do I prevent the eggs from tipping over?
The trick is cutting a thin slice off the bottom of each egg before filling to make a flat base. For extra insurance, serving them on a bed of greens or using mini cupcake liners adds stability and stops any adorable chick from rolling away.
Can I make these with other fillings?
Absolutely—Deviled Egg Chicks are just as fun with alternative fillings! Try mixing in a bit of curry powder, sriracha, or finely chopped herbs with the yolks, or swap mayonnaise for Greek yogurt for a lighter twist.
Are there any allergen-friendly substitutions?
Yes! Use vegan mayonnaise to make these dairy-free, and swap black olives for black sesame seeds as a substitute for the eyes. As always, double-check all packaged ingredients if allergies are a concern, and enjoy sharing Deviled Egg Chicks with a wide range of guests.
Final Thoughts
There’s just something special about sharing a tray of Deviled Egg Chicks—they make everyone smile before the first bite and disappear almost immediately. Whether you’re celebrating a holiday, hosting brunch, or simply want to surprise your family, I hope these little eggy bundles of joy brighten up your table and your day. Go have some fun in the kitchen and let your chicks steal the show!
Print
Deviled Egg Chicks Recipe
- Total Time: 37 minutes
- Yield: 12 deviled egg chicks 1x
- Diet: Vegetarian, Gluten-Free, Low-Carb
Description
Deviled Egg Chicks are a fun and adorable twist on classic deviled eggs, perfect for Easter or any springtime gathering. These cute little chicks are made with a creamy, flavorful filling and simple decorations to bring a festive touch to your table.
Ingredients
Ingredients for Deviled Egg Chicks:
- 12 large hard-boiled eggs, peeled
- 1/3 cup mayonnaise
- 2 teaspoons yellow mustard
- 1 teaspoon white vinegar
- 1/4 teaspoon salt
- 1/4 teaspoon black pepper
- 1 medium carrot, cut into tiny triangles for beaks and feet
- 2 tablespoons black olives, cut into small pieces for eyes
Instructions
- Slice and Prep Eggs: Slice a thin layer off the bottom of each egg. Cut off the top third of each egg and remove yolks.
- Prepare Filling: Mash yolks with mayonnaise, mustard, vinegar, salt, and pepper until smooth.
- Fill Eggs: Spoon or pipe yolk mixture back into egg whites, mounding it slightly. Place smaller egg white tops back at an angle.
- Add Decorations: Attach carrot triangles for beaks and feet, and olive pieces for eyes.
- Chill and Serve: Chill deviled egg chicks until ready to serve.
Notes
- Use a piping bag for a tidy filling.
- Substitute capers or black sesame seeds if needed for the eyes.
- Best served the same day for the freshest appearance.
- Prep Time: 25 minutes
- Cook Time: 12 minutes
- Category: Appetizer, Snack
- Method: Boiling, Mixing, Assembling
- Cuisine: American
Nutrition
- Serving Size: 1 chick
- Calories: 90
- Sugar: 0 g
- Sodium: 120 mg
- Fat: 7 g
- Saturated Fat: 2 g
- Unsaturated Fat: 4 g
- Trans Fat: 0 g
- Carbohydrates: 1 g
- Fiber: 0 g
- Protein: 6 g
- Cholesterol: 110 mg
