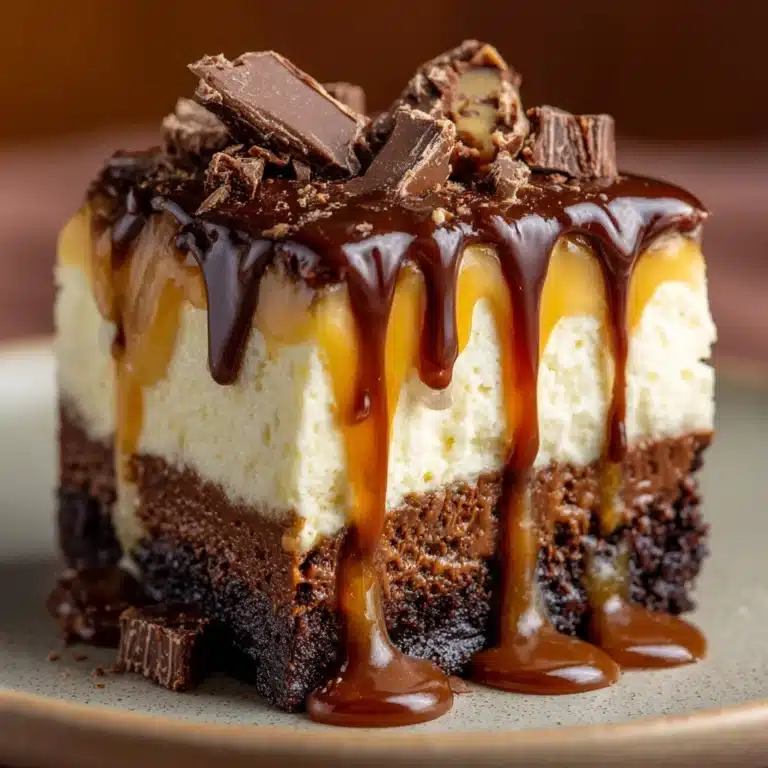
Mint Mini Cheesecakes Recipe
If you’re looking for a dessert that’s bright, luscious, and endlessly charming, Mint Mini Cheesecakes are about to become your new obsession. Imagine silky cream cheese filling swirled with peppermint, studded with rich chocolate, and nestled in a crisp chocolate cookie crust — all in a perfectly snackable size. They’re petite, festive, and guaranteed to turn any gathering into an occasion. With the refreshing hit of mint and a gentle green hue, these bite-sized cheesecakes make any day feel a little more special.
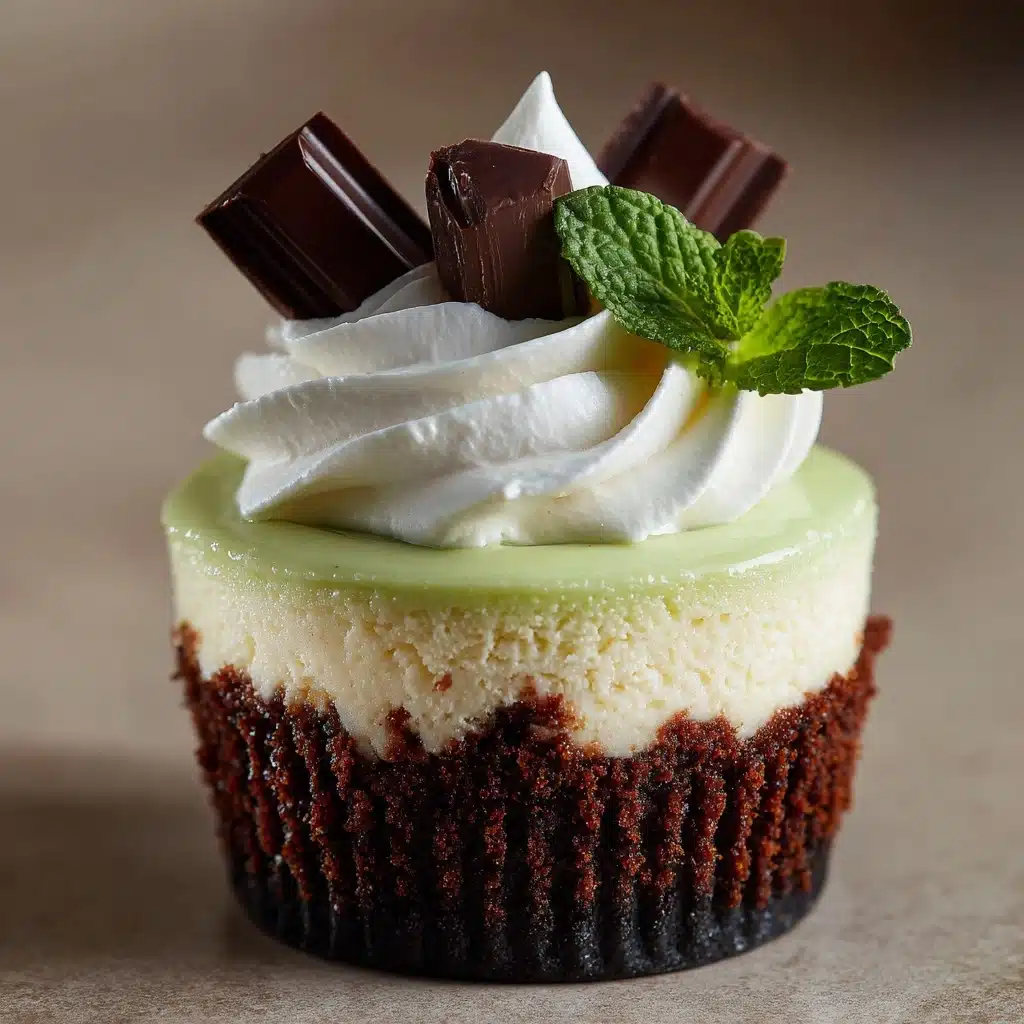
Ingredients You’ll Need
There’s beauty in simplicity, and these Mint Mini Cheesecakes prove it. Each ingredient brings something important, from creamy smoothness to that irresistible chocolate crunch, making every bite unforgettable — so don’t skip a single one!
- Chocolate cookie crumbs: The base of your cheesecake, providing a deep, delicious crunch and a hint of cocoa with every bite.
- Unsalted butter (melted): This binds the cookie crumbs and helps the crust hold its shape, while adding a subtle richness.
- Cream cheese (softened): The star of the show — creamy, tangy, and ultra-smooth once blended.
- Granulated sugar: Sweetens the filling just right without making it cloying.
- Large eggs: These help create structure and give the cheesecake its signature silky texture.
- Sour cream: Adds an extra layer of tang and softness, making every bite melt-in-your-mouth tender.
- Peppermint extract: Infuses the cheesecake with its signature cool, minty flavor — just a little goes a long way.
- Vanilla extract: Rounds out the flavors and makes the mint even more inviting.
- Green food coloring (optional): For that cheerful hint of minty color that’s as fun as it is appetizing.
- Mini chocolate chips or chopped dark chocolate: These provide melty pockets of chocolate throughout the cheesecake, balancing the mint beautifully.
- Whipped cream and mint leaves for garnish (optional): These bring a lovely flourish to each mini cheesecake and an extra burst of freshness.
How to Make Mint Mini Cheesecakes
Step 1: Prepare the Pan and Preheat Your Oven
Start by preheating your oven to 325°F. Line a 12-cup muffin tin with paper liners, which makes the cheesecakes easier to remove later and gives them a cute, professional finish. This little bit of prep sets you up for flawless mini cheesecakes!
Step 2: Make the Chocolate Cookie Crust
Grab a small bowl and combine the chocolate cookie crumbs with the melted butter, mixing until the crumbs are evenly coated and glistening. Spoon about a tablespoon of the mixture into each prepared muffin cup, then press it firmly into the bottom to form a solid, compact crust — the perfect base for all that creamy filling.
Step 3: Prepare the Cheesecake Filling
In a large mixing bowl, beat the softened cream cheese and sugar together until smooth and creamy, with no lumps in sight. Then add the eggs, one at a time, beating well after each addition to keep things velvety. Next in: sour cream, peppermint extract, vanilla extract, and, if you like, a drop or two of green food coloring for extra minty flair. Give it all a gentle mix until just combined — overbeating can cause cracks later.
Step 4: Add Chocolate and Fill the Cups
Gently fold mini chocolate chips or chopped dark chocolate into the minty cheesecake batter, distributing them evenly. Divide the filling among the crust-lined muffin cups, smoothing out the tops with a spoon or spatula to make them picture-perfect before baking.
Step 5: Bake and Cool
Bake the Mint Mini Cheesecakes for 18–22 minutes. They’re ready when the centers are just set but still have the slightest jiggle — don’t worry, they’ll finish firming up as they cool. Allow the cheesecakes to cool in the pan for about 10 minutes, then gently move them to a wire rack to cool completely. Chill in the refrigerator for at least 2 hours (longer if you can wait!) for maximum flavor and the creamiest texture.
Step 6: Garnish and Serve
When it’s time to serve, crown each mini cheesecake with a dollop of whipped cream and a fresh mint leaf. Stand back and admire your handiwork — these cuties are ready to steal the show!
How to Serve Mint Mini Cheesecakes
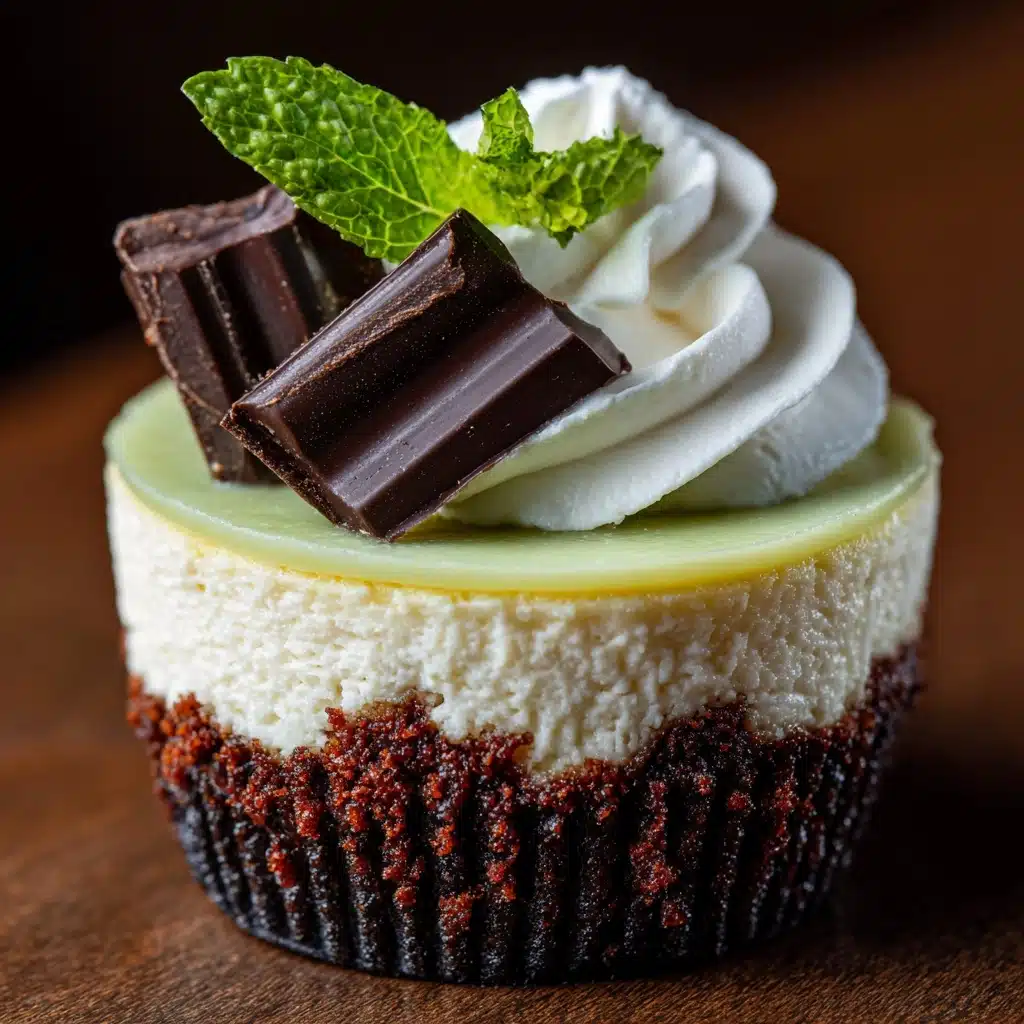
Garnishes
Garnishing is where you get to let your creativity shine! Mint Mini Cheesecakes look absolutely charming topped with a swirl of freshly whipped cream and a small sprig of mint. For a decadent touch, try a drizzle of chocolate sauce or a sprinkle of additional mini chocolate chips. The fresh mint leaves not only add a pop of color but also amplify that cool, refreshing theme.
Side Dishes
Because these cheesecakes are so rich and cool, a plate of fresh berries, like raspberries or sliced strawberries, makes a gorgeous and flavorful pairing. If you’re serving them as part of a dessert spread, consider offering chocolate-dipped pretzels or a light citrus salad to balance the richness. Coffee and Mint Mini Cheesecakes are a match made in heaven, so don’t forget the espresso if you’re entertaining!
Creative Ways to Present
Make these mini treats the star of your dessert table by serving each on a colorful dessert plate or cupcake stand. For gatherings, display them on a chic tiered tray, alternating with fresh mint leaves and chocolate curls for drama. You can also tuck a tiny edible flower into the whipped cream for a spring-inspired twist that’s sure to wow your guests.
Make Ahead and Storage
Storing Leftovers
These Mint Mini Cheesecakes keep beautifully in the refrigerator for up to 3 days. Just place them in an airtight container so they don’t pick up any fridge odors, and keep any garnishes (like whipped cream) separate until you’re ready to serve for the freshest flavor and appearance.
Freezing
If you want to make a batch ahead or save some for a rainy day, freeze the cheesecakes (without garnish) in a single layer on a baking sheet until firm, then transfer to a freezer-safe container. They’ll keep for up to one month. Before serving, thaw them overnight in the fridge — you’ll be amazed at how the flavor stays so fresh!
Reheating
You don’t need to reheat Mint Mini Cheesecakes, but if you prefer them closer to room temperature, just set them out on the counter about 30 minutes before serving. This will soften the filling to sheer perfection. Never heat them in the microwave, as it can ruin the creamy texture.
FAQs
Can I use regular cupcake liners instead of paper liners?
Absolutely! Both paper and foil liners work well. Just be sure to let the cheesecakes cool completely before attempting to remove the liners for the best appearance.
How do I prevent cracks in my mini cheesecakes?
Don’t overmix the batter after adding eggs, and keep a close watch during baking. Take them out of the oven as soon as the centers look set but still slightly wobbly. They’ll firm up as they cool, and chilling helps ensure a smooth, creamy texture.
Can I make Mint Mini Cheesecakes gluten-free?
Yes, simply swap out the chocolate cookie crumbs for a gluten-free variety, and you’ll have perfectly delicious gluten-free cheesecakes without any compromise on taste or texture.
Is it possible to make these in advance for a party?
Mint Mini Cheesecakes are perfect for making ahead! In fact, their flavor and texture only improve after a good chill, so feel free to bake them a day or two early and garnish right before serving.
Can I double the recipe?
Absolutely! Just double all of the ingredients and bake in batches as needed. This recipe scales up easily, so it’s a fantastic choice if you need to feed a crowd (or want extra for yourself).
Final Thoughts
If you love desserts that are every bit as delightful as they are delicious, you owe it to yourself to try Mint Mini Cheesecakes. They’re a playful twist on classic cheesecake, guaranteed to win hearts at any table. Go ahead — bake a batch, share with friends (or savor them all yourself, no judgment), and let every cool, chocolatey, minty bite sweep you off your feet!
Print
Mint Mini Cheesecakes Recipe
- Total Time: 35 minutes (plus chilling time)
- Yield: 12 mini cheesecakes 1x
- Diet: Vegetarian
Description
Indulge in these delightful Mint Mini Cheesecakes, perfect for any occasion with their creamy texture and refreshing mint flavor. Topped with chocolate chips and a dollop of whipped cream, they are a sweet treat that will impress your guests.
Ingredients
For the Crust:
- 1 cup chocolate cookie crumbs
- 3 tablespoons unsalted butter, melted
For the Filling:
- 16 ounces cream cheese, softened
- 1/2 cup granulated sugar
- 2 large eggs
- 1/4 cup sour cream
- 1/4 teaspoon peppermint extract
- 1/2 teaspoon vanilla extract
- Green food coloring (optional)
- 1/2 cup mini chocolate chips or chopped dark chocolate
For Garnish:
- Whipped cream and mint leaves
Instructions
- Preheat oven to 325°F. Line a 12-cup muffin tin with paper liners.
- For the Crust: In a small bowl, mix chocolate cookie crumbs with melted butter until evenly coated. Press about 1 tablespoon of the mixture into the bottom of each muffin cup to form the crust.
- For the Filling: In a large mixing bowl, beat cream cheese and sugar until smooth and creamy. Add eggs one at a time, beating well after each. Mix in sour cream, peppermint extract, vanilla extract, and green food coloring if using. Gently fold in the mini chocolate chips.
- Assembly: Divide the filling evenly among the muffin cups, smoothing the tops. Bake for 18–22 minutes, or until centers are just set.
- Cooling and Serving: Let cool in the pan for 10 minutes, then transfer to a wire rack to cool completely. Refrigerate for at least 2 hours before serving. Top with whipped cream and mint leaves if desired.
Notes
- For a stronger mint flavor, increase peppermint extract slightly, but be careful not to overpower.
- These can be made ahead and stored in the fridge for up to 3 days.
- Prep Time: 15 minutes
- Cook Time: 20 minutes
- Category: Dessert
- Method: Baking
- Cuisine: American
Nutrition
- Serving Size: 1 mini cheesecake
- Calories: 230
- Sugar: 14g
- Sodium: 150mg
- Fat: 16g
- Saturated Fat: 9g
- Unsaturated Fat: 6g
- Trans Fat: 0g
- Carbohydrates: 18g
- Fiber: 1g
- Protein: 4g
- Cholesterol: 55mg
